Introduction
Loose handlebars feel vague, creaky or wobbly, and they make steering less predictable. The cause is often a bolt that has worked loose, a stem that has slipped, or a headset that needs adjustment. The good news is that many cases are simple to diagnose at home with basic tools.
This guide shows how to find the loose part, tighten it safely and test the result before you ride. It also explains the warning signs that mean you should not ride, and when a professional check is the safer choice.
Loose handlebars: quick comparison
| Symptom | Likely cause | First check |
|---|---|---|
| Bars rotate in the clamp | Handlebar clamp bolts loose | Faceplate bolts, even gap |
| Whole stem moves on steerer | Stem clamp bolts loose | Stem-to-steerer clamp |
| Knocking when braking | Headset play | Front brake rock test |
| Creaking when turning | Dry or loose interface | Clean, refit, retest |
What you will need
- Allen keys that fit your stem and faceplate bolts, usually 4 mm, 5 mm or 6 mm
- A torque wrench if your parts list a torque value, plus the manufacturer guidance
- A clean cloth, light grease or assembly paste only where the manufacturer allows it
- A work stand or a helper to hold the bike steady while you align the bars
- A pump and tyre lever set for a final check ride, so soft tyres do not mask steering feel
- A pen and tape for marking the original bar position before you loosen anything
Step 1: Work safely and find the loose part
Put the bike on stable ground, away from traffic. Do not work on a bike balanced on a kerb or leaning on a car. Check the frame, fork and bars for cracks, bends or deep scratches first. A cracked stem, bar or steerer is not a tightening job. Look closely at welds, clamp areas and any place where paint has flaked after an impact, because damage often hides under a small mark.
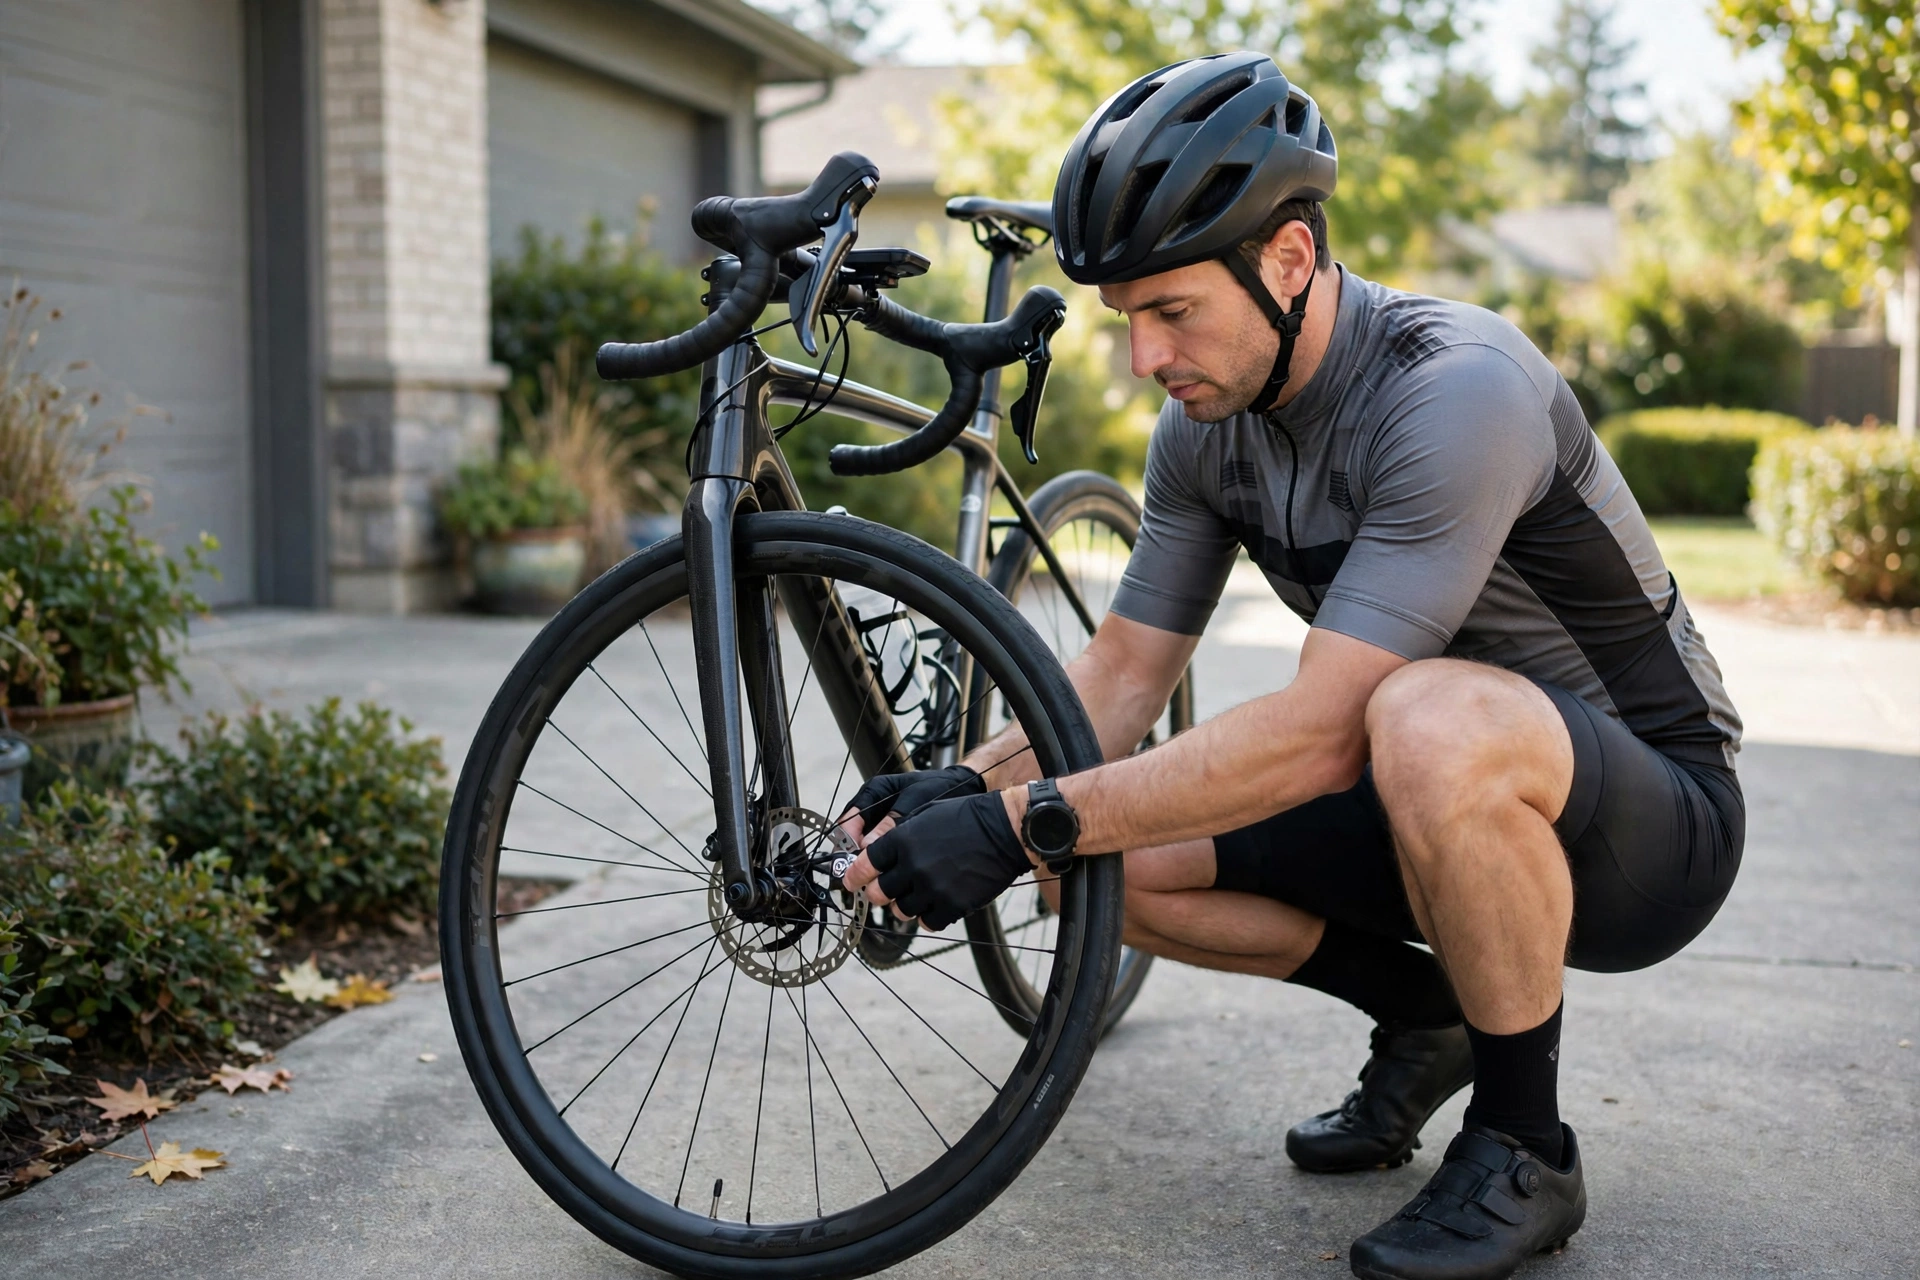
Hold the front brake and rock the bike forward and back. A knock at the headset points to headset play, not just a loose bar. Next, try to twist the bars while holding the front wheel between your knees. If the bars move but the wheel does not, the stem or bar clamp is loose. Repeat the test with the wheel held firmly, so you do not mistake normal tyre flex for stem slip.
- Bars move alone: suspect the faceplate or stem clamp.
- Stem and bars move together: suspect the stem clamp or headset.
- Knock only under braking: suspect headset play.
- Any crack, bent part or stripped thread: stop and seek repair.
Step 2: Check the headset before you tighten the stem
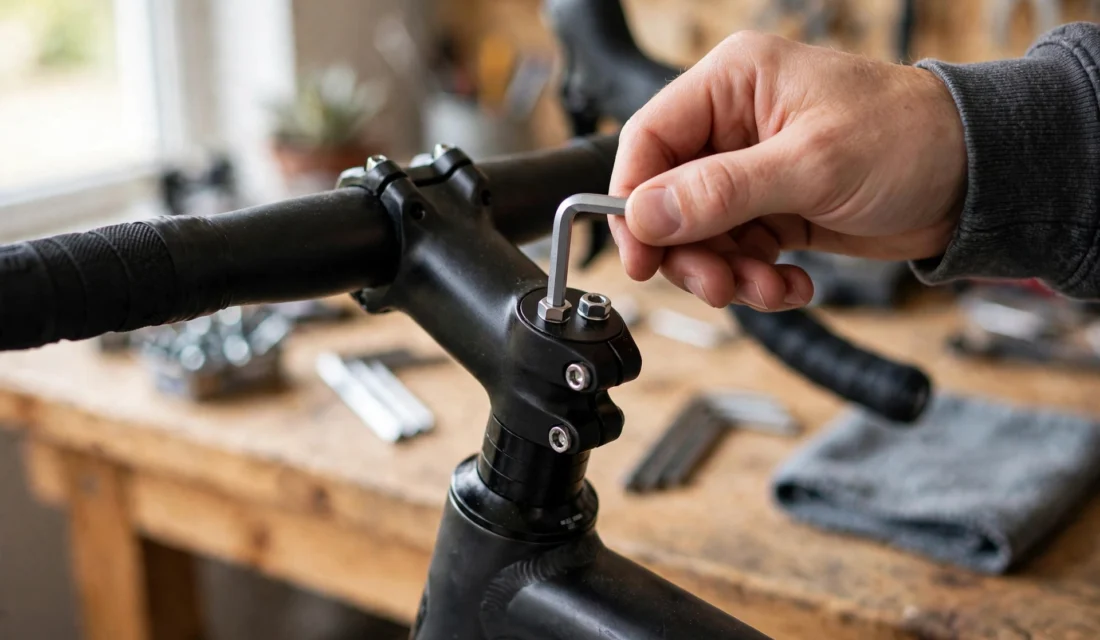
Many riders tighten the stem first and still feel play, because the headset was the real problem. Loosen the stem clamp bolts just enough for the stem to move, then tighten the top cap bolt gently until the knocking stops and the steering still turns freely. Overtightening the top cap makes steering stiff and can damage bearings. Work in tiny steps, checking the brake rock test after each small turn, rather than tightening hard in one go.
Turn the bars left and right. They should move smoothly, with no notch, grind or tight spot. If they feel rough, the bearings may be worn or contaminated, and a service is safer than forcing the adjustment. Also check that the top cap, spacers and stem sit in the right order and that no spacer is missing after a previous repair.

Step 3: Align the bars with the front wheel
Stand in front of the bike and sight down the stem to the front tyre. The stem should point straight ahead, in line with the wheel. Small errors feel large at speed, so take time here. A helper holding the wheel straight makes this easier. Check the alignment from both the front and from above, because a view from one angle alone can hide a slight twist.
For flat bars, also check roll angle: the grips should feel level and natural, not tilted sharply up or down. For drop bars, the top of the bar and the brake levers should be reachable without straining your wrists. Mark the position lightly with tape before you loosen anything, so you can return to a known setting. Sit on the bike and rest your hands on the bars to confirm the position feels natural before you tighten fully.
| Check | Pass | Fail action |
|---|---|---|
| Stem to wheel alignment | Straight, no offset | Realign before tightening |
| Steering turns freely | Smooth, no notch | Ease top cap, inspect bearings |
| Bar roll | Comfortable wrists | Adjust roll, recheck reach |
Step 4: Tighten the stem clamp bolts evenly
Tighten the stem clamp bolts a quarter turn at a time, alternating between them. This keeps the clamp even and avoids pinching one side. If your stem lists a torque value, use a torque wrench and do not exceed it. Carbon parts are especially sensitive to overtightening, and a cracked carbon steerer or stem can fail without much warning.

After tightening, hold the front wheel between your knees again and try to twist the bars. There should be no slip. Also try to lift the bars upward and push down: no movement should appear at the stem joint. If slip returns after a short ride, do not simply keep tightening harder; check for a worn clamp, wrong spacer stack or damaged bolt.
- Tighten in small, alternating steps, not one bolt fully then the other.
- Recheck alignment after the first snug pass, because tightening can shift the stem.
- Do not use extra-long levers or cheater bars to force a bolt.
- If a bolt spins without tightening, the thread may be stripped: stop and seek repair.
Step 5: Tighten the handlebar faceplate evenly
The faceplate holds the bar itself. Loosen all its bolts slightly, centre the bar, set the roll angle, then tighten in a cross pattern, a little at a time. The gap between faceplate and stem body should look even on both sides, unless the manufacturer says otherwise. Uneven gaps often mean one bolt is doing most of the work, which can loosen again on rough ground.
Check that cables are not pinched, stretched or rubbing sharply on the frame. Turn the bars fully left and right and check that brakes and gears still work, and that cables do not pull tight at full lock. Also check bar plugs are fitted, because an open bar end can cause a serious injury in a fall.
Step 6: Test ride in a safe place
Before traffic, ride slowly in a quiet car park or driveway. Test gentle turns, braking and standing on the pedals. Listen for creaks and feel for any slip. Stop at once if the bars move, steering feels loose, or a bolt feels different from the others. A slow test ride costs a few minutes and can prevent a sudden loss of control at speed.
Recheck all bolts after the first short ride, because parts can settle. Keep a simple checklist and repeat it after the first week if the bike was recently serviced or the bars were removed for transport. Note the date of the check, so repeated loosening becomes visible as a pattern rather than a one-off surprise.
| Final check | Done |
|---|---|
| Bars do not slip with wheel held | ☐ |
| No headset knock under braking | ☐ |
| Steering smooth, cables free | ☐ |
| Brakes and gears work at full lock | ☐ |

Common mistakes to avoid
- Tightening only the bolt you can see, while the opposite bolt stays loose.
- Forgetting the headset and treating every knock as a stem problem.
- Using grease where the manufacturer requires dry assembly paste, or the reverse.
- Ignoring cable routing, then finding brakes drag or gears miss at full lock.
- Riding to test at full speed instead of in a quiet, low-risk place first.
Each of these mistakes is easy to make when you are in a hurry. Slow down, work through the checks in order, and record anything that felt unusual. If the same bolt loosens twice, treat that as a fault to investigate, not a routine to repeat.
When to stop and get help
Stop riding if you find a crack, a bent bar or fork, a stripped bolt, a stem that will not hold, or steering that stays notchy after adjustment. Also stop if the bike has been in a crash, even if the bars look straight, because hidden damage can fail later.
Related guides: Handlebars Hub, Handlebars category, How to Fix a Flat Tyre, How to Replace Handlebar Grips.
Frequently asked questions
Why do my handlebars keep coming loose? The usual reasons are uneven tightening, a dirty or greasy clamp surface, worn bolts, or headset play that makes the whole front end feel loose. Clean the interfaces, tighten evenly, and check the headset first.
Should I tighten the top cap or the stem bolts first? Set headset preload with the top cap while the stem bolts are loose, then tighten the stem clamp bolts. Tightening the stem first locks the headset in place and hides the play.
How tight should stem bolts be? Follow the value printed on the part or in the manual, and use a torque wrench when one is listed. Without a value, snug and even is safer than maximum force, especially on carbon parts.
Can I ride with slightly loose handlebars? No. Even small slip changes steering suddenly, especially under braking or on rough ground. Fix it before riding, or walk the bike to help.
What if the bars still creak after tightening? Check for dry interfaces, a loose headset, cable rub, or a cracked part. Clean and refit once, and if the creak remains, have a repairer inspect the fork, stem and bars.
How often should I check stem bolts? Check them after any removal, after a crash, and as part of a monthly safety check. A quick wheel-held twist test takes seconds and catches loosening before it becomes dangerous.
