Introduction
A scooter tyre puncture usually announces itself with a soft tyre, a wobble, or a slow loss of pressure over a few days. Riding on it can damage the rim, overheat the tyre, and make steering unpredictable, so the safest first step is always to stop.
Learning how to fix a scooter tyre puncture starts with knowing which type of tyre you have. This guide covers tubeless and tubed scooter tyres, when a repair is safe, when replacement is the only safe option, and how to fit a new tyre step by step.
Repair or replace: quick comparison
| Damage | Tubeless tyre | Tubed tyre |
|---|---|---|
| Small nail in tread | Plug or patch may work | Replace tube, inspect tyre |
| Sidewall cut or bulge | Replace tyre | Replace tyre and tube |
| Large hole, over 6 mm | Replace tyre | Replace tyre and tube |
| Slow leak, no object | Check valve and bead seal | Check valve and tube |
What you will need
- Tyre levers, a pump with a gauge, and soapy water in a spray bottle to find leaks
- A puncture repair kit suited to your tyre type, or a new tube and tyre in the correct size
- Valve tool, gloves, and a clean cloth to keep dirt out of the bead and valve
- Spanners for the wheel axle and, on some scooters, for brake and mudguard bolts
- A safe, flat work area and a way to support the scooter so the wheel spins freely
Step 1: Stop safely and find the leak
Move off the road or path, switch the scooter off, and let the tyre cool if you have just ridden on it. A hot, soft tyre can hide damage, and a rim that has run on a flat tyre may itself be damaged. Inspect the tread, sidewalls and valve for nails, glass, cuts, cracks or bulges.
Infla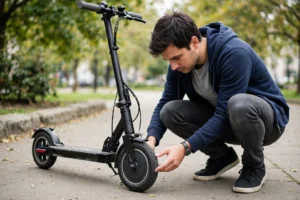 te the tyre slightly, only if it is not visibly damaged, and spray soapy water over the tread, valve and bead. Bubbles mark the leak. If the tyre will not hold any air, or you see a bulge or sidewall cut, do not inflate it further. Mark the leak position with chalk so you can find it again after the wheel is off.
- Check the valve first: a loose core or cracked cap can mimic a puncture.
- Check the bead: dirt or rust at the rim edge can cause a slow leak.
- Check the whole tread, not just the spot you suspect.
- Do not ride to a repair shop on a flat scooter tyre.
Step 2: Decide repair or replacement
A small, clean hole in the centre of the tread is the best candidate for repair. Damage near the edge, in the sidewall, or from a large object is not safe to repair, because that part of the tyre flexes most and a patch is likely to fail. Worn tyres with low tread, cracking or a squared profile should also be replaced, even if the puncture itself looks small.
For tubed tyres, the tyre itself must still be sound after a tube change. Run your fingers carefully inside the tyre, with gloves on, to check for a thorn or wire still embedded. A new tube fitted over a sharp object will puncture again on the first ride. For tubeless tyres, a temporary plug can get you home in some cases, but a proper internal patch, fitted by a repairer, is the safer long-term repair.

Step 3: Remove the wheel safely
Follow your scooter manual for wheel removal, because axle, brake and motor wiring layouts vary widely. On an electric scooter, switch it off and disconnect the battery if the manual tells you to, and never pull on motor cables. Support the scooter so it cannot fall while the wheel is off, and keep small parts in a tray in removal order.
Note the position of spacers, washers and brake parts before you remove them. A photo on your phone is a useful record. Deflate the tyre fully before levering it off the rim, and release the valve core carefully if air is still trapped. A tyre under pressure can jump off a lever and cause injury.
| Removal check | Why it matters |
|---|---|
| Scooter switched off | Prevents motor spin while working |
| Tyre fully deflated | Safe bead removal |
| Spacers photographed | Correct refit, no brake rub |
Step 4: Break the bead and remove the old tyre
Push the tyre bead into the centre of the rim all the way round. Scooter tyres can be stiff, so work slowly and keep the bead in the rim well as you lever. Use tyre levers a short distance apart, and do not use screwdrivers, because they can damage the rim and the bead.
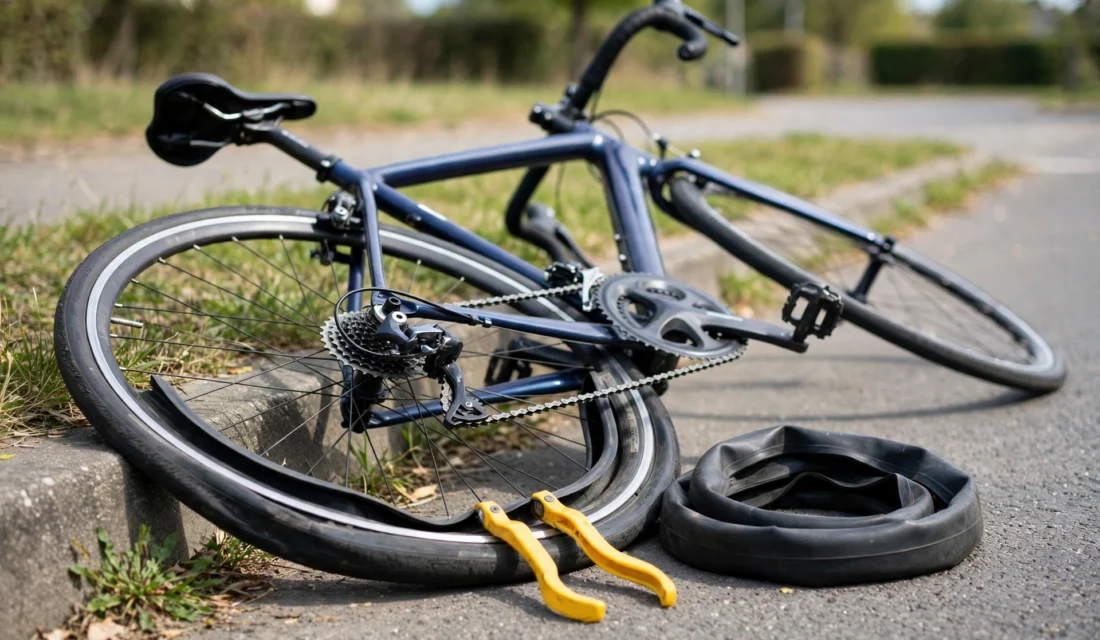
Onc e one side is off, remove the tube if fitted, then the other side. Inspect the rim for dents, cracks, rust or sharp edges, and clean the bead seat. A damaged rim will not seal a tubeless tyre, and a sharp edge will cut a new tube. If the rim is bent or cracked, replace it or have it inspected before fitting a new tyre.
- Work the bead into the rim well to gain slack.
- Lever in small steps, not one large jump.
- Protect the rim with a cloth if levers slip.
- Stop if the tyre will not move: re-check bead seating, do not force it.
Step 5: Fit the new tyre or tube
Check the new tyre size against the old tyre and the manual, and note the rotation arrow. Fit one side of the tyre, then a lightly inflated tube if fitted, with the valve straight and not twisted. Push the second side on by hand where possible, using levers only for the last section and taking care not to pinch the tube.
For tubeless tyres, check the valve is tight and the bead area is clean. Inflate slowly, in stages, and watch the bead seat evenly on both sides. A bead line moulded into the tyre should sit at an even distance from the rim all the way round. If one section stays low, deflate, reseat that section, and inflate again. Never exceed the maximum pressure printed on the tyre to force a bead on.

Step 6: Refit, inflate and test
Refit the wheel in the reverse order, with spacers and brake parts exactly as they were. Tighten the axle to the manual guidance, spin the wheel, and check for brake rub, wobble or a tyre that is not seated evenly. Inflate to the pressure in the manual or on the tyre sidewall, not to a guess, and recheck with a gauge after the tyre has settled.
Do a slow test in a safe place. Check braking, steering and stability, then recheck pressure after the first ride. A new tyre can feel different, especially in the wet, so ride gently until the surface has worn in a little and you are used to the grip. Recheck the axle and valve after the first day.
| Final check | Done |
|---|---|
| Pressure correct with gauge | ☐ |
| Bead seated evenly both sides | ☐ |
| Wheel spins free, no brake rub | ☐ |
| Axle tight, valve cap fitted | ☐ |
Common mistakes to avoid
- Riding on a flat tyre to reach help, which can ruin the tyre and rim.
- Repairing a sidewall cut, which flexes and is likely to fail.
- Fitting a new tube without removing the object that caused the puncture.
- Overinflating to seat a bead, which is unsafe and can damage the tyre.
- Forgetting spacers or brake parts on refit, causing rub or loose wheels.
Related guides: Scooter Hub, Scooter category, How to Fix a Flat Tyre, How to Choose the Right Tyre.
Frequently asked questions
How do I fix a scooter tyre puncture on the road? Stop safely, find the leak, and use a repair kit only for a small tread puncture if you are confident it is safe. If the damage is in the sidewall, the tyre is bulging, or you are unsure, do not ride on it.
Can I use sealant instead of a repair? Sealant can slow a very small leak in some tubeless tyres, but it is not a substitute for inspecting the damage. A large hole, sidewall damage or a worn tyre still needs replacement.
How do I know my scooter tyre size? Read the size printed on the sidewall and check the manual. Match diameter, width and type, tubeless or tubed, because a close size is not always a safe fit.
Why does my scooter tyre keep going flat? Common causes are a slow valve leak, a bead seal problem, a small embedded object, or a porous tube. Spray soapy water on the valve, bead and tread to find bubbles.
When should a scooter tyre be replaced? Replace it when tread is low, the sidewall is cracked or cut, the tyre bulges, or a puncture is large or near the edge. Age and cracking matter even if tread remains.
Can I replace a scooter tyre myself? Many owners can, with the right levers and patience, especially on smaller wheels. If the tyre is very stiff, the rim is damaged, or the scooter has hub motor wirin