Introduction
Scooter brakes are your main safety system, and small changes in lever feel can mean a large change in stopping distance. A lever that pulls to the handlebar, a brake that drags, or a wheel that locks too easily all need attention before a fast ride.
This guide explains how to adjust scooter brakes safely, what to check on cable, drum and disc systems, and how to test the result. It focuses on adjustment, not on replacing major brake parts, which is a job for a repairer if you are unsure.
Brake types: quick comparison
| Brake type | How it is adjusted | Watch out for |
|---|---|---|
| Cable drum brake | Barrel adjuster and cable anchor | Worn shoes, stretched cable |
| Cable disc brake | Pad position and cable tension | Pad wear, bent disc |
| Hydraulic disc brake | Lever reach, pad alignment only | Fluid leaks, air in system |
| Regenerative braking | Settings in app or display | Not a substitute for friction brakes |
What you will need
- Allen keys and small spanners that fit your brake levers, calipers and cable anchors
- A clean cloth and, for disc brakes, a suitable disc cleaner if the manual allows it
- Gloves, so brake dust and sharp edges do not irritate skin
- A stand or helper to lift the wheel so you can spin it freely
- A pump and tyre tools, because low tyre pressure can change braking feel
Step 1: Check before you adjust anything
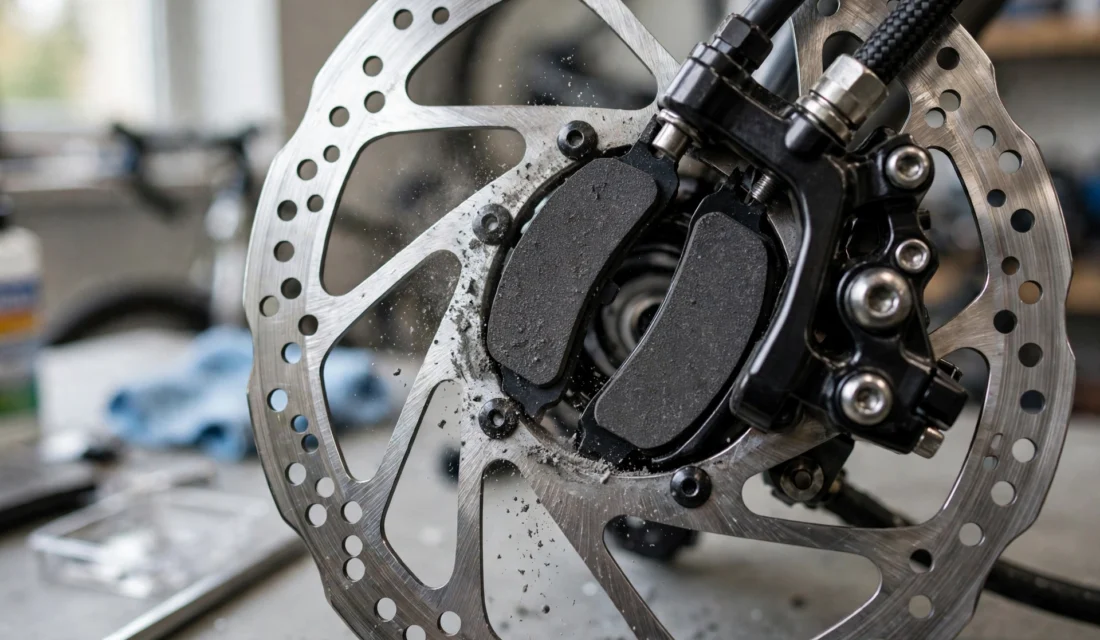
Inspect the whole brake system first. Look for frayed cables, cracked hoses, leaking fluid, bent discs, loose caliper bolts and worn pads. Squeeze each lever slowly and watch the wheel: braking should start smoothly, without a sudden grab, and release fully when you let go. Note how far each lever travels before bite, so you have a baseline to compare after adjustment.
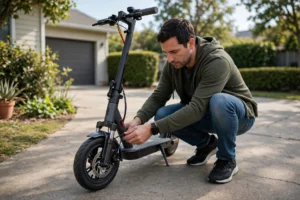
Spin each wheel by hand. It should turn freely, with only light, even contact if any. A wheel that stops quickly, or a disc that rubs in one spot, points to misalignment or a bent disc, not just cable tension. Check tyre pressure too, because a soft tyre lengthens stopping distance and can feel like weak brakes. Also check that the wheel is seated straight in the frame or fork, because a crooked wheel can mimic brake rub.
- Lever to handlebar: cable too slack, pads worn, or air in hydraulics.
- Brake drags: cable too tight, caliper misaligned, or pads swollen.
- One spot rubs: bent disc or wheel not seated straight.
- Fluid leak or frayed cable: stop, do not adjust around it, seek repair.
Step 2: Set lever reach and travel
Set lever reach so you can squeeze with two or three fingers comfortably, without stretching. Then set travel: the brake should begin to bite after a short, consistent pull, not at the very end of lever travel. Too much travel feels unsafe; too little can cause drag and overheating.
On cable brakes, turn the barrel adjuster at the lever in small steps. Turning it out usually tightens the cable, turning it in slackens it. After each step, spin the wheel and squeeze the lever again. Keep a record of how many turns you made, so you can return to the original setting if the change makes things worse.

Step 3: Adjust cable brakes at the caliper or drum
If the barrel adjuster runs out of range, adjust at the other end. Loosen the cable anchor bolt, pull the cable through a small amount, and retighten firmly, following the manual. Never leave a cable anchor loose, and never trim a cable so short that it cannot be adjusted again. After retightening, recheck lever travel and wheel spin before moving on.
For drum brakes, check the wear indicator if fitted, and adjust the arm so braking is firm without dragging. For cable disc brakes, set the fixed pad close to the disc first, then the moving pad, so both pads contact evenly. A disc that only touches on one side will squeal and wear unevenly, and it will not stop as well as a balanced pair.
| Check after adjustment | Pass |
|---|---|
| Wheel spins freely | No drag, no one-spot rub |
| Lever travel consistent | Bite early, not at handlebar |
| Brake releases fully | Wheel free after release |
Step 4: Align disc calipers and check pads
Loosen the caliper mounting bolts slightly, squeeze the lever to centre the caliper on the disc, then tighten the bolts while holding the lever. Spin the wheel and listen: a light, even hiss may settle, but a rhythmic rub means the caliper or disc is still off-centre. Repeat the centring step rather than forcing the caliper to one side.
Check pad thickness against the manual wear limit. Pads worn to metal will damage the disc and stop poorly. Do not touch disc surfaces with oily hands, and do not use household oil or spray lubricant on brakes. If pads are contaminated with oil, replacement is usually safer than cleaning, because oil can soak into the pad material.
- Centre caliper, then tighten in small steps.
- Recheck spin after each tightening step.
- Replace pads in pairs, not one side only.
- Bed new pads gently, with repeated slow stops.
Step 5: Check hydraulic and regenerative brakes carefully
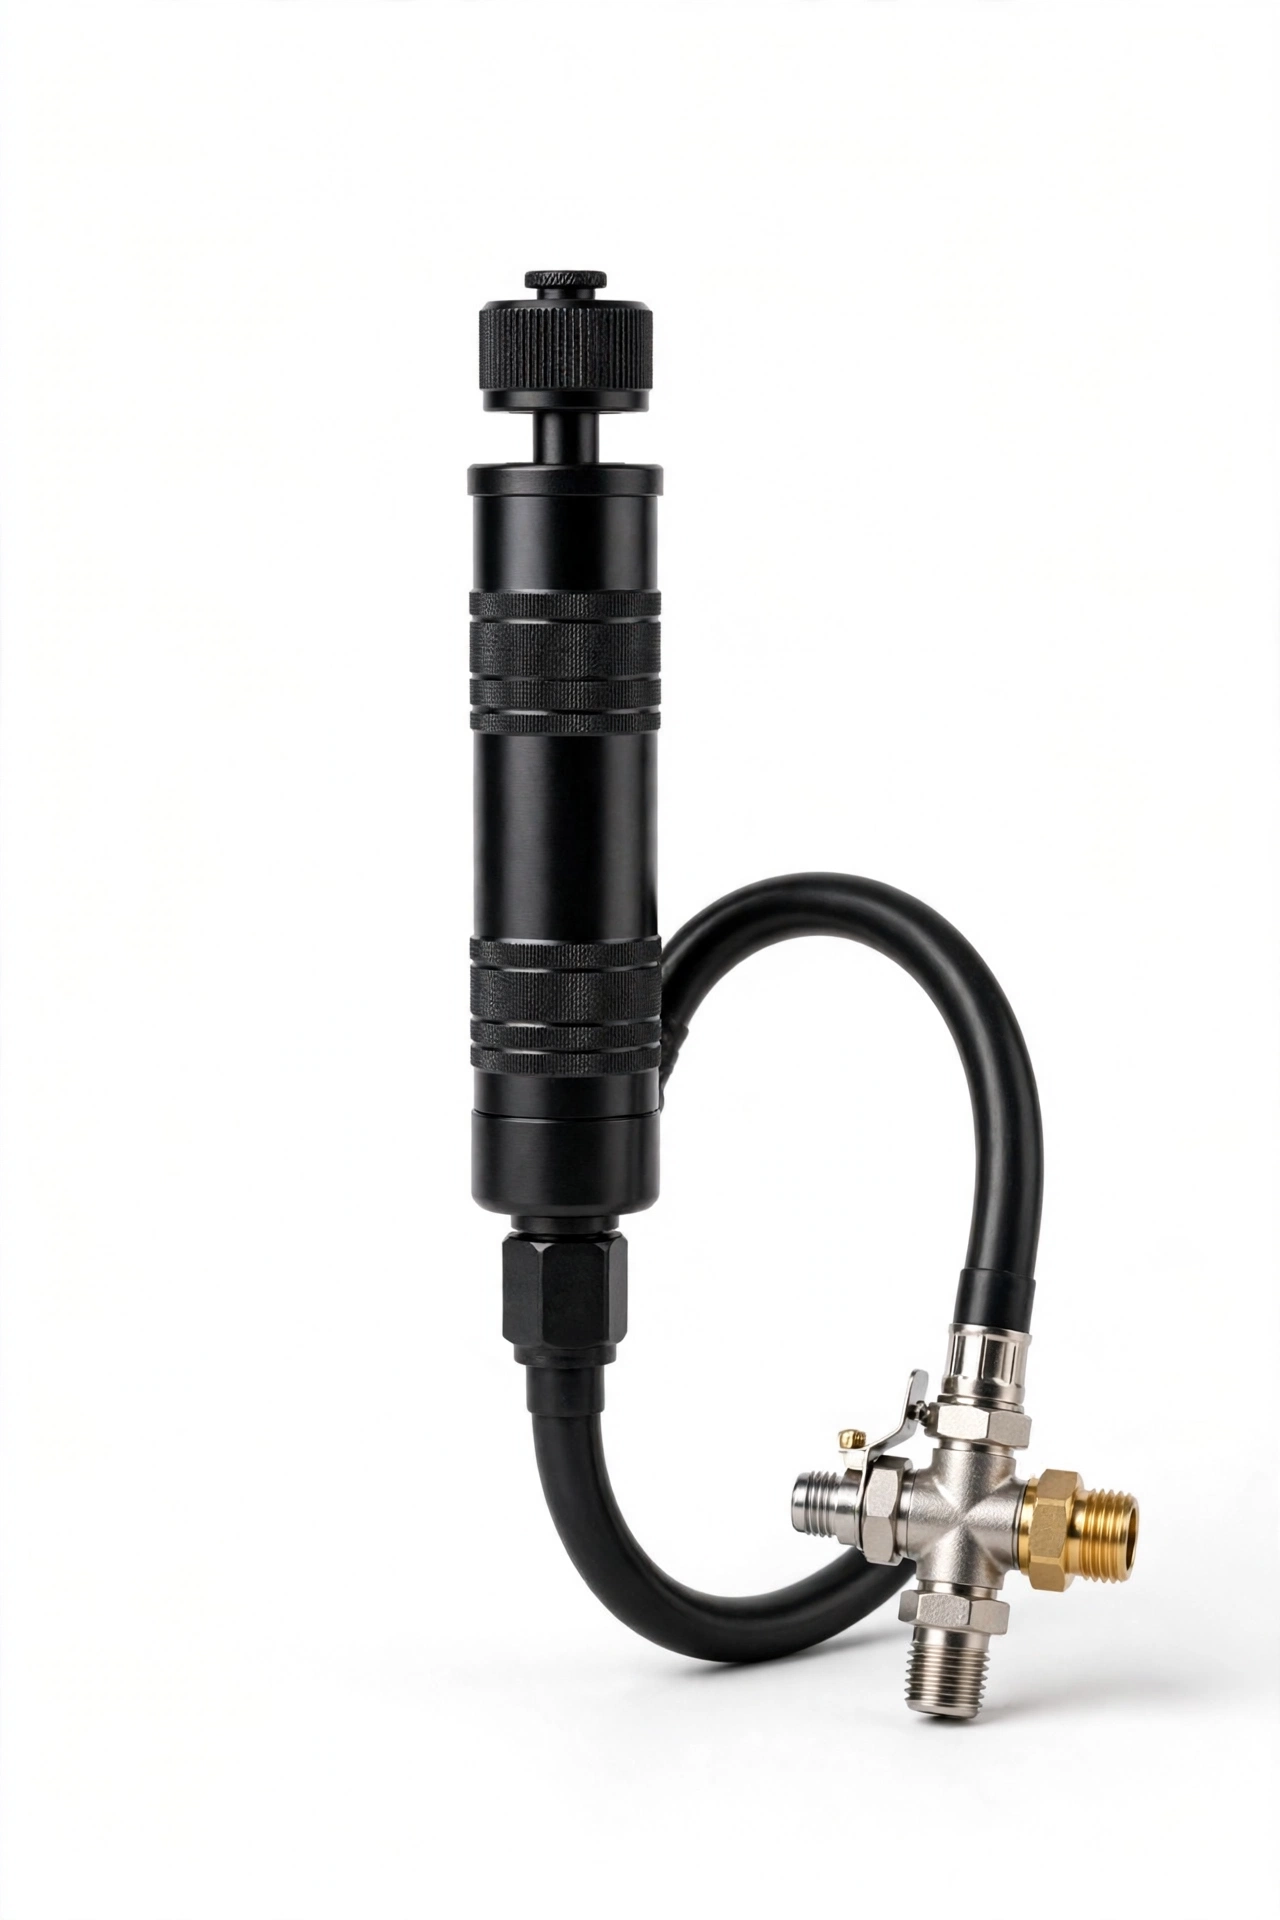
Hydraulic brakes do not have a cable to tighten. If the lever feels spongy, pulls too far, or fluid is leaking, do not open the system unless you are trained and have the correct fluid and tools. Air, wrong fluid or a loose fitting can cause sudden brake failure, and a small leak can become a complete loss of braking.
Regenerative braking on electric scooters helps slow the scooter, but it does not replace friction brakes, especially at low speed or when the battery is full. Set regenerative strength to a level that feels smooth, not jerky, and always test the friction brakes separately. If the display shows a brake error, stop and follow the manual, and do not rely on regenerative braking alone.
Step 6: Test in a safe place
Test at walking speed first, then at a slightly higher speed in a quiet, dry place. Brake with each brake separately, then together. The scooter should stop straight, without pulling to one side, locking suddenly, or making a grinding noise. Stop at once if any of those happen, and recheck the adjustment before trying again.
Recheck lever travel and wheel spin after the test, because cables can settle. Repeat the test after any pad change or cable adjustment, and recheck after the first longer ride. Keep braking distances in mind in the wet: smooth, early braking is safer than a late, hard squeeze, and wet discs need a few gentle stops to clear water.
| Final check | Done |
|---|---|
| Both brakes stop firmly, separately | ☐ |
| Wheels spin free after release | ☐ |
| No leak, fray, or grinding | ☐ |
| Stops straight at low speed | ☐ |

Common mistakes to avoid
- Tightening a cable so much that the brake drags and overheats.
- Adjusting around a worn pad, frayed cable or bent disc instead of fixing it.
- Using oil on discs or pads to stop a squeal, which ruins braking.
- Testing new adjustments at full speed or in traffic.
- Forgetting to test each brake separately after adjustment.
Related guides: Scooter Hub, Scooter category, How to Fix a Flat Tyre, How to Choose the Right Tyre.
Frequently asked questions
How do I adjust scooter brakes that pull to the handlebar? First check pad wear and cable condition. If they are sound, tighten the cable in small steps with the barrel adjuster, then at the anchor if needed, until bite starts early and the wheel still spins free.
Why do my scooter brakes squeal? Squeal can come from glazed pads, a misaligned caliper, a bent disc, or contamination. Clean the disc if the manual allows it, realign the caliper, and replace worn or contaminated pads.
Can I adjust hydraulic scooter brakes myself? You can usually adjust lever reach and check pad alignment, but bleeding or opening the system needs training, correct fluid and tools. A spongy lever or leak is a repairer job.
How often should scooter brakes be checked? Check lever feel and wheel spin before every ride, and inspect pads, cables and discs monthly or after wet, dusty riding. Replace pads before they reach the wear limit.
Should I use front or rear brake first? Use both together for most stops, with smooth, progressive pressure. Relying on only one brake lengthens stopping distance and can cause a skid.
What if one brake stops and the other does not? Do not ride on one brake alone. Inspect that brake for slack cable, worn pads, misalignment or a fault, and fix it before riding again.
Why does a brake drag after adjustment? Drag usually means the cable is too tight, the caliper is off-centre, or a pad is swollen. Slacken the cable slightly, recentre the caliper, and recheck wheel spin.