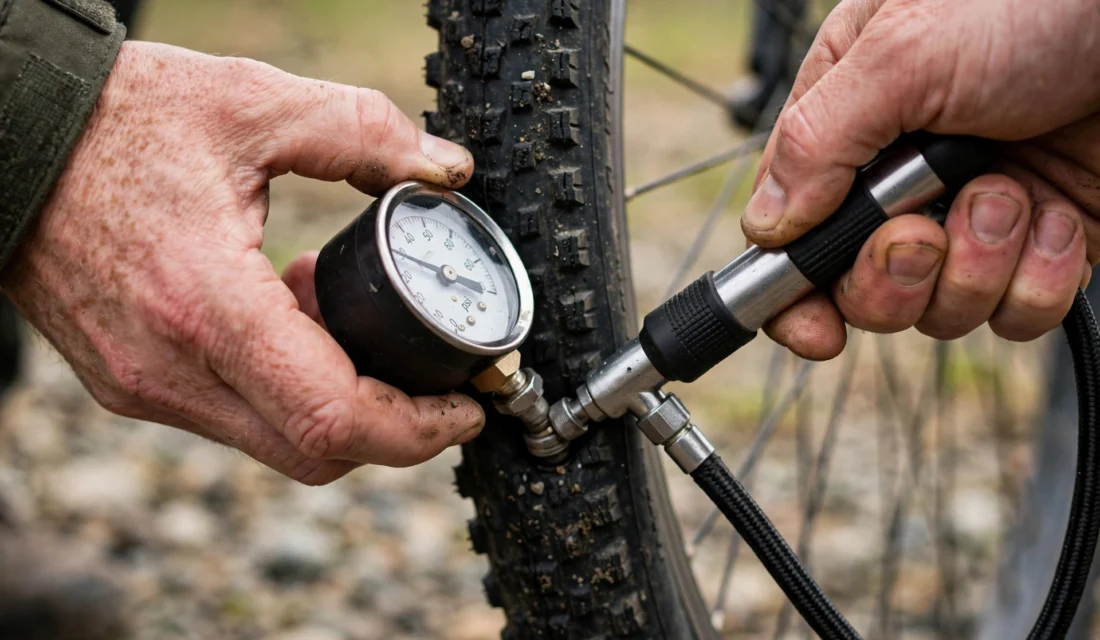
Short answer: Check bike tyre pressure when the tyres are cold, with a pressure gauge, and set each tyre to the range printed on its sidewall. Unscrew the valve cap, press the gauge straight on, read the pressure, then add air in short bursts or release a little air, and re-check until both tyres match your target.
Introduction
Tyre pressure is the fastest check on any bike, and it changes how the bike feels more than almost any other adjustment. Too soft, and the bike feels slow and vague, and the tube can pinch on bumps.
Too hard, and the ride turns harsh, grip falls on rough roads, and the tyre wears unevenly. The right pressure is a balance between rolling speed, comfort, and grip.
This guide shows you how to find your target, check it accurately, and set it in minutes, with no guesswork from squeezing the tyre by hand.
Typical starting pressures
Always use the range printed on your tyre sidewall first. The table below is a starting guide only, and your tyre, weight, and load will shift the best value within that range.
| Bike and tyre type | Typical starting range | Notes |
|---|---|---|
| Road bike, narrow tyres | 80 to 130 PSI | Heavier riders and rough roads sit lower in the range |
| Hybrid and commuter tyres | 40 to 70 PSI | Balance comfort and speed for city riding |
| Mountain bike, wide tyres | 25 to 35 PSI | Lower pressure gives grip on trails |
| Gravel tyres | 35 to 55 PSI | Lower for loose gravel, higher for smooth hardpack |
| E-bikes | Follow the tyre and bike maker | Extra weight often needs the higher end of the range |
What you will need
| Item | Use |
|---|---|
| Pressure gauge, floor pump gauge, or separate gauge | Reads pressure accurately, unlike squeezing by hand |
| Floor pump or mini pump | Adds air in controlled amounts |
| Valve adaptor, if needed | Connects Presta valves to a Schrader pump, or the reverse |
| Valve cap and a clean rag | Keeps dirt out of the valve after checking |
Safety first: Never exceed the maximum pressure printed on the tyre sidewall, and never check pressure on a hot tyre straight after a long, fast descent, because heat raises the reading.
Step 1: Find your target pressure
Look at the sidewall of each tyre. You will see a range, for example a minimum and a maximum in PSI and often in BAR as well. Write down the range for the front and rear tyres, because they can differ.
- Choose a starting value inside the range, not the maximum, unless you carry a heavy load.
- If you ride rough roads, wet roads, or trails, start lower in the range for more grip and comfort.
- If you ride smooth roads and want lower rolling resistance, start higher in the range.
- Record your chosen pressure in a note on your phone, so the next check takes seconds.
Step 2: Check the current pressure
Check when the tyres are cold, ideally before riding or at least 30 minutes after a ride. Remove the valve cap and keep it safe. For a Presta valve, unscrew the small tip at the top first.
- Press the gauge straight onto the valve, with no angle, so no air hisses out around the sides.
- Read the gauge at eye level and note the number for that tyre.
- Repeat for the second tyre, and write both numbers down before you change anything.
- Replace the valve caps at once, so dirt cannot enter the valve.
A pump gauge is fine for a quick check, but a separate gauge is usually more accurate, especially at low mountain bike pressures. For help choosing a gauge pump, see Bike Tire Pump with Pressure Gauge: What You Did Not Know About the Top Picks.
BV Steel Bike Pump 160 PSI

Bike pump with a built-in pressure gauge and adjustable valves, rated to 160 PSI.
Step 3: Add or release air in small steps
Connect the pump head firmly to the valve. For a Presta valve, make sure the pump head is set to Presta, or fit the adaptor, before you start pumping.
- Pump in short bursts, then disconnect and re-check with the gauge. Do not guess from the feel of the tyre.
- If the pressure is too high, press the small valve tip briefly, or use the release button on the pump, then re-check.
- Aim to land within 1 to 2 PSI of your target. Small differences matter less than a large under- or over-inflation.
- Check both tyres again after 5 minutes, in case a valve was not fully closed.
Step 4: Inspect the tyre while you are there
Pressure checks are the ideal moment for a 60-second tyre inspection. Spin each wheel slowly and look at the tread and sidewalls.
- Look for cuts, bulges, cracks, or embedded glass and stones. A bulge means the tyre casing is damaged and the tyre should be replaced before riding.
- Check that the tread is not worn flat in the centre, and that the tyre seats evenly around the rim.
- Check that the valve is straight and not bent at an angle, which can cause a slow leak.
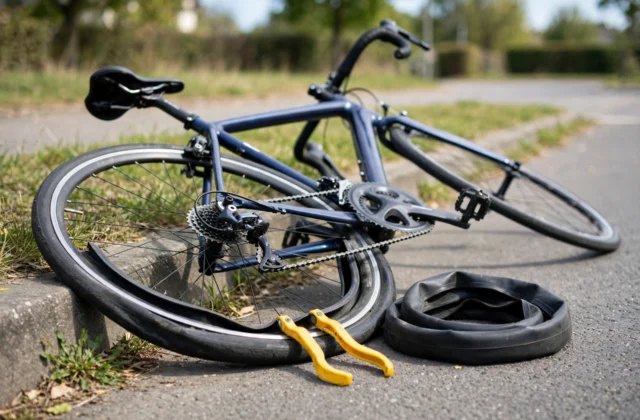
If you find a flat or damage, follow How to Fix a Flat Tyre on the Road: A Safe Step-by-Step Guide before you ride, rather than just topping up the air.
Step 5: Set a checking routine
Tyres lose air slowly even with no puncture. A tube can lose a few PSI each week, and tubeless tyres can lose air faster if the sealant is old.
| Use | Check |
|---|---|
| Daily commuter | Every 3 to 4 days, or before every ride if the bike sat for a week |
| Weekend rider | Before every ride |
| Road bike, high pressure | Before every ride, because high pressure drops faster |
| Mountain bike, low pressure | Before every ride, and re-check at the trailhead |
Keep a small gauge and a mini pump with the bike if you commute, so a soft tyre never forces a slow, risky ride home.
Schwinn Air Center Plus Floor Pump

Floor pump with an easy-to-read gauge, for mountain, cruiser and electric bikes, rated to 120 PSI.
Step 6: Test ride and fine-tune
Take a short ride on a quiet road or trail. Notice steering feel, grip in corners, and comfort over bumps. If the bike feels harsh and skittish, drop 2 to 3 PSI at a time and re-test. If it feels slow and wallowy, add 2 to 3 PSI at a time.
Change only one tyre at a time when testing, and keep a note of what you changed. Small, recorded changes will find your best pressure faster than large guesses.
Pressure mistakes to avoid
- Judging pressure by squeezing the tyre. Even experienced riders cannot tell 5 PSI by hand.
- Inflating to the maximum on the sidewall by default. The maximum is a limit, not a target.
- Checking only the front tyre. The rear usually carries more weight and needs its own check.
- Forgetting temperature. A tyre checked in a warm garage will read lower on a cold morning ride.
Frequently asked questions
How often should I check bike tyre pressure?
Before every ride for high-pressure road tyres, and at least every few days for commuters. Tyres lose air slowly even without a puncture, so a weekly check is the minimum for any bike in regular use.
Can I check tyre pressure by squeezing the tyre?
No, not reliably. Squeezing cannot tell the difference between 30 and 40 PSI, or between 80 and 100 PSI. Always use a gauge, and re-check after adding or releasing air.
What is the difference between PSI and BAR?
Both measure pressure. PSI is common in the United States and the United Kingdom, while BAR is common in Europe. One BAR is about 14.5 PSI, and many gauges show both scales. Use the scale printed on your tyre sidewall.
Should front and rear tyres have the same pressure?
Not always. The rear tyre usually carries more weight, so it often runs a few PSI higher than the front. Check each tyre against its own sidewall range, and follow your bike maker if it gives separate front and rear values.
Why does my tyre lose pressure overnight?
A slow loss can come from a valve that is not fully closed, a tiny puncture, a damaged valve core, or an old tube. If a tyre drops more than 5 PSI overnight, inspect the valve and tyre, and check for a slow leak before riding.
Is higher pressure always faster?
No. Above a point, higher pressure bounces over bumps instead of rolling over them, which wastes energy and reduces grip. The fastest pressure is usually inside the sidewall range, tuned to your weight, tyre width, and road surface.
For more hands-on maintenance, visit the Parts, Maintenance and Fixing Hub and browse the Wheels category. If you find a flat during your check, see How to Fix a Flat Tyre on the Road: A Safe Step-by-Step Guide and Bike Tire Pump with Pressure Gauge: What You Did Not Know About the Top Picks.