Short answer: Fix a squeaky bike chain by cleaning it first, drying it fully, then applying bike chain lubricant drop by drop to the inside of the chain and wiping off the excess. Never spray lube over a dirty chain, and never leave a thick, dripping coat on the outside, because that only attracts grit and makes the squeak return faster.
Introduction
A squeaky chain is usually a dry chain, a dirty chain, or both. The sound is metal rubbing where lubricant should be, and it often appears after rain, a dusty ride, or a long gap since the last clean.
The good news is that most squeaks need no new parts. A careful clean, a full dry, and a measured lube job will quiet most chains in under an hour, and the test ride at the end tells you at once whether it worked.
If the squeak stays after a proper clean and lube, do not keep adding oil. That usually means a stiff link, a worn chain, or a problem with a pulley or chainring, and this guide shows you how to spot each one.
What the squeak usually means
| Squeak pattern | Likely cause | First fix |
|---|---|---|
| Constant, dry chirp on every pedal stroke | Dry chain, low lubricant | Clean, dry, lube drop by drop, wipe excess |
| Squeak after rain or mud | Water washed lube out, grit in links | Full clean and dry, then fresh lube |
| Click or squeak once per chain revolution | One stiff or damaged link | Work the link by hand, inspect, replace if bent |
| Squeak only in one gear | Worn cassette tooth or derailleur issue | Check wear and alignment, get a repair check |
| Squeak that stops when you stop pedalling | Chain or drivetrain, not brakes or wheels | Follow the chain steps below |
What you will need
| Item | Use |
|---|---|
| Bike-specific degreaser or chain cleaner | Loosens old oil and grit |
| Chain brush and stiff brush | Clean between links, chainrings and cassette teeth |
| Clean rags | Dry the chain and wipe off excess lube |
| Bike chain lubricant for your conditions | Dry lube for dry dust, wet lube for rain and mud |
| Gloves and a bike stand, if you have one | Keep hands clean and let pedals turn freely |
| Chain wear checker, if you have one | Shows whether the chain is worn past its limit |
Safety first: Work in a well-ventilated area, keep cleaners and oils away from disc brake rotors and pads, and switch an e-bike off before you turn the pedals by hand.
Step 1: Find where the squeak comes from
Put the bike in a stand, or turn it upside down only if your bike allows it, so the pedals turn freely. Back-pedal slowly and listen. Mark the spot, by eye, where the sound repeats.
- Pedal by hand through all gears, slowly, and note whether the squeak follows the chain, a pulley, or one chainring.
- Check that the chain is not twisted, jammed, or rubbing the front derailleur cage.
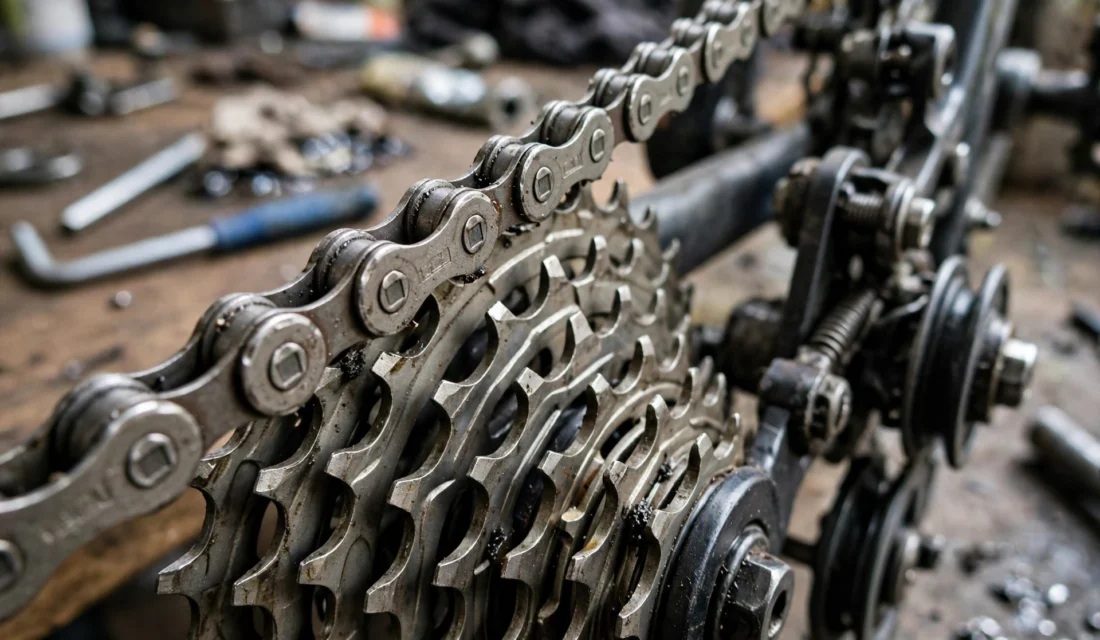
- Look for a link that stays bent as it passes the chainring. That is a stiff link, and it needs attention in Step 4.
- Keep oil and cleaner away from disc rotors and rim braking surfaces throughout.
Step 2: Clean the chain properly
A dirty chain will keep squeaking even with fresh lube, because grit grinds inside the rollers. Work in short sections, back-pedalling slowly as you brush the top, bottom, and sides of the chain, plus the chainring teeth and cassette teeth.
- Apply degreaser as its instructions direct, and brush one short section at a time.
- For a very dirty chain, repeat with a fresh brush pass rather than flooding the chain with more cleaner.
- Rinse with clean water using a gentle flow until the water runs clear.
- Do not use a high-pressure washer. It can force water and grit into bearings, hubs, and the bottom bracket.
For a full clean-and-lube routine, follow the detailed guide How to Clean and Lubricate a Bike Chain, Step by Step, which covers the same method in more depth.
YIMAX Bike Chain Cleaner Set

Cleaning kit with chain lube and cleaning spray, for the full clean-and-lube routine.
Step 3: Dry the chain fully
This step is the one most riders skip, and it is why many squeaks return the next day. A chain that looks clean but is still wet inside will rust faster and will not hold lubricant properly.
- Wipe the chain with a clean rag while back-pedalling, until it feels dry to the touch.
- Let it air-dry fully before lubricating. Give it at least 10 to 15 minutes in a dry place, longer after a wet wash.
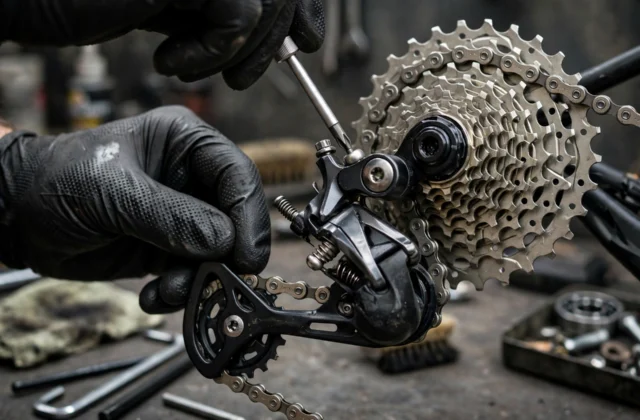
- While it dries, wipe the chainrings, cassette, and derailleur pulleys, and check for bent teeth or a loose pulley bolt.
Do not lube a wet chain. Lubricant on top of water traps moisture inside the rollers, and the squeak will be back within a few rides.
Step 4: Free a stiff link and check for wear
Back-pedal slowly and watch each link bend around the chainring and pulleys. A stiff link stays kinked instead of bending smoothly, and it often clicks once per revolution.
- Flex the stiff link gently side to side by hand, and work it back and forth until it bends like its neighbours.
- Re-clean that link, dry it, and add one drop of lube to each roller of that link only.
- If the link is bent, cracked, or still stiff after flexing, stop. Replace the chain or get a shop to fit a new link before riding.
Now check wear. A chain that measures over 0.5 percent stretched on a chain wear checker for most 10-speed and higher chains, or over 0.75 percent on many older chains, is worn out. A worn chain squeaks, skips, and wears the cassette faster, so replacing it is cheaper than replacing the whole drivetrain later. For e-bike riders, see E-Bike Chain Keeps Slipping: Causes and Fixes for slipping signs that often appear with chain wear.
Step 5: Lubricate drop by drop
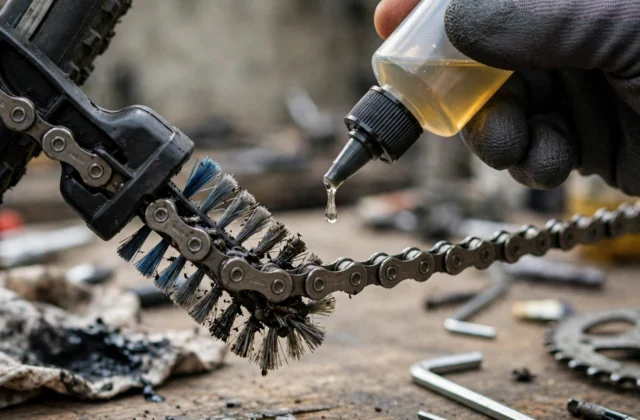
Choose dry lube for dry, dusty riding and wet lube for rain, mud, and winter roads. Apply to the inside of the lower run of the chain, one drop per roller, while back-pedalling slowly. That is the side that contacts the chainring, so the lube gets carried into the rollers.
- Use one drop per roller, not a continuous stream.
- After applying, back-pedal 20 to 30 times to work the lube in.
- Wait at least 5 minutes, then wipe the outside of the chain with a clean rag until it looks almost dry.
- Never spray aerosol lube all over the chain, tyres, or brakes. Overspray on a disc rotor can ruin braking.
If you are in a hurry, a combined cleaner and lubricant saves a step, but it is not a substitute for a proper clean on a very dirty chain.
Finish Line 1-Step Bicycle Chain Cleaner and Lubricant

Chain cleaner and lubricant in one squeeze bottle, for a quick clean-and-lube step.
Step 6: Test ride and re-check
Take a short, quiet test ride with no traffic pressure. Pedal gently, shift through several gears, and listen. A chain that is properly cleaned and lubed should be almost silent.
- If the squeak is gone, re-check after 10 to 15 minutes of riding. A squeak that returns quickly usually means the chain was still dirty inside.
- If the squeak is only in one gear, check that gear for a bent tooth or a derailleur alignment problem.
- If the chain skips, check wear again. A worn chain on a worn cassette will not be fixed by lube.
How often to clean and lube
| Riding | Clean and lube |
|---|---|
| Dry road, short commutes | Every 150 to 200 miles, or every 2 weeks |
| Wet or muddy riding | After every wet ride, once the chain is dry |
| Dusty trails | Every 100 miles, with dry lube |
| E-bike, high torque | Every 100 to 150 miles, and check wear more often |
These are starting points, not fixed rules. Listen to the chain: a quiet, smooth chain is the best sign that your interval is right.
Frequently asked questions
Why does my chain squeak after I just oiled it?
Usually the chain was still dirty or wet when you oiled it, or you used too much oil and left it on the outside. The excess collects grit and grinds inside the rollers. Clean it again, dry it fully, and apply one drop per roller, then wipe the outside clean.
Can I use WD-40 or household oil on a bike chain?
No, not as a chain lubricant. Household sprays are solvents and thin oils that wash out quickly and do not protect the rollers. Use a bike-specific chain lubricant matched to dry or wet conditions, and keep sprays away from brakes.
How do I know if my chain needs replacing instead of lubing?
Check it with a chain wear checker. If it measures over its wear limit, if it skips under load, or if a link is bent or cracked, replace the chain. Lube cannot restore a stretched or damaged chain.
Does a squeaky chain mean my bike is unsafe to ride?
Not always, but do not ignore it. A squeak alone is often just a dry chain. A squeak plus skipping, a stiff link, or a visibly damaged link means you should fix it before a long or fast ride.
Should I lube a chain before every ride?
No. Over-lubing attracts dirt and can make the squeak worse. Lube on a schedule based on miles and conditions, as in the table above, and wipe off the excess every time.
Why does my e-bike chain squeak more than a regular bike chain?
E-bikes put more torque through the chain, so wear and dryness show up sooner. Check e-bike chains more often, clean them after wet rides, and replace a worn chain early to protect the cassette and chainring.
For more hands-on maintenance, visit the Parts, Maintenance and Fixing Hub and browse the Frame category for related guides. If the squeak is joined by slipping, read E-Bike Chain Keeps Slipping: Causes and Fixes as well.