Part of our guide on E-Bikes.
A step-through e-bike charger problem usually shows up quietly: the light never turns green, the battery stops short of full, or a ride ends sooner than the display promised. Most of these faults are not a dead battery — usually a charger that does not match, a plug that never seated, or a charge level set for the wrong kind of day.
This guide shows how to adjust a step-through e-bike charger safely, from reading the label to the point where a replacement is the right answer. For battery faults, read How to Fix Step-Through E-Bike Battery Problems.
Quick facts
| Fact | What it means for your ride |
|---|---|
| What this guide adjusts | Voltage, connector, charge level, timing, place |
| Check first | Charger and battery labels, connector, cable, light |
| Most common causes | A mismatched charger, a loose plug, the wrong charge level |
| Tools you need | Your manual, the charger, a phone to photograph the label |
| Stop and get help | A hot, swollen or damaged charger or battery |
| Related guides | Step-Through E-Bike Battery Problems, Commuter E-Bike Charger |
Quick recap
- Match the charger from the label — voltage, connector, maker approval.
- Plug the charger into the battery first, then into the wall.
- Charge to about 80% daily, 100% only before a long ride.
- Charge indoors and dry; unplug when the light says full.
- A light that never comes on, a cut cable, or a loose plug — stop and check first.
- On a step-through, the charge port sits low — keep it clean and dry.
The short answer: match the charger, then set the charge level
Most step-through e-bike charging problems are not a failed charger. The straight answer is that a charger that stops finishing the charge, or a battery that never reaches full, is far more likely to be the wrong charger, a plug that is not seated, or a charge level set too low than to be a charger that failed without warning. Work through the simple checks in order, and only think about a replacement when they point that way.
The step-through frame changes one thing: the charge port often sits low on the frame, close to road spray and dirt, and the battery is often lifted out and charged indoors. Both make the label and the plug the first checks.
The diagnosis section finds the fault, the reference section matches each symptom to its cause, and the later sections cover the frame, the settings and the fix.
How to adjust a step-through e-bike charger safely, step by step
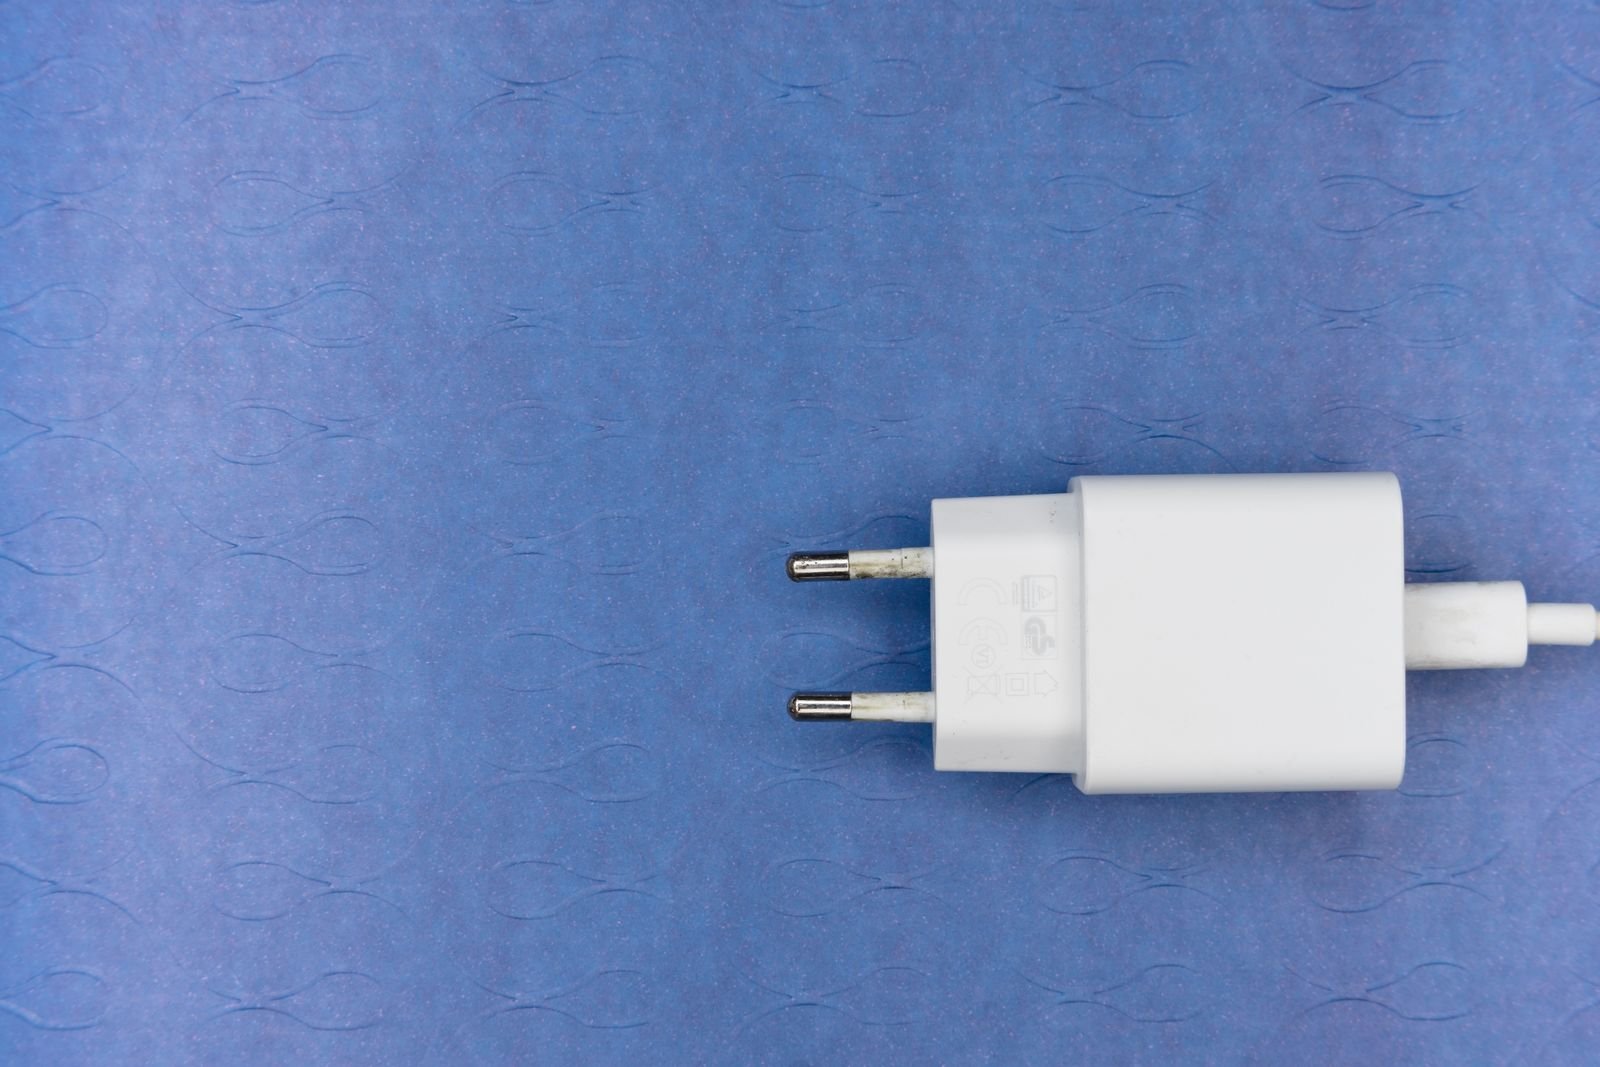
- Read the charger label. Find the output line on the brick — for example 54.6V 2A for a 48V battery. Photograph it.
- Read the battery label. It gives the voltage and the port type. The two labels must agree; if not, check the manual.
- Check the connector and cable. The plug must seat fully and straight, with no force. If the cable or brick is damaged, stop using it.
- Plug in, in order, and watch the light. Plug the charger into the battery first, then the wall socket. The light should change as it charges.
- Set the charge level. Charge to about 80% daily, 100% only before a long ride. A full charge every night wears the battery down sooner.
- Charge in the right place. Charge indoors, dry, away from flammable materials and exits. Never charge a swollen, hot or damp battery.
- Unplug when full and check the range. Unplug when the light says full, then ride a short familiar route and check the range.
What you’ll need
- Your manual — voltage, connector, port type
- The charger that came with the bike, or a maker-approved one
- A phone, to photograph the label
- A dry cloth for the port and the plug
- A notebook for the charge level and the fault
One Amazon product in this section only: the universal charger below works with Rad Power batteries and bikes. Only use it if it matches your battery’s voltage, connector and maker approval.

What the symptom usually means
Use this table to match what you notice with what to try first. If the charger or battery shows any sign of damage, skip the table and get qualified help.
| Situation | What you’ll notice | What to try |
|---|---|---|
| Charger light never comes on | No light at all when plugged in | Check the socket, cable and plug |
| Battery never reaches full | Stops short of full | Check the charge level, connector and charger match |
| Charge finishes too fast | Full in minutes, then short range | Check battery age and charger match |
| Charger or battery gets hot | Too hot to touch while charging | Stop charging at once and get it checked |
| Plug will not seat | The plug wobbles or falls out | Clean the port, check the plug shape; never force it |
| Range falls after a full charge | Full bars, short ride | Check tyres, assist and load; compare a warm-day ride |
How the step-through frame and the battery position change the answer
The same charger behaves differently on a step-through. The low frame puts the charge port close to the ground, where road spray, mud and dust reach it first. Many step-through batteries are lifted out and charged indoors — good for the battery, but every lift can knock the plug or the port. A fault that appears after a wet ride, or after the battery has been lifted out and put back, points to the port and the plug first.
What works
- Keep the port clean and dry
- Lift the battery out with two hands
- Match a replacement from a photo of the old label
- Charge indoors whenever the battery comes out
What to watch
- A port full of grit after wet rides
- A plug forced into a dirty port
- A battery dropped on its end during a lift
- A charger left outside in the rain
The 54.6V fast charger below matches a 48V battery and charges it in about five hours.

Settings and controls that affect charging
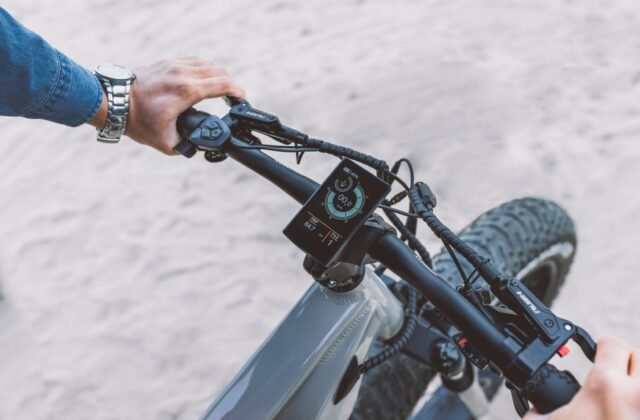
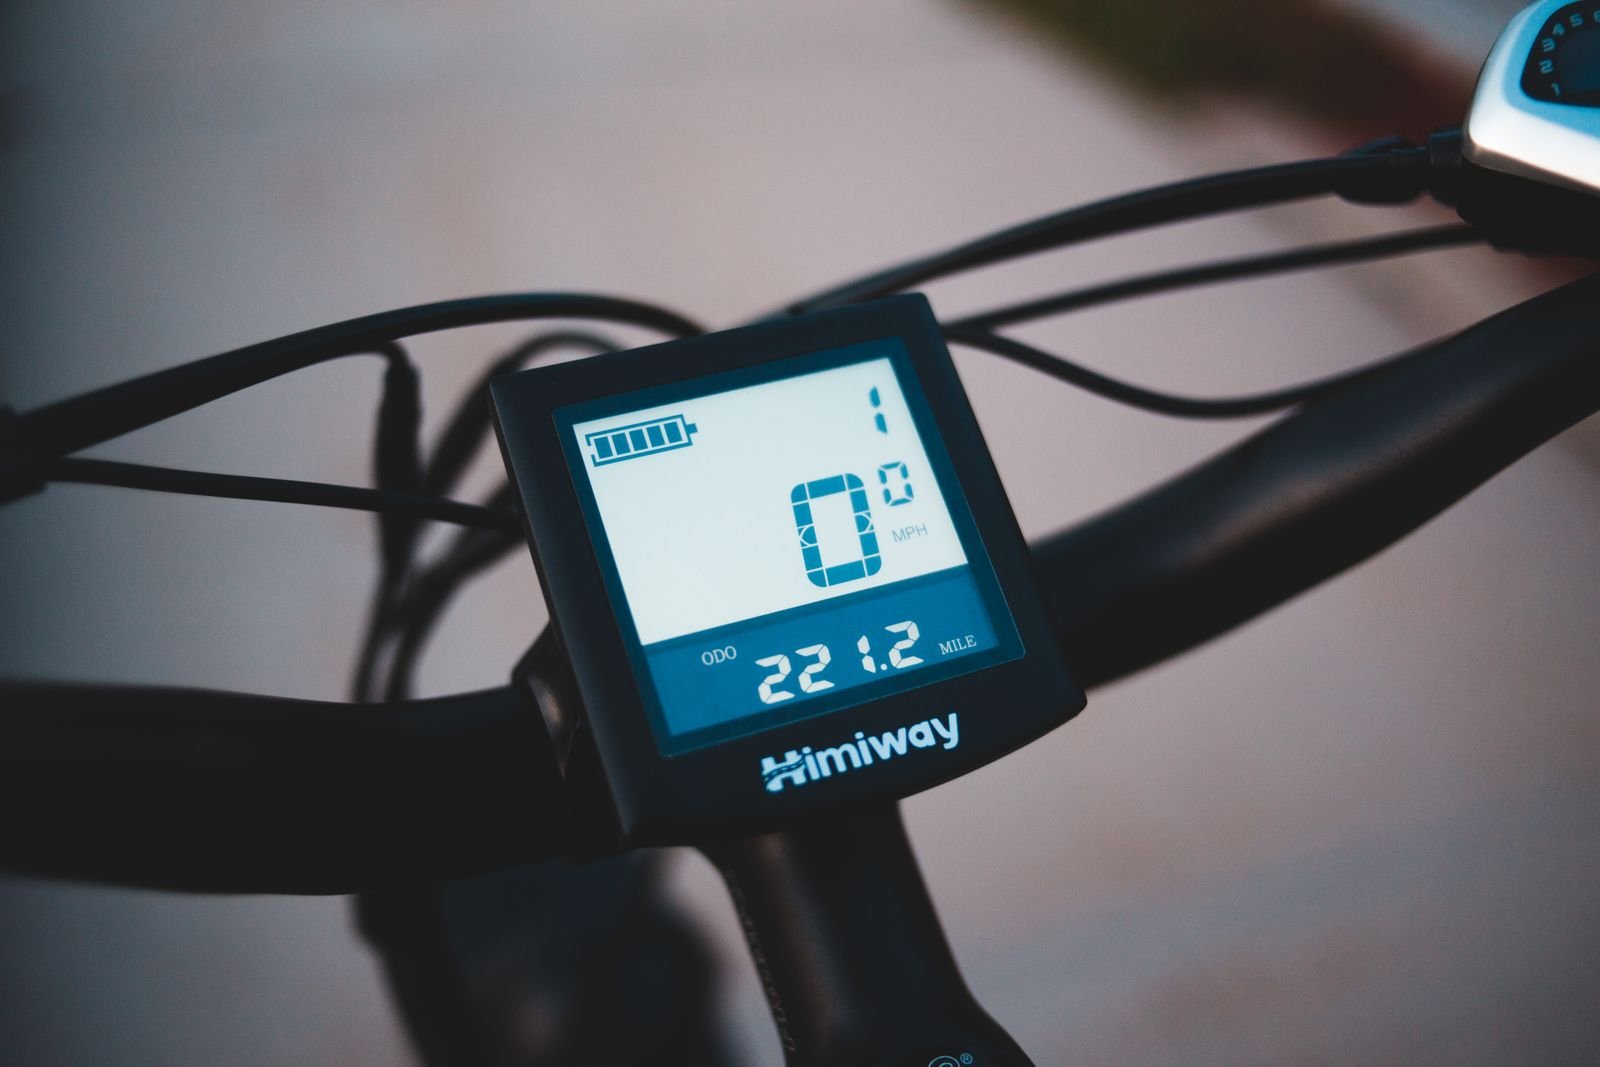
Before deciding a charger is weak, check the settings. The charge-level setting is the biggest one: a battery set to stop at 80% will never show full, and a rider who changed it by accident can mistake that for a charger fault. On many bikes the display shows the charge level and an error code when the charger fails.

What works
- Check the charge-level setting before touching the charger
- Use the lowest assist that keeps the ride comfortable
- Compare the range on the same route, on similar days
- Start a ride at a known charge level
What to watch
- A display that drops from full to empty in minutes
- A charge level that resets itself after every ride
- A charger light that never changes
- Do not ride with a battery that a shop has told you to stop using
When a fix needs a part or a replacement
Some charging problems have a simple fix, and some need a part. A dirty port can be cleaned, a loose plug reseated, and a wrong charge level reset in a minute. A charger with a cracked brick or a cut cable cannot be fixed at home. When a part is needed, match it exactly: voltage, connector and maker approval.
| Fix | Best use | Limit |
|---|---|---|
| Clean the charge port | Dirt stopping the plug from seating | Do not use water on a damaged battery |
| Reseat the plug and cable | Intermittent charging after wet rides | Do not force a plug that will not seat |
| Reset the charge level | Battery never shows full | No help if the charger does not match |
| Replacement charger | Charger light never comes on | Must match voltage, connector and maker approval |
| Professional diagnosis | Swelling, heat, smell, or a fault no check explains | Do not open or repair a damaged battery |
What works
- Keep a photo of the charger label with the bike
- Ask a shop to test a charger before buying one
- After any fix, start with a short, low-assist ride
- Charge indoors, in a dry place
What to watch
- A cheap charger that only fits the plug can damage the battery
- A second-hand charger can carry the same fault
- Do not keep charging a battery a shop told you to stop using
- Do not leave a charger in a closed car or in direct sun
If the charger itself has failed, a universal charger with several plugs is one option.

The verdict
Most step-through charging problems are fixed by matching the charger, seating the plug and setting the charge level, not by buying a new charger. When those checks fail, or the charger or battery is hot, swollen or damaged, a qualified shop test is the right next step.
Readers also ask
Why does my step-through e-bike charger light never come on?
Check the wall socket, the cable and the plug. A dead socket, a cut cable or a loose plug will all stop the light.
Can I use any charger that fits my e-bike battery?
No. A plug that fits is not proof that a charger matches. Use only the maker charger or an exact maker-approved replacement.
Should I charge my step-through e-bike battery to 100% every time?
Not for an ordinary day. Charge to about 80% for daily rides, 100% only before a long ride. A full charge every night wears the battery down sooner.
Can I charge the battery off the bike?
Yes, if your manual allows it. Lift the battery out with two hands, charge it indoors in a dry place, and keep the port clean.
Why does my battery never reach full?
Check the charge-level setting first, then the connector and the charger match. A battery set to stop at 80% will never show full.
Is it safe to keep charging a battery that gets hot?
No. Stop charging at once, do not open or puncture the battery, and move it away from flammable materials only if safe. Do not charge it again.
Affiliate Disclosure: We may earn a commission when you buy through links on this site, at no extra cost to you.
Additional Details
Name: How to Adjust Step-Through E-Bike Charger Safely
Description: Learn how to adjust a step-through e-bike charger safely — match the voltage, set the charge level, and know exactly when a replacement is the right call.
Published: November 17, 2026