Short answer: Adjust a rear derailleur in this order: check the hanger, chain, and wheel first, then set the high and low limit screws, then set cable tension with the barrel adjuster in small quarter-turn steps until each shift lands cleanly. Test every gear by hand, then at slow speed in a safe area. If the derailleur or hanger is bent, the chain is worn out, or a limit screw will not stop the chain going past the cassette, stop and get a qualified repairer’s check.
Introduction
gears that skip, hesitate, or rattle make every ride harder than it needs to be, and they often need only a careful adjustment, not new parts. A derailleur moves the chain sideways across the cassette or chainrings, and small changes in cable tension, limit screws, or alignment change how cleanly that happens. This guide covers rear derailleur adjustment in detail, with front derailleur basics at the end, so you can fix slow shifts, skipping, and chain rub without guessing. Work in small steps, test after each change, and keep your fingers clear of the chain and spokes while the wheel turns. Follow your bike and derailleur instructions first, and switch an e-bike off before working near the wheel, chain, or motor cables.
What the symptom usually means
| Symptom | Check first | Often fixed by |
|---|---|---|
| Slow shift to an easier gear | Cable tension, cable condition, chain cleanliness | Slightly more cable tension, in quarter-turn steps |
| Slow shift to a harder gear | Cable tension, sticky cable or housing | Slightly less cable tension, or cable service |
| Skipping under load | Chain wear, cassette wear, bent hanger | Wear check or repairer’s check, not just tension |
| Chain goes past the largest or smallest cog | Limit screws | Resetting the high and low limits carefully |
| Constant rattle in one gear | Indexing, bent hanger, worn jockey wheels | Indexing check, then a repairer’s check if it persists |
What you will need
| Item | Use |
|---|---|
| Screwdriver or hex key for your derailleur | Turn limit screws and cable clamp, as your model requires. |
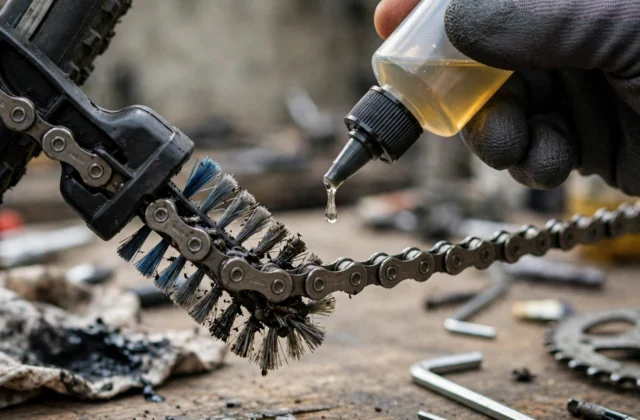
| Clean rag and chain lube | Clean and lube the chain before judging shifts. |
| Bike stand, if you have one | Lets you pedal and shift by hand safely. |
| Your bike manual | Confirms which screw is high and low on your derailleur. |


Step 1: Check the bike before you adjust anything
- Check that the rear wheel is seated fully and tight in the frame, because a wheel that sits crooked changes derailleur alignment.
- Look at the derailleur hanger from behind. It should be straight, not bent inward or twisted. A bent hanger makes clean indexing impossible, and straightening it needs the correct tool or a repairer.
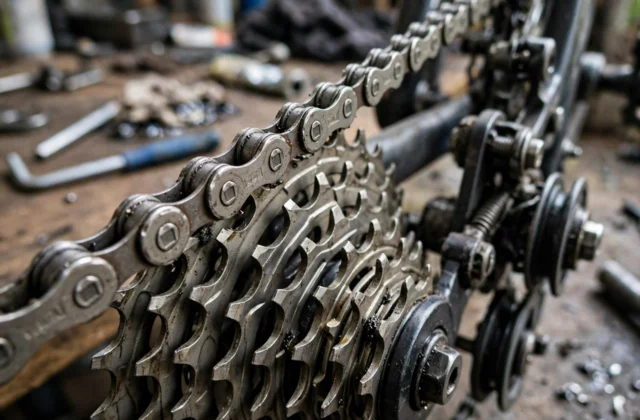
- Check the chain for wear, stiff links, and cleanliness, and check the cassette for hooked, bent, or missing teeth.
- Check cable and housing for fraying, kinks, rust, or sticky movement. A damaged cable should be replaced, not adjusted around.
- Shift through the gears by hand, slowly, and note exactly where shifts fail, hesitate, or skip. That note guides the whole adjustment.
If you find a bent hanger, a cracked derailleur, a badly worn chain, or a frayed cable, fix or replace that part first. Adjusting around a damaged part only hides the problem.
Step 2: Set the high limit screw
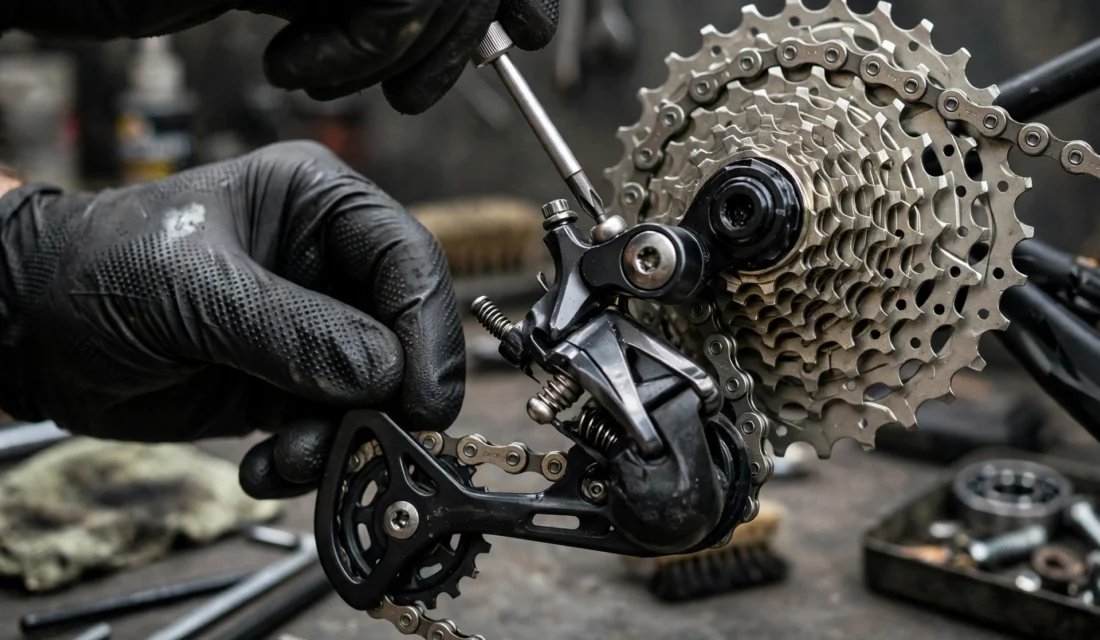
The high limit screw stops the derailleur moving too far outward, past the smallest cog, toward the frame. On most rear derailleurs it is marked H, but always confirm with your manual.
- Shift to the smallest rear cog, the hardest gear, and stop pedalling.
- Look from behind: the upper jockey wheel should sit in line with the smallest cog.
- If the chain can move past the cog toward the frame, turn the high limit screw in small steps until it cannot, without pushing the chain inward onto the next cog.
- If the chain will not reach the smallest cog, turn the screw the other way in small steps until it does, then check that it cannot go past it.
- Pedal by hand and shift to the smallest cog and back, checking that the chain lands cleanly and does not drop outward.
Step 3: Set the low limit screw
The low limit screw stops the derailleur moving too far inward, past the largest cog, into the spokes. This is the safety-critical limit, so take extra care here.
- Shift to the largest rear cog, the easiest gear, by pedalling slowly by hand.
- Look from behind: the upper jockey wheel should sit in line with the largest cog.
- If the chain can move past the cog toward the spokes, turn the low limit screw, usually marked L, in small steps until it cannot.
- If the chain will not reach the largest cog, turn the screw the other way in small steps until it does, then confirm it cannot go past it.
- Never ride with a low limit that lets the chain reach the spokes. That can lock the wheel, damage the wheel, and cause a fall.
Step 4: Set cable tension and indexing
Indexing means each click of the shifter moves the chain exactly one cog. Cable tension controls that, and the barrel adjuster lets you change it in fine steps.
- Shift to the smallest cog, then shift up one gear at a time, pedalling slowly by hand.
- If a shift to an easier gear is slow or hesitant, add a quarter-turn of cable tension with the barrel adjuster, then test again.
- If a shift to a harder gear is slow, or the chain rattles and tries to climb to the next cog, remove a quarter-turn of tension, then test again.
- Work through all gears in both directions, making only quarter-turn changes, and stop when every shift lands cleanly without hesitation or rattle.
- Do not keep adding tension to fix a bent hanger, worn chain, or damaged cable. If quarter-turn steps do not fix it, the cause is elsewhere.
| Barrel adjuster move | Effect | Use when |
|---|---|---|
| Turn out, more tension | Derailleur moves inward more easily | Shifts to easier gears are slow |
| Turn in, less tension | Derailleur moves outward more easily | Shifts to harder gears are slow, or chain rattles upward |
Step 5: Check the front derailleur basics
- Check that the front derailleur sits at the correct height and angle for your chainrings, following your manual. A cage that is too high, too low, or twisted will rub and shift poorly.
- Check front limit screws in the same way: the inner limit should stop the chain dropping off the smallest ring, and the outer limit should stop it going past the largest ring.
- Adjust front cable tension only after the rear is shifting cleanly, and test front shifts under light pedalling first, not under full power.
- Some chain rub in extreme gear combinations, such as smallest ring with smallest cog, is normal on some bikes. Avoid those combinations on the road, and do not try to adjust it away if the manual says it is expected.
Step 6: Test ride safely
- Pedal by hand through every gear, in both directions, and confirm clean shifts, no chain drop, and no spoke contact.
- Take a short, slow test ride in a safe area, shifting through the gears under light load first.
- Then test under normal pedalling, listening for skipping, rattling, or hesitation in each gear.
- If a gear still skips under load after clean indexing, check chain and cassette wear, or get a repairer’s check. Do not keep riding a skipping gear hard, because it wears parts faster and can jump unexpectedly.
Troubleshooting checklist
| Still happening | Next check |
|---|---|
| One gear always rattles | Hanger alignment, jockey wheel wear, cable condition |
| Skips only under load | Chain and cassette wear, stiff links |
| Chain drops off the cassette | Limit screws, hanger, chain length and wear |
| Shifter feels stuck or loose | Cable, housing, and shifter service by a repairer |
For more repair help, see the Parts, Maintenance and Fixing Hub, browse the Frame category, and read the live guides E-Bike Chain Keeps Slipping and How to Fix a Flat Tyre on the Road.
Frequently asked questions
Which screw is the high limit and which is the low limit?
On most rear derailleurs, H is the high limit for the smallest cog, and L is the low limit for the largest cog, but layouts vary. Always confirm with your derailleur manual before turning a screw, because turning the wrong one can let the chain go past the cassette.
How much should I turn the barrel adjuster?
Turn it a quarter-turn at a time, then test the shift. Small changes make a real difference, and large turns can overshoot clean indexing and hide the real problem.
Why do my gears work on the stand but skip on the road?
Load changes everything. A worn chain or cassette, a bent hanger, or a stiff link may only show under pedalling force. Check wear and hanger alignment if stand shifts look fine but road shifts skip.
Can I adjust gears with a bent derailleur hanger?
No, not reliably. A bent hanger changes the derailleur angle across the whole cassette, so indexing will stay uneven. Get the hanger checked and straightened with the correct tool, or replaced.
Should I adjust the front or rear derailleur first?
Start with the rear, because most shifting problems and most riding happen there. Once the rear shifts cleanly, check the front limits and tension, and test both together.
When should I take the bike to a shop?
Take it in if the hanger is bent, the derailleur is cracked, the chain or cassette is worn out, a cable is frayed, or clean limits and indexing do not fix the problem. Those need parts or tools that home adjustment cannot replace.