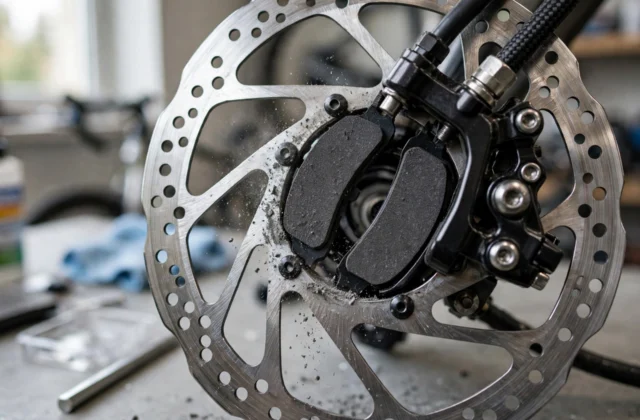
Short answer: Replace disc brake pads safely by removing the wheel, taking out the old pads without touching the rotor or pad surface with bare, oily hands, pushing the pistons back gently, fitting the new pads exactly as the old ones sat, and testing the brakes at low speed before any fast ride.
Introduction
Worn disc brake pads are one of the most common reasons brakes feel weak, noisy, or spongy. Pads wear down with every stop, and once the friction material is thin, braking power falls fast.
Replacing pads is a straightforward job on most bikes, but brakes are safety parts. Take your time, keep oil away from pads and rotors, and test carefully before you ride in traffic.
This guide covers the checks, the swap, and the bedding-in step that new pads need, so they stop well from the first proper ride.
When pads need replacing
| Sign | What it means | Action |
|---|---|---|
| Pad material thinner than about 1 mm | Pad is worn out | Replace both pads on that brake |
| Metal scraping or grinding sound | Pad backing is touching the rotor | Stop riding, replace pads, check rotor |
| Brake lever pulls close to the bar | Worn pads, or air in a hydraulic brake | Replace pads, then check lever feel |
| Weak braking after cleaning | Glazed or contaminated pads | Replace if cleaning does not restore power |
| Uneven wear, one pad much thinner | Stuck piston or misaligned caliper | Replace pads, check pistons and alignment |
What you will need
| Item | Use |
|---|---|
| Correct replacement pads for your caliper model | Pad shape, size, and compound must match |
| Allen keys for your caliper and wheel | Remove wheel, caliper, and pad pin or clip |
| Clean rags and isopropyl alcohol | Clean the rotor and caliper, without oil |
| Tyre lever or piston press tool, plastic only | Push pistons back gently and evenly |
| Gloves | Keep oil from your hands off pads and rotors |
Safety first: Never ride with brakes that feel weak, spongy, or inconsistent after a pad change. If the lever does not firm up, or a piston leaks fluid, stop and get a professional repair. For hydraulic brakes, never squeeze the lever while the wheel and pads are out, or the pistons can pop out.
Step 1: Confirm the exact pad model
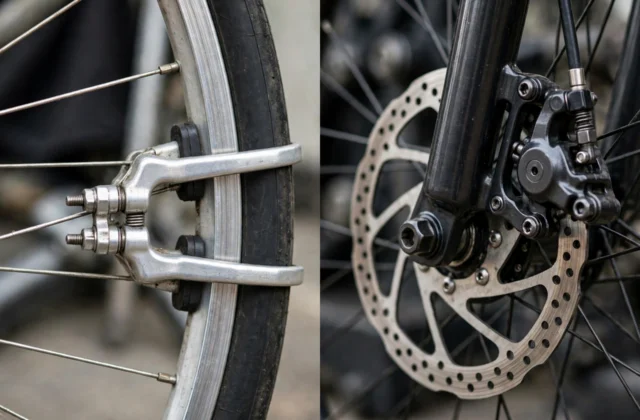
Do not buy pads by bike brand alone. Remove one old pad first, or check the caliper model printed on the caliper body, and match the pad shape, backing plate, and spring or pin type exactly.
- Compare the new pad shape to the old pad, side by side, before you fit anything.
- Check whether your brake uses organic, semi-metallic, or sintered pads, and match the compound type unless your brake maker says otherwise.
- Buy pads for both wheels if both are worn, but work on one brake at a time, so you always have a reference.
Step 2: Remove the wheel and the old pads
Put the bike in a stand, or turn it upside down only if your brake maker allows it. For hydraulic brakes, keep the bike upright if possible, so air does not move into the caliper.
- Remove the wheel, and keep the rotor clean and untouched by oily hands.
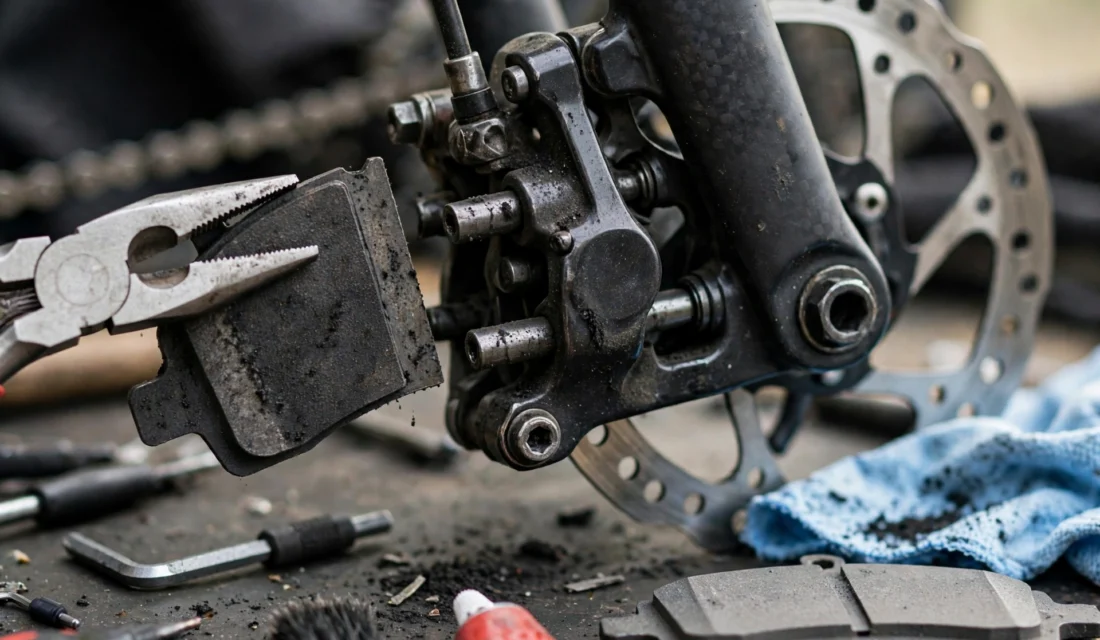
- Remove the pad retaining pin, bolt, or clip, as your caliper uses it, and keep the small parts in a tray.
- Slide the old pads out, noting which pad faced which side, and how the spring sat between them.
- Inspect the rotor for deep grooves, warping, or a bent edge. A damaged rotor must be replaced or trued before new pads go in.
If the pads are oily or soaked, rather than just worn, see Contaminated Brake Pads: Clean or Replace? to decide whether cleaning is safe at all.
AGPTEK High-Performance Bike Brake Pads
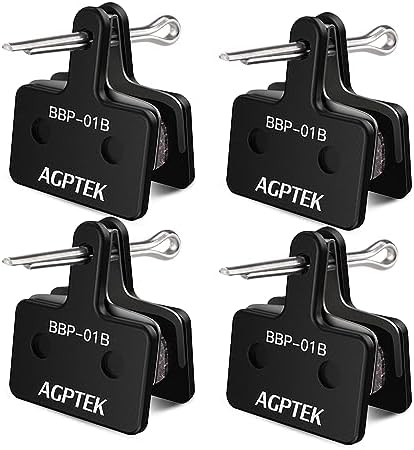
Replacement disc brake pads to consider only if your old pads are worn, glazed, or contaminated.
Step 3: Push the pistons back and clean the caliper
New pads are thicker than worn pads, so the pistons must be pushed back to make room. Use a plastic tyre lever or piston press tool, never a metal screwdriver, which can damage pistons.
- Push both pistons back slowly and evenly, until they sit flush with the caliper body.
- If a piston sticks or moves unevenly, stop. A stuck piston needs a professional service, not force.
- Clean the caliper body with isopropyl alcohol and a clean rag, keeping cleaner away from the pad friction surface.
- Do not squeeze the brake lever while the pads are out.
Step 4: Fit the new pads and the retaining pin
Fit the spring, if your pads use one, exactly as the old spring sat. Then slide the new pads into the caliper, one on each side of the rotor slot.
- Seat both pads fully, so they sit flat and square.
- Refit the retaining pin, bolt, or clip, and tighten it to your brake maker’s torque if one is given.
- Check that the pads move freely and do not drag hard on one side.
- Refit the wheel, and check that the rotor sits centred between the pads.
Step 5: Set the caliper and pump the lever gently
With the wheel in place, squeeze the lever slowly a few times, until the pads contact the rotor and the lever firms up. This takes up the gap created when the pistons were pushed back.
- If the rotor rubs constantly on one side, loosen the caliper bolts slightly, squeeze the lever to centre the caliper, then retighten the bolts evenly.
- Spin the wheel. A light, occasional tick is common at first; constant heavy rubbing is not.
- Check the lever feel. It should be firm, with a clear bite point, not soft or sinking.
If you ride an e-bike, keep the power off during this check, so a sudden brake grab does not surprise you.
Tektro Bike Brake Pads with Tools
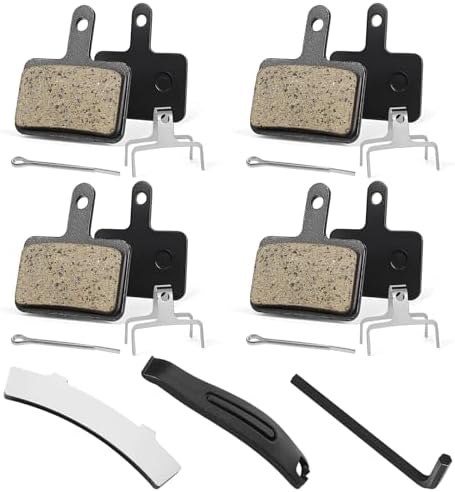
Disc brake pads with installation tools, suitable for e-bikes. Check your original pad specification.
Step 6: Bed in the new pads and test at low speed
New pads do not stop at full power straight away. They need a bedding-in routine, which transfers an even layer of pad material to the rotor.
- Ride in a quiet, flat area, away from traffic, and build speed to a gentle rolling pace.
- Brake firmly, but not to a full stop, about ten times, letting the brake cool briefly between each stop.
- Then do about ten slightly harder stops from a higher speed, again without locking the wheel.
- Let the brakes cool fully, then test a controlled stop from a moderate speed.
For the full routine, see How to Bed In New Disc Brake Pads, Step by Step. During bedding-in, avoid dragging the brakes downhill for a long time, which can glaze new pads.
| After the job | Check |
|---|---|
| Lever feel | Firm, consistent bite point, no sinking to the bar |
| Wheel spin | Spins freely, no constant heavy rubbing |
| Rotor | Clean, dry, and centred between the pads |
| Small parts | Pin, bolt, or clip fitted and secure |
Mistakes that ruin new pads
Most new-pad problems come from contamination or rushing the bedding-in step, not from the pads themselves. Keep these errors in mind before your first ride.
| Mistake | Why it hurts |
|---|---|
| Touching the pad friction surface | Skin oil contaminates the pad and causes squealing and weak braking |
| Spraying lube near the caliper | Overspray reaches the rotor and pads, even from a short distance |
| Skipping bedding-in | Pads stop unevenly and wear faster, with less bite |
| Forcing a stuck piston | A damaged piston seal can leak brake fluid and ruin the brake |
If pads squeal or feel weak after bedding-in, clean the rotor with isopropyl alcohol, check the caliper alignment again, and repeat a short bedding-in run. If the problem stays, replace the pads rather than riding on unsafe brakes.
Frequently asked questions
How do I know my pad model?
Read the caliper model on the caliper body, and compare the old pad shape, backing plate, and spring with the new pads before fitting. Pad shape matters more than bike brand.
Should I replace both pads at once?
Yes. Always replace both pads on the same brake together, so braking is even. Worn and new pads together give uneven power and uneven wear.
Can I touch the rotor or pad surface?
Avoid it. Skin oil, chain lube, and spray cleaners contaminate pads and rotors. Wear gloves, and handle pads by their backing plates.
Why does the lever feel soft after new pads?
Pump the lever gently a few times to take up the piston gap. If it stays soft or sinks, the brake may need bleeding, which is a professional job on hydraulic brakes.
How long do new pads take to bed in?
Most pads bed in over 20 to 30 controlled stops, followed by a cool-down. Full power usually arrives after the first few rides, not the first stop.
When should I not do this job myself?
Stop and seek professional help if a piston sticks or leaks, the rotor is bent or deeply grooved, the lever will not firm up, or you are unsure about the pad model. Brakes are not a job to guess at.
For more repair guides, visit the Parts, Maintenance and Fixing Hub, browse the Brake category, and read How to Bed In New Disc Brake Pads, Step by Step and Contaminated Brake Pads: Clean or Replace? next.