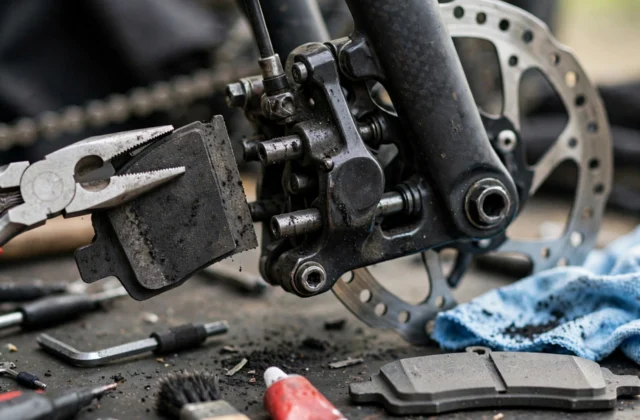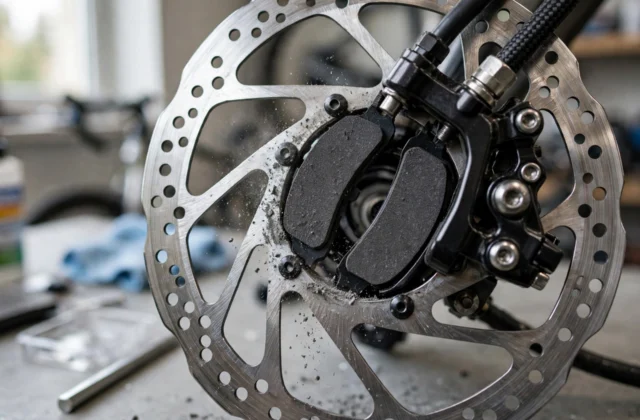
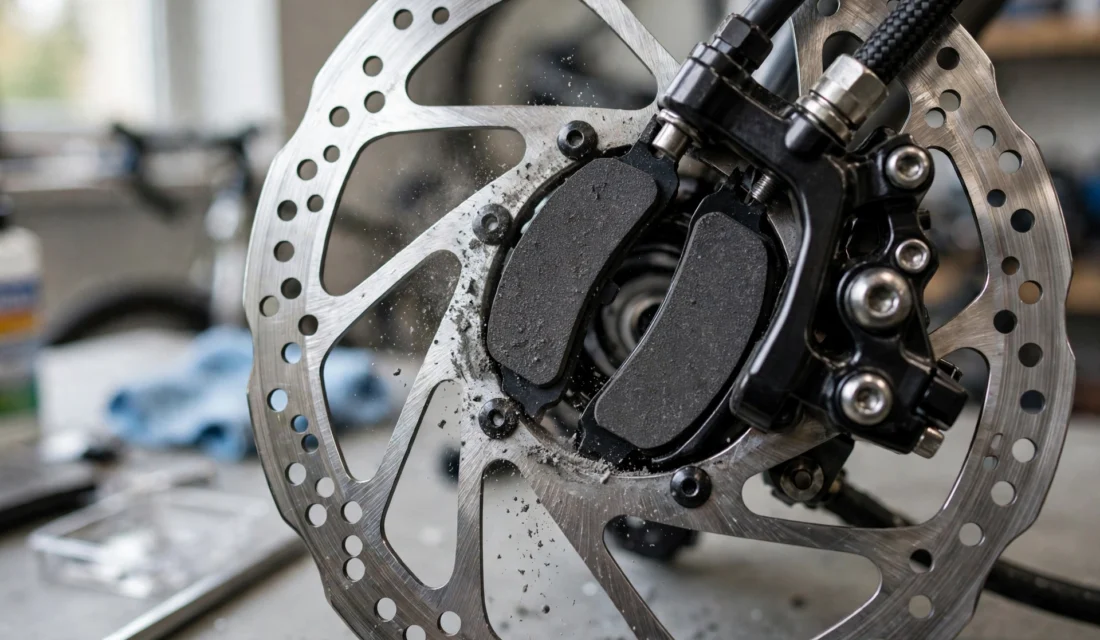
Short answer: Bed in new disc brake pads on a safe, traffic-free stretch by making a series of controlled, progressive stops, then letting the brakes cool fully. Start gently, build to firmer stops, and never drag the brakes until they overheat. If power stays weak, the lever feels spongy, or a rotor is bent or cracked, stop and get the brake checked by a qualified repairer before riding in traffic.
Introduction
New disc brake pads rarely give their best stopping power on the first ride. The pad surface and the rotor need time to meet evenly, so the friction layer can form across the whole contact area. That process is called bedding in, and it is different from simply riding around and hoping the brakes improve. Done carefully, bedding in can reduce squeal, improve feel at the lever, and help the pads wear evenly. Done badly, with one hard stop from high speed or with brakes dragged until they overheat, it can glaze a pad surface or leave braking uneven. This guide keeps the routine simple and safe. It assumes the pads are already fitted correctly for your brake model, following your bike and brake instructions. If you are unsure about fitting, wheel removal, or hydraulic brakes, use the companion replacement guide or a qualified repairer instead. Always follow your own brake maker’s instructions first, because they override any general routine here.
What bedding in does, and what it cannot fix
| Situation | Bedding in may help | Bedding in will not fix it |
|---|---|---|
| New pads on a clean, true rotor | Yes, if the routine is progressive and the brakes cool between efforts. | — |
| Light squeal from new pads | Often, once the surfaces meet evenly. | Squeal caused by contamination, a bent rotor, or loose parts. |
| Weak or uneven braking | Sometimes, if the cause is only an unbedded surface. | Air in a hydraulic line, worn pads, a damaged rotor, or a misaligned caliper. |
| Oil or cleaner on pads or rotor | No. | Contamination usually needs cleaning or replacement; see the contaminated-pads guide. |
Key rule: bedding in is a finishing step for a healthy brake, not a repair for a damaged or contaminated one.
What you will need
| Item | Use |
|---|---|
| Correct pads for your caliper | Fitted before bedding in; pad shape and compound must match your brake model. |
| Clean cloth and brake-safe cleaner, if your maker allows it | Wipe the rotor only as directed; keep sprays and oil away from pad surfaces. |
| Helmet and gloves | Basic protection for every test ride. |
| Safe, flat, traffic-free area | A quiet car park, closed path, or empty stretch where you can stop without traffic behind you. |
| Your bike manual | Confirms torque, pad, rotor, and bedding-in advice for your exact brake. |
Step 1: Check the brake before you ride
Bedding in cannot be rushed, and it should never be used to test a brake you already suspect is faulty. Work through this check first, with the bike on the ground and the wheel still.
- Lever feel: squeeze each lever slowly. It should feel firm and return cleanly. A lever that pulls to the bar, feels spongy, or stays soft needs attention before any bedding-in ride.
- Wheel and rotor: spin the wheel by hand. It should turn freely without a loud, constant rub. A rotor that wobbles visibly, is bent, or has deep scoring needs a repairer’s check.
- Caliper and pads: look for pads seated squarely, retaining pins or clips in place, and no oil, grease, or cleaning spray on the pad or rotor surface.
- Wheel security: confirm the quick-release lever or thru-axle is closed and tight, following your bike instructions.
- E-bikes: switch the power off before touching the wheel or caliper, and do not pull motor cables or wiring.
If anything above fails, stop. Fix the fault, or take the bike to a qualified repairer. A bedding-in routine will not make a loose, bent, or contaminated brake safe.
Step 2: Warm up gently
Start with easy riding, not with hard braking. The aim is to let the pads and rotor meet lightly, check that everything feels normal, and build a little heat gradually.
- Ride slowly in your safe area and apply each brake lightly, one at a time, for a few seconds.
- Release fully between applications. The wheel should spin freely again after each light stop.
- Repeat about 10 light stops, keeping speed low and effort gentle.
- Listen and feel: a light, even drag that clears on release is normal at this stage, but grinding, juddering, or a lever that changes feel is not. Stop and inspect if that happens.
- Coast for a short period so the brakes can cool. Do not hold a brake on while coasting, because dragging builds heat without bedding the surface evenly.
This warm-up also tells you whether the brake is safe to continue with. If the bike pulls to one side, the wheel rubs hard, or the lever feels wrong, end the session.
Step 3: Build up with progressive stops
Now increase effort in stages. The pattern below is a general guide only; your brake maker’s routine takes priority, and you should shorten the session if the brakes smell hot, fade, or feel inconsistent.
| Stage | What to do | Between stops |
|---|---|---|
| A: Gentle | About 10 stops at a slow, comfortable pace, using light to moderate lever pressure. | Roll on and release fully; let the brake cool briefly. |
| B: Moderate | About 10 stops at a moderate pace, using firmer, smooth pressure. Do not lock either wheel. | Coast between stops; do not drag the brake. |
| C: Brisk, controlled | A smaller set of firmer stops at a brisk pace, only if stages A and B felt even and strong. | Allow a longer coast after each stop. |
- Use one brake at a time when you are bedding a single new set, so you can judge its feel.
- Apply pressure smoothly. A sudden grab, a skid, or a locked wheel does not bed a pad better; it can flat-spot a tyre and unsettle the bike.
- Keep your weight balanced and your hands ready to release. If the rear wheel starts to skip, ease off at once.
- Stop the routine if braking fades, the lever travel grows, or you smell overheating. Let everything cool fully before you judge the result.
Step 4: Cool down and test normally
Cooling is part of bedding in, not an optional extra. After the last firmer stop, ride gently without braking hard for several minutes, or walk the bike if you have no safe coasting space. Let the rotor and pads return to normal temperature before you park the bike or hold a brake on for a long stop, because a hot pad held against a hot rotor can leave an uneven deposit.
Then test at normal riding pace in your safe area:
- Both brakes should engage smoothly, with a firm lever and a predictable increase in power as you squeeze harder.
- The wheel should spin freely on release, with no heavy, constant rub.
- Stopping should feel even from side to side, without judder, pulsing, or a sudden grab.
- Ride slowly at first on a real road or path. If anything still feels weak, noisy, or uneven, repeat only the gentle stage once after full cooling, or seek a repairer’s check.
Step 5: What to do if bedding in does not work
First, check the simple causes. A glazed pad surface can look shiny and feel weak; a contaminated pad can smell or feel grabby then weak; a misaligned caliper can rub on one side. Do not sand, bake, or soak pads unless your brake maker explicitly tells you to, and do not spray oil, chain lube, or general cleaner onto pads or rotors.
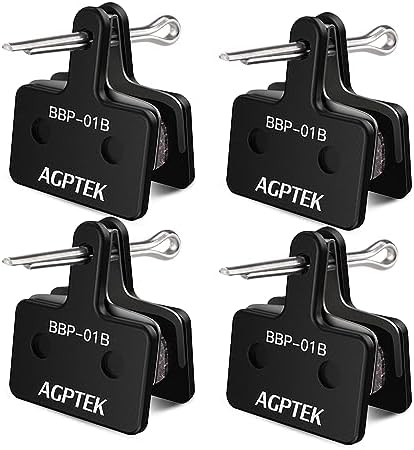
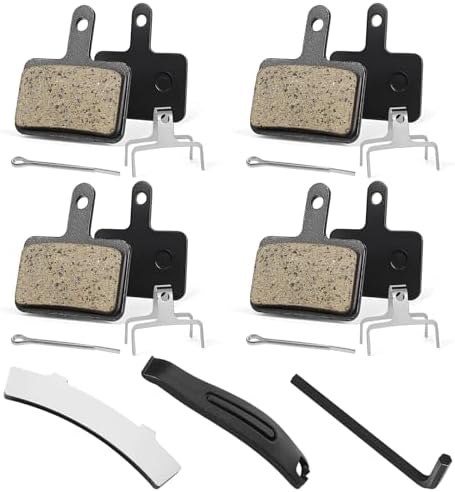
If new pads still do not bed in after a careful, cooled routine, suspect a bent rotor, a sticky piston, air in a hydraulic system, or the wrong pad for the caliper. Those are shop jobs for most riders, especially hydraulic work. Keep the old pads and note what you felt, when it happened, and which brake was affected, so the repairer can diagnose it faster.
Troubleshooting checklist
| Symptom after bedding in | Likely check | Next step |
|---|---|---|
| Still squeals lightly | Alignment, rotor cleanliness, pad seating | One gentle re-bed after cooling; if it persists, inspect for contamination. |
| Weak power | Pad wear, rotor condition, lever feel | Do not ride in traffic; get a brake check. |
| Judder or pulsing | Bent rotor, loose wheel, uneven deposits | Stop and get a repairer’s check. |
| Spongy lever | Air, fluid, or cable problem | Do not rely on bedding in; get hydraulic or cable service. |
| Constant rub | Caliper position, wheel seating | Re-seat the wheel and check caliper alignment as directed. |
Safety checklist before traffic
- Wheel seated and tight; rotor true and undamaged.
- Lever firm, with clean release and no extra travel.
- Both brakes stop the bike smoothly at slow speed first.
- No grinding, heavy rub, judder, or sudden grab.
- Brakes fully cooled after the bedding-in session.
For more repair help, see the Parts, Maintenance and Fixing Hub, browse the Brake category, and read the live guides Mountain Bike Squeaky Disc Brakes and How to Fix a Flat Tyre on the Road.
Frequently asked questions
How long does bedding in take?
It is usually a short, careful session rather than a whole ride, followed by normal riding. The exact number of stops depends on your brake maker’s advice, pad compound, and rotor condition, so use the progressive stages above as a guide, not a fixed prescription, and judge by feel after cooling.
Can I bed in brakes on a busy road?
No. Choose a traffic-free area. Bedding in needs repeated stops and coasting, which are unsafe and unpredictable in traffic, and a weak brake during the session is not yet ready for road use.
Should I bed in front and rear brakes together?
It is easier to judge one brake at a time, especially if only one set of pads is new. Apply the new brake alone during its routine, then test both together at slow speed.
Why do my new brakes squeal at first?
New surfaces may not yet meet evenly, and a light squeal can settle after a careful bedding-in routine and cooling. Persistent, loud, or grinding noise, or noise with weak power, points to alignment, contamination, or damage instead.
Can I use the same routine for rim brakes?
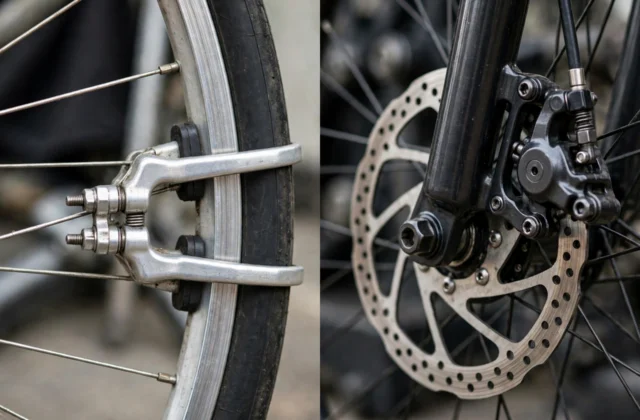
No. Rim brakes act on the wheel rim, not a rotor, and their pad, toe-in, and rim-cleaning checks are different. Use a rim-brake guide for that system, and do not transfer disc-brake steps directly.
What if I overheat the brakes during bedding in?
Stop, let them cool fully, and do not keep braking hard. Overheating can glaze pads or leave uneven deposits. If power stays weak or the lever feels changed after cooling, get the brake checked before riding in traffic.