Short answer: Choose disc brakes for stronger, more consistent braking in wet and muddy conditions, on heavier bikes, and on steep or loaded rides. Choose rim brakes for a lighter, simpler, and usually lower-cost setup on dry-road, city, and light leisure riding. Neither system is automatically safer: a well-set-up, well-maintained brake of either type beats a neglected brake of the other type.
Introduction
Rim brakes and disc brakes stop a bike in different ways, and that difference shapes almost every trade-off that follows. A rim brake squeezes pads against the side of the wheel rim. A disc brake squeezes pads against a rotor mounted at the wheel hub. Both can stop a bike well when they are set up correctly, maintained, and matched to the rider and the riding. The wrong choice is not usually about the brake type alone; it is about weight, weather, terrain, maintenance habits, and whether your frame and wheels can take the system at all. This guide compares the two systems side by side, explains how to check what your bike can use, and helps you choose without inventing performance figures or prices that vary by model, brand, and condition.
How each system works
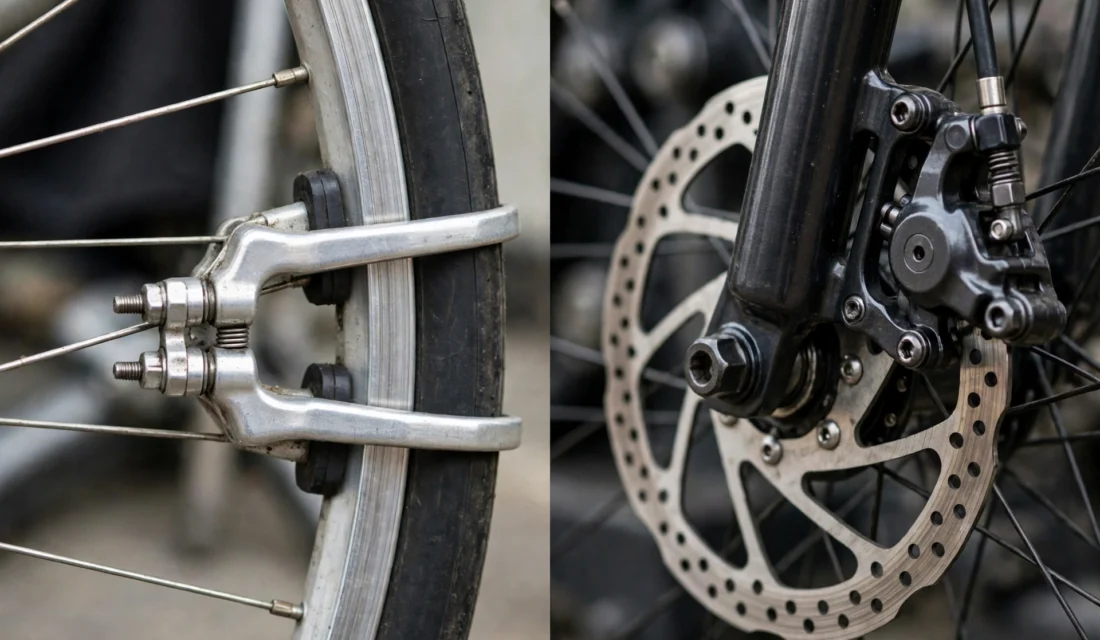
- Rim brakes: brake levers pull cables, or in some designs push fluid, to move caliper arms that press pads onto the rim’s braking surface. The rim is both the wheel and the braking surface.
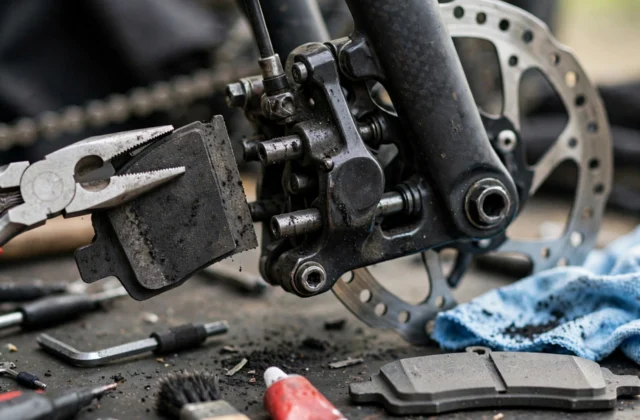
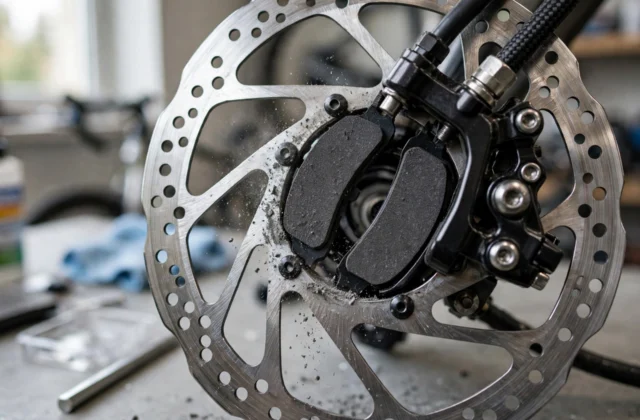
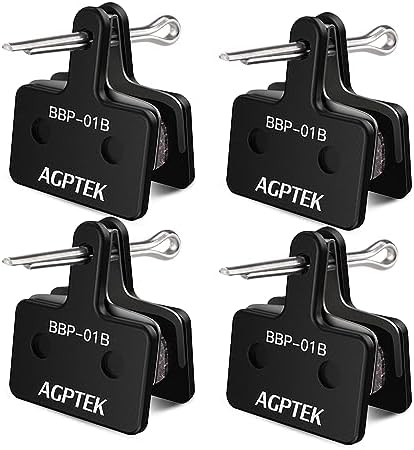
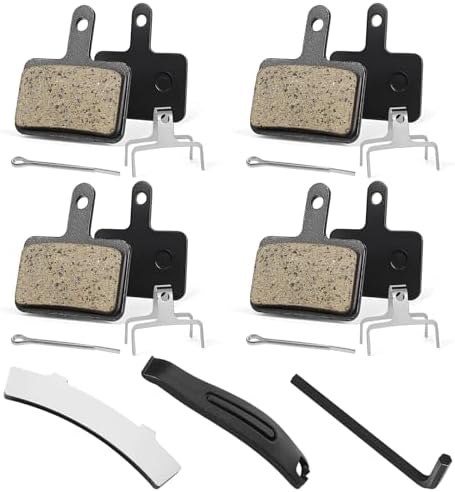
- Disc brakes: levers pull cables or push hydraulic fluid to a caliper that presses pads onto a rotor. The rotor is a separate steel disc at the hub, so braking heat and wear do not go directly into the rim.
- Mechanical vs hydraulic discs: mechanical disc brakes use a cable; hydraulic disc brakes use fluid. Hydraulic systems often give a lighter lever feel and self-adjust for pad wear, while mechanical systems are simpler to adjust with basic tools.
- Rim brake types: common designs include caliper brakes on road bikes and V-brakes on many city and hybrid bikes. Pad shape, reach, and rim width all matter, so pads are not interchangeable across every design.
Comparison table
| Factor | Rim brakes | Disc brakes |
|---|---|---|
| Stopping power | Strong when dry, well adjusted, and paired with a true rim. | Generally stronger and more consistent, especially on steep, loaded, or long descents. |
| Wet weather | Can feel weaker at first in rain, because water and grit sit on the rim surface. | Usually more consistent in rain and mud, because the rotor is smaller and clears water faster. |
| Control and feel | Good with quality pads and cables, but feel can change as pads wear. | Often smoother modulation, especially hydraulic systems, with less lever effort. |
| Weight | Usually lighter overall, with no rotor or heavier hub and fork. | Usually heavier, because of rotors, calipers, and reinforced mounts. |
| Maintenance | Pads and cables are easy to inspect and replace with basic tools. | Pads are easy to change, but hydraulic bleeding and rotor care need more care and tools. |
| Wear parts | Pads wear, and the rim itself wears as a braking surface over time. | Pads and rotors wear, while the rim is not worn by braking. |
| Cost | Often lower to buy and service, though quality varies widely. | Often higher to buy and service, especially hydraulic systems. |
| Noise and contamination | Can squeal with glazed pads or a dirty rim, and grit can score rims. | Can squeal when contaminated, glazed, or misaligned, and oil on pads is hard to clean out. |

What you will need to decide
| Check | Why it matters |
|---|---|
| Your frame and fork mounts | Disc brakes need disc mounts and a compatible hub; rim brakes need rim-brake mounts and a rim with a braking surface. |
| Your wheels | A wheel built for one system cannot simply be swapped to the other without the right hub, rim, and mounts. |
| Your riding and weather | Rain, mud, hills, loads, and e-bike weight push the choice toward discs; dry, flat, light riding suits rim brakes well. |
| Your maintenance comfort | Rim brakes and mechanical discs suit home adjustment; hydraulic discs suit riders happy to use a shop for bleeding. |
| Your budget over time | Count pads, rotors or rims, cables or fluid, and shop time, not just the first purchase price. |
Step 1: Check what your bike can actually take
Before comparing brands or models, confirm compatibility. A brake that cannot be mounted safely is not an option, however good its reviews are.
- Look at the fork and frame for disc caliper mounts and for rim-brake mounts, and check your bike manual for the approved brake type.
- Check the hubs: disc wheels need a hub with rotor mounts; rim-brake wheels need a rim with a flat braking surface.
- Check tyre and mudguard clearance, because a different brake or wheel can change what fits.
- If you are buying a complete bike, the maker has already matched frame, fork, wheels, and brakes. Do not assume you can convert it later without new wheels and possibly a new frame or fork.
Step 2: Match the brake to your riding
| Rider and riding | Often a good fit | Watch out for |
|---|---|---|
| Dry-road, city, and light leisure riding | Rim brakes: light, simple, easy to service. | Worn rims, glazed pads, or poor adjustment still reduce power. |
| Wet, muddy, or all-weather commuting | Disc brakes: more consistent in rain and mud. | Contamination and rotor care still matter. |
| Steep hills, touring loads, or cargo | Disc brakes: better heat handling and sustained power. | Brake fade is still possible if pads or rotors are worn. |
| Mountain biking and gravel | Disc brakes: standard for control off road. | Rotor bends and contamination need checking after rough rides. |
| E-bikes | Disc brakes: suit higher weight and speed. | Pad wear can be faster; check pads more often. |
| Lightweight road riding on a budget | Rim brakes: lower weight and simpler parts. | Wet descents need more care and earlier braking. |
Step 3: Test the feel, not just the label
- Squeeze each lever slowly. It should feel firm, return cleanly, and give more power as you squeeze harder, without pulling to the bar.
- Test at slow speed in a safe area first. Check for even power, clean release, and no grinding, judder, or sudden grab.
- Check wheel spin after release. A heavy, constant rub means the caliper or pads need adjustment, whichever system you have.
- On a test ride, brake earlier than usual in wet or unfamiliar conditions, and leave extra distance until you know the brake.
Step 4: Compare maintenance honestly
| Task | Rim brakes | Disc brakes |
|---|---|---|
| Pad check | Look for wear grooves, glazing, and even contact with the rim. | Look for thickness, even wear, and contamination, without touching the friction surface. |
| Adjustment | Cable tension, pad position, and toe-in, with basic tools. | Caliper position for mechanical discs; bleeding and piston care for hydraulic discs. |
| Cleaning | Wipe rims and pads, and remove grit that can score the rim. | Clean rotors with a brake-safe cleaner, and keep oil and sprays away from pads. |
| Big wear item | The rim, over a long period of braking. | The rotor, which can bend, score, or wear thin. |
Step 5: Decide on upgrading or converting
Converting a rim-brake bike to discs, or the other way, is rarely a simple swap. It usually needs new wheels, calipers, levers, and mounts, and it may not be possible at all on your frame and fork. Before spending anything, get a written check from a qualified repairer on mounts, hub and rim compatibility, and total cost. In many cases, keeping a healthy rim-brake bike well maintained, or choosing a complete bike with the brake system you want, is safer and cheaper than a conversion. Never ride with a brake that is only partly fitted, mismatched, or untested.
Safety checklist for either system
- Levers firm, with clean return and no extra travel.
- Pads thick enough, seated squarely, and matched to your brake model.
- Wheels seated and tight; rims true for rim brakes, rotors true for disc brakes.
- No grinding, heavy rub, judder, or sudden grab at slow speed.
- Extra braking distance in rain, mud, or on unfamiliar descents.
For more repair help, see the Parts, Maintenance and Fixing Hub, browse the Brake category, and read the live guides Mountain Bike Squeaky Disc Brakes and How to Fix a Flat Tyre on the Road.
Frequently asked questions
Are disc brakes always better than rim brakes?
No. Disc brakes are usually stronger and more consistent in wet and steep conditions, but a well-maintained rim brake can be excellent for dry, light riding, and it is lighter and simpler. The best system depends on your bike, riding, and maintenance.
Can I convert my rim-brake bike to disc brakes?
Only if your frame, fork, hubs, and wheels support it, and the full cost is checked first. Many bikes cannot be converted safely, so ask a qualified repairer before buying parts.
Do disc brakes need more maintenance?
Pad changes are simple on both systems, but hydraulic disc brakes add bleeding and rotor care, while rim brakes add rim wear and pad alignment checks. Neither system is maintenance-free.
Which brake is better in the rain?
Disc brakes are usually more consistent in rain and mud, because the rotor clears water faster than a rim. Rim brakes can still work well in rain, but they often need earlier, gentler braking until the rim clears.
Are rim brakes safe for hills?
Yes, when they are well adjusted, pads are fresh, and rims are true and clean. On long, steep, or loaded descents, discs handle heat and sustained braking better, so brake earlier and let brakes cool on either system.
What matters more than brake type?
Setup and maintenance matter most: correct pads, true wheels or rotors, firm levers, clean surfaces, and regular checks. A neglected disc brake is not safer than a cared-for rim brake.