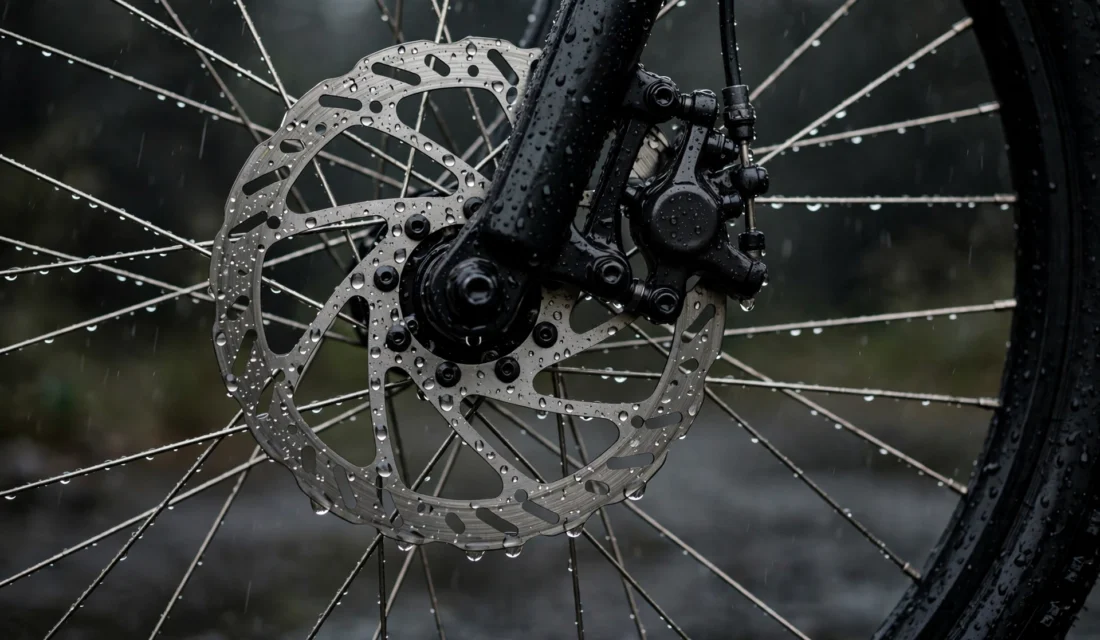
Straight answer: Disc brakes stop more consistently when wet. A disc brake clamps a small rotor at the hub, where less rain reaches it, so it bites sooner after rain. A rim brake clamps the wheel rim, which stays wet — you must wipe the rim dry with a light pull first, and the first stop takes longer.
Introduction
Rain changes how brakes feel. After a shower, the same bike can need more lever, more distance and more patience to stop — and the difference between the two brake types shows up exactly then. This guide compares disc and rim brakes after rain only, so you can judge your own bike on a wet road.
If you want the full general comparison, read Rim Brakes vs Disc Brakes: Which Is Right for You?. The short version is simple: discs keep their bite better when wet, and rims need a wipe first. This article sits in the Parts, Maintenance and Fixing Hub under Brake.
Below you will find the side-by-side comparison, the five-step test to run before you ride, how to dry and care for both brake types, and what to do when the damage is already done.
Disc Brake vs Rim Brake After Rain: The Comparison
| Attribute | Rim brake | Disc brake | What to watch after rain |
|---|---|---|---|
| Wet stopping power | Weaker until the rim dries; the pad slides on a wet rim. | More consistent; less rain reaches the small rotor at the hub. | Expect the first stop to feel weak on a rim brake. |
| First-stop delay | Longer; the wheel needs a few revolutions to wipe the rim dry. | Shorter; the rotor is out of the spray and bites sooner. | Give a rim brake a light pull first to wipe the rim. |
| Wear in grit | Wet grit on the braking surface grinds the rim down; a rim can wear too thin to be safe. | Grit scores the disc and wears the pads. | Rinse grit off the braking surface after a wet ride. |
| Pad wear | Pads can wear quickly in wet conditions. | Pads last longer, but wear faster on heavier e-bikes. | Check pad thickness; replace pads at about 1 mm or less. |
| Maintenance after rain | Keep the rim and pads clean; adjust cables as pads wear. | Keep the rotor clean; never let oil, degreaser or chain lube reach the pads or rotor. | Clean the rotor with isopropyl alcohol; never touch the pad surface. |
| Cost | Pads are cheaper, but a worn-out rim is costly to replace. | The setup costs more, and rotors and pads cost more to replace. | A rim worn too thin can mean a new wheel. |
| Weight | Lighter. | Heavier, because of the rotor and caliper. | Weight matters less than stopping power in the wet. |
When the Answer Changes
The verdict above holds for a normal wet road, but five variables can flip it:
- Light drizzle vs heavy rain. In drizzle, the gap is small and a rim brake dries fast. After heavy rain or standing water, the rim stays wet longer and the disc advantage grows.
- Rim material and condition. A clean, true rim with good pads dries faster. A worn, scored or dirty rim grips worse, and wet grit grinds it down faster.
- Pad condition. Worn, glazed or contaminated pads lose power on both brake types, and weak braking that stays weak after cleaning usually means glazed or contaminated pads.
- Hydraulic vs mechanical disc. Hydraulic discs are more consistent in the wet and self-adjust as pads wear; mechanical discs are cheaper and easier to adjust, but they need adjustment as the pads wear.
- A heavier e-bike. Extra weight and higher torque wear pads faster, and discs suit e-bikes better because they stop a heavier bike more consistently.
Test Your Brakes Before You Ride After Rain
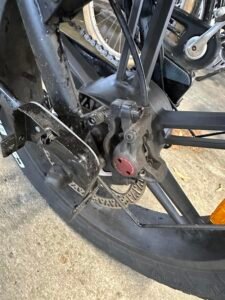
Do this five-step test every time the bike has been standing in rain, and after any wet ride, before you ride in traffic.
- Squeeze test. Pull each brake lever. It should feel firm well before it reaches the handlebar. If the lever pulls close to the bar, the pads may be worn out or there may be air in the line — do not ride.
- Spin the wheel. Lift the wheel, spin it, and apply the brake lightly. Listen and feel for a clean, even bite.
- Wipe the rim or rotor. On a rim brake, pull the lever lightly for a few revolutions so the pads wipe the water off the rim. On a disc brake, wipe the rotor with a clean cloth; if it is dirty, clean it with isopropyl alcohol.
- Check the pads. Look for wear, glazing or contamination. Replace pads when the pad material is thinner than about 1 mm.
- Short test roll. Roll slowly on flat ground away from traffic and stop from a walking pace. Only ride normally when the brakes bite cleanly.
What a fail looks like
| Symptom | Cause | Fix |
|---|---|---|
| Squeaking after rain | Moisture, water or debris on the pads or rotor | Clean the rotor or rim with isopropyl alcohol, then ride a few controlled stops |
| Weak braking that stays weak after cleaning | Glazed or contaminated pads | Replace the pads |
| Metal grinding | Pad material worn out | Stop riding and replace the pads now |
| Lever pulls close to the handlebar | Worn pads or air in the line | Replace the pads, or have the brake line checked |
Myth: A quick squeeze dries the brakes, so the first stop after rain is fine.
Fact: A rim brake needs a few revolutions to wipe the rim dry — the first full stop takes longer.
Myth: Squeaking after rain means the brakes are broken.
Fact: Squeaking after rain often means moisture or debris on the pads or rotor. Clean the braking surface and test again before replacing parts.
Myth: Disc brakes need no care after rain.
Fact: Rotors and pads still collect grit, and oil or lube can contaminate them.
Before you test: Test on flat ground away from traffic. If the brakes do not bite, keep your speed down and walk the bike. Never ride with a lever that pulls to the handlebar, and never touch a rotor right after a ride — rotors can be hot.

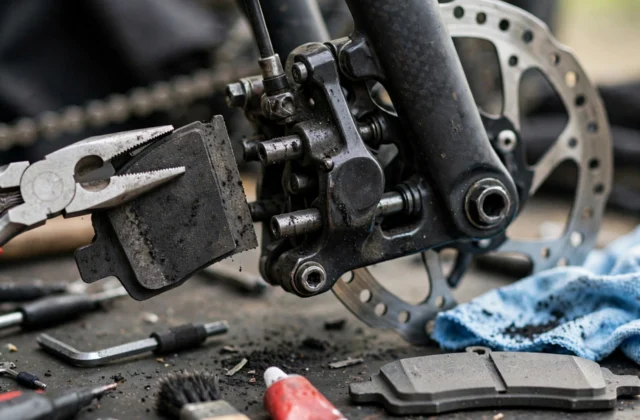
Caliper brake pads for road rim-brake bikes. Check pad size, holder type, and fit before ordering.
Dry and Care for Brakes After a Wet Ride
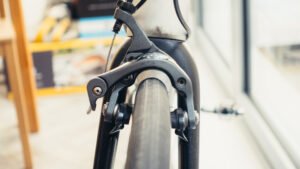
What you will need
- Isopropyl alcohol
- Clean, lint-free cloths
- Gloves
- A dry rag
- Basic bike tools for removing a wheel and pads
The method
- Rinse the bike and wheels to wash off mud and grit. Do not aim a jet of water at the caliper.
- Dry the rim or rotor and wipe the braking surface with a clean cloth.
- Clean the rotor with isopropyl alcohol and a fresh cloth. Do the same for the braking surface of the rim.
- Check the pads for wear, glazing and contamination. Replace pads when the pad material is thinner than about 1 mm.
- Spin each wheel and check the rotor for a bent edge or deep grooves, and the rim for scoring.
- Check the bolts and torque, look for leaks around the caliper, and bed in new pads with about 20 to 30 controlled stops before you ride normally.
Do not spray degreaser, soap or chain lube near the caliper or rotor. Oil or degreaser on pads or rotors kills braking, and pads reached by oil usually need replacing. Use isopropyl alcohol and a fresh cloth instead, and never touch the pad surface.
E-bikes: Switch the power off before you work on the brakes, and check the battery and your manual first.
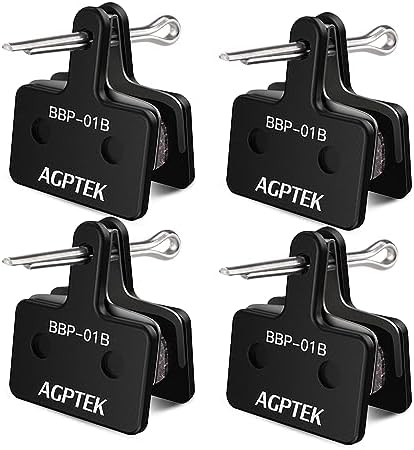
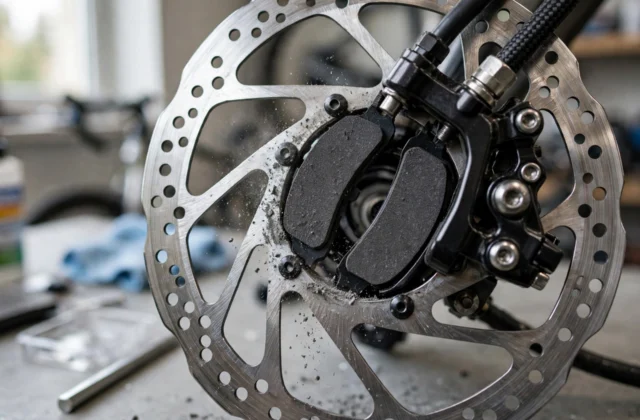
Replacement disc brake pads to consider only if your old pads are worn, glazed, or contaminated.
When the Damage Is Already Done
Some damage cannot be cleaned away. Match the symptom to the fix — and do not ride on a brake you do not trust.
- Glazed pads. Braking stays weak after cleaning, and the pad surface looks shiny. Replace the pads, then bed in the new set.
- Scored rim. Wet grit has ground a groove into the braking surface. Have the rim checked; a rim worn too thin is not safe to ride.
- Contaminated pads. Oil, degreaser or chain lube reached the pads. Cleaning rarely restores them — replace the pads. Read Contaminated Brake Pads: Clean or Replace?.
- Bent rotor. The brake rubs once per revolution or the wheel wobbles. The rotor may need truing or replacing, and deep grooves mean the rotor should be replaced.
For the full pad-change procedure, see How to Replace Disc Brake Pads Safely, and for bedding in, see How to Bed In New Disc Brake Pads.
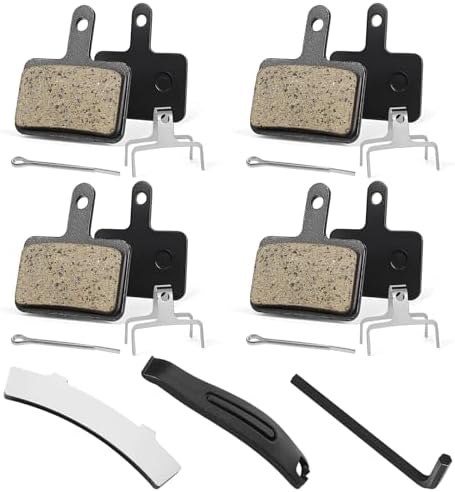
Disc brake pads with installation tools, suitable for e-bikes.
The Safe Alternative When Your Brakes Are Too Far Gone
If the damage above matches your bike, do not ride on those brakes. Walk the bike home or to a bike shop. If the brakes still bite at all, ride very slowly on flat ground, using both brakes gently; if they do not bite, walk.
The method
- Inspect. Check the pads and the rim or rotor for wear, glazing, contamination, scoring and a bent rotor edge.
- Clean the braking surface correctly. Wipe the rim or rotor with isopropyl alcohol and a clean, lint-free cloth. Keep oil, degreaser and chain lube away from the pads and rotor.
- Dry. Dry the rim or rotor and the pads with a clean cloth, and let them air-dry before you test.
- Test. Run the five-step test, and only ride normally when the brakes bite cleanly.
If the brakes still feel weak after cleaning, replace the pads or have the bike checked by a professional. Do not ride on brakes you do not trust.
What to Do Next, in Order
- Run the five-step test before your next wet ride.
- Dry and clean the brakes after every wet ride.
- Replace pads that are glazed, contaminated, or worn to about 1 mm.
- Bed in new pads with 20 to 30 controlled stops before riding normally.
- If the damage is in the rim or the rotor, have it checked before you ride again.
- When you are ready to change parts, read the general guide and the pad-replacement guide first.
Never Do These After Rain
- Never put oil or lubricant on pads or rotors. Oil on the braking surface kills braking power, and contaminated pads usually have to be replaced.
- Never spray degreaser or WD-40 on braking surfaces. Degreaser and lube soak into the pads and the rotor, and cleaning rarely restores them.
- Never keep riding on glazed or contaminated pads hoping they will clear. Weak braking that stays weak after cleaning means the pads are done — replace them.
- Never ride without doing the test roll first. A short roll from walking pace is the only way to know the brakes bite before traffic does.
- Never aim a jet of water at the caliper. A hard jet pushes water and grit into the caliper and onto the pads, instead of washing them away.
In short
After rain, disc brakes stop more consistently because the small rotor at the hub stays out of the worst of the spray. Rim brakes still work, but they need the rim wiped dry first and the first stop takes longer — and wet grit wears the rim itself. Test both brakes before you ride, dry and clean them after every wet ride, and replace pads that are glazed, contaminated, or worn to about 1 mm.
The essentials
- Disc brakes stop more consistently when wet; rim brakes need the rim wiped dry first.
- A rim can take a few revolutions to dry before the pads grip properly.
- Wet grit grinds a rim down — a rim worn too thin is not safe.
- Replace brake pads when the pad material is thinner than about 1 mm.
- Clean rotors with isopropyl alcohol; never let oil, degreaser or lube reach pads or rotors.
- Hydraulic discs are the most consistent in the wet; mechanical discs need adjustment as pads wear.
- Bed in new pads with 20 to 30 controlled stops.
More Questions, Answered
Are disc brakes better than rim brakes in the rain?
Yes. Disc brakes perform better in the rain because the rotor sits closer to the hub, where less rain reaches it, and stopping is more consistent. Rim brakes are still usable, but expect a longer first stop until the rim dries.
Do disc brakes use rim brake pads?
No. Disc brake pads and rim brake pads are different shapes and sizes and fit different brake systems, because a disc pad clamps a rotor at the hub while a rim pad clamps the wheel rim.
Can you change rim brakes to disc brakes?
Only if the frame and fork can take disc calipers and the wheel has a disc-ready hub. The change may need a new fork or a new wheel, so check the frame, the fork and a conversion kit first.
What is the safest type of brake?
Hydraulic disc brakes are the most consistent in wet conditions, especially when new, and they suit heavy loads. Keep them maintained and test them before you ride.
How do I bed in new brake pads?
Make about 20 to 30 controlled stops from a moderate speed, starting firm and then harder, without locking the wheel. Let the brakes cool down between stops.
Additional Details
Name: Disc Brake vs Rim Brake: Which Is Better After Rain?
Description: Disc brake vs rim brake after rain: discs stop more consistently when wet, while rim brakes need the rim wiped dry first. Test, dry and care for both brakes.
Published: November 8, 2026