Short answer: Most e-bike brake squeal comes from glazed or worn pads, a dirty or contaminated rotor, a misaligned caliper, or a bent rotor, and e-bikes wear pads faster because they are heavier and stop from higher speeds. Check lever feel and pad thickness first, clean the rotor as directed, and fix alignment before replacing parts. If braking is weak, grinding, or unpredictable, or you find a leak or a bent rotor, do not ride in traffic; get a qualified repairer’s check.
Introduction
Squeaky brakes on an e-bike are annoying, but they are also a useful warning. E-bikes are heavier than ordinary bikes, they often carry loads, and their motors help them reach speed quickly, so their brakes work harder on every stop. A light squeal after rain or on a new set of pads is not always a fault, but a loud, constant, or worsening squeal deserves a proper check. This guide explains the causes that are specific to e-bikes, the causes shared with any disc-brake bike, and a safe, step-by-step way to find and fix the problem. It does not ask you to open hydraulic systems, bend rotors back, or ride to test a brake you do not trust. If your e-bike manual or brake instructions differ from this general guide, follow those instructions first, and switch the power off before touching the wheel, caliper, or wiring.
Why e-bikes squeal more often
| E-bike factor | How it affects brakes | What to do |
|---|---|---|
| Higher weight, including battery and motor | More energy to stop, so pads and rotors heat up and wear faster. | Check pads more often, and brake earlier and more smoothly. |
| Frequent stop-start riding | Repeated light braking can glaze pad surfaces. | Use firm, smooth stops in a safe area, and let brakes cool. |
| Commuting in rain, mud, and grit | Grit and water sit on rotors and pads. | Clean rotors as directed, and wipe grit off after wet rides. |
| Motor cut-off and sensor wiring near the wheel | Wires can be disturbed during wheel or brake work. | Switch power off first, and do not pull or kink cables. |
| Regenerative braking, where fitted | Motor braking changes how often friction brakes are used. | Do not assume the friction brake is healthy just because the motor slows the bike. |
What you will need
| Item | Use |
|---|---|
| Clean, oil-free cloths | Wipe rotors and parts without adding grease. |
| Brake-safe cleaner, only if your maker allows it | Clean the rotor surface as directed. |
| Gloves | Keep skin oil off pads and rotors. |
| Basic tools for your wheel and caliper | Follow your e-bike instructions; do not force hydraulic parts. |
| Replacement pads, if needed | Correct shape and compound for your caliper model. |
| Safe test area | Traffic-free space for slow-speed checks. |
Step 1: Work out which brake squeals, and when
Before touching anything, narrow the problem down. That saves time and stops you replacing the wrong parts.
- Front or rear: apply each brake on its own at slow speed in a safe area, and note which one squeals.
- When: note whether it squeals only when wet, only when hot, only under light pressure, or all the time.
- Sound: a high squeal, a grinding noise, and a rhythmic rubbing are different problems. Grinding usually means pads are worn out or something is touching the rotor.
- Feel: check lever feel. A firm lever with squeal points to the pad or rotor surface; a spongy lever points to air, fluid, or cable trouble.
- Recent changes: new pads, a wheel removal, a chain clean, a fall, or riding in heavy rain often explain a sudden squeal.
Write down what you found for each wheel. If the squeal comes with weak power, a pulsing lever, or grinding, stop and get a repairer’s check instead of continuing.
Step 2: Inspect pads, rotor, and caliper safely
- Switch the e-bike power off, and put the bike in a stable stand or on its side where it cannot fall.
- Spin each wheel by hand. It should turn freely, with no heavy, constant rub or visible rotor wobble.
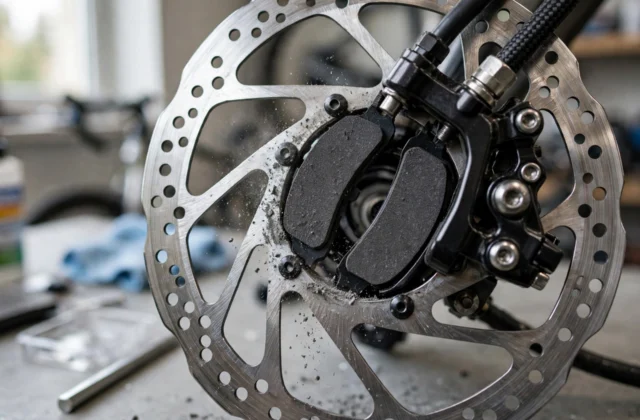
- Check the rotor for a bent shape, deep scoring, cracks, or an oily sheen. Do not try to bend a rotor back yourself.
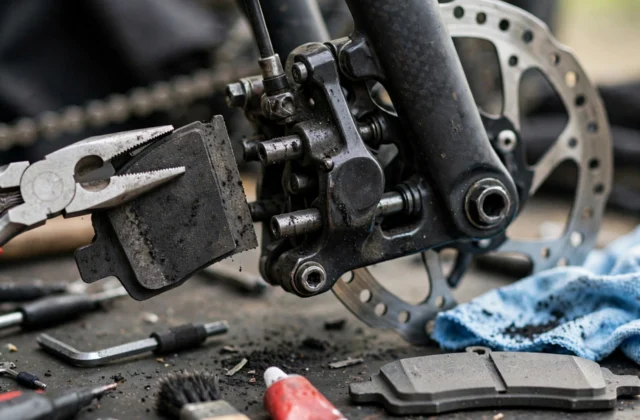
- Check pad thickness against your maker’s wear limit, and look for glazing, cracks, crumbling edges, or uneven wear.
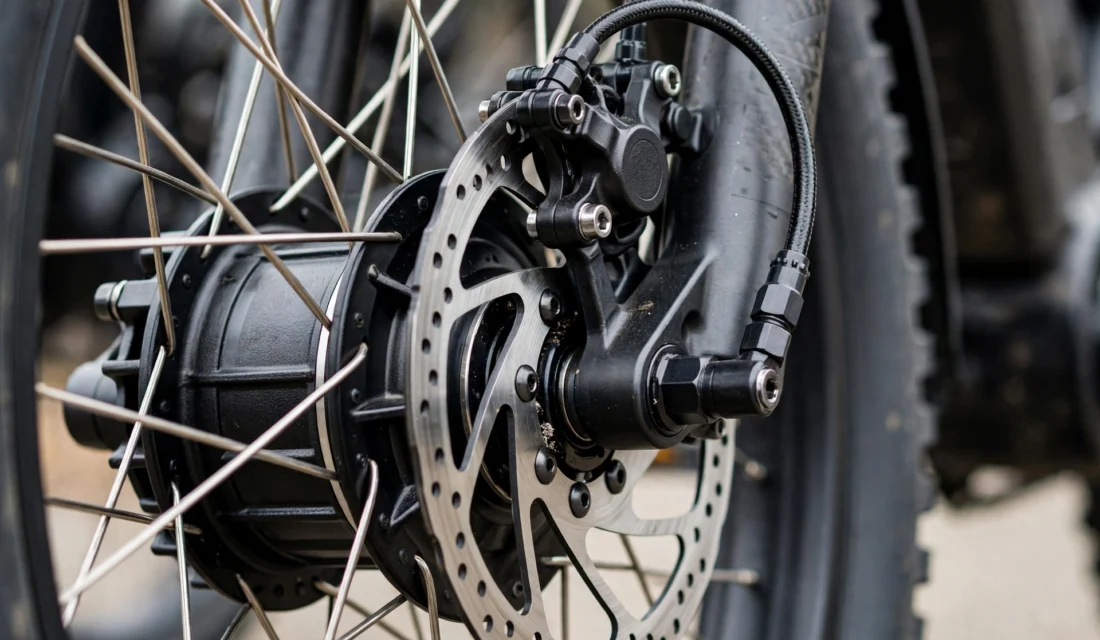
- Check that the caliper is tight, the wheel is seated correctly, and no motor cable, mudguard, or luggage part is touching the wheel or rotor.
- Look for fluid leaks around a hydraulic caliper or lever. Any leak is a shop job, not a cleaning job.
Handle pads and rotors by their edges, with gloves on. Do not touch the friction surface with bare hands, and keep oils, chain lube, and sprays away from the brake.
Step 3: Clean the rotor and check alignment
Many squeals improve once a dirty rotor is cleaned and a misaligned caliper is set straight, following your brake instructions.
- Wipe loose dust and grit from the rotor with a clean, dry cloth.
- Apply brake-safe cleaner only as directed, wipe with a fresh, oil-free cloth, and let the rotor dry fully.
- Do not use chain cleaner, degreaser, or household spray on a rotor unless it is explicitly approved for brakes.
- Re-seat the wheel carefully, following your e-bike instructions, and check that motor cables are not trapped or pulled.
- Check caliper position as directed for your brake model, so pads sit squarely on the rotor without a heavy rub on one side.
- Spin the wheel again. A light, brief contact that clears on release is different from a loud, constant rub, which needs further adjustment or a repairer’s check.
Step 4: Decide whether pads need replacing
| Pad condition | Likely fix |
|---|---|
| Thick, even, light dust only | Clean the rotor, check alignment, and bed pads in again if your maker advises it. |
| Glazed or shiny surface | Often needs replacement, unless your maker gives a safe cleaning method. |
| Oil, grease, or fluid soaked | Replace pads and clean the rotor; find the source first. |
| Worn thin, cracked, or crumbling | Replace at once; do not ride in traffic. |
| Uneven wear | Check caliper alignment and piston movement, or get a repairer’s check. |
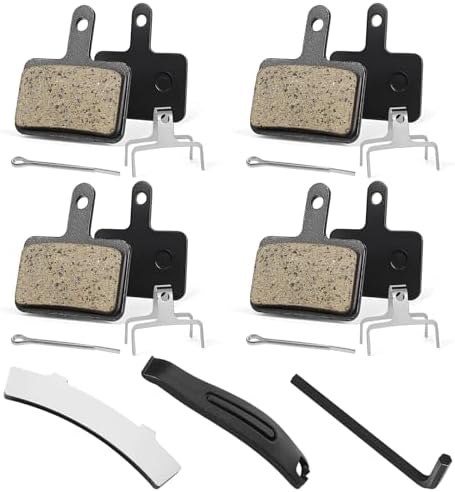
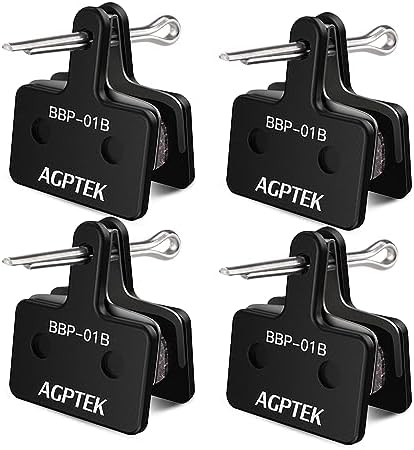
After fitting new pads, bed them in with a progressive, traffic-free routine, then let them cool fully. A new pad that is never bedded in can squeal and feel weak, even when it is the correct part.
Step 5: Test safely, and know when to stop
- Test at slow speed in a safe area first, one brake at a time, then both together.
- Both brakes should engage smoothly, with a firm lever, even power, and clean release.
- Stop if you hear grinding, feel judder or pulsing, or find the lever travel changing. Those are not normal bedding-in noises.
- Do not use the motor to test brakes at speed. Test friction brakes at low speed, with the power off or at its lowest assist, as your manual advises.
- If squeal persists after cleaning, alignment, and new pads where needed, get a qualified repairer to check the rotor, pistons, and hydraulic system.
Prevent squeal on an e-bike
- Cover the caliper and rotor when cleaning or lubing the chain, and wipe excess lube off at once.
- Brake earlier and more smoothly, especially downhill and with loads, to reduce heat and glazing.
- Check pads more often than on a lighter bike, and replace them before they wear to the backing plate.
- After wet or muddy rides, wipe grit from rotors and check for rubbing, without spraying cleaners near pads.
- Keep motor cables, mudguards, and luggage clear of wheels, rotors, and calipers.
For more repair help, see the Parts, Maintenance and Fixing Hub, browse the Brake category, and read the live guides Mountain Bike Squeaky Disc Brakes, E-Bike Chain Keeps Slipping, and How to Fix a Flat Tyre on the Road.
Frequently asked questions
Is squealing normal on a new e-bike?
A light squeal on new pads can settle after careful bedding in and cooling, but it should not come with weak power, grinding, or a spongy lever. If it does, get the brake checked.
Why do my e-bike brakes squeal only in the rain?
Water, grit, and road film change how pads meet the rotor, and a light squeal can clear as the rotor dries. Persistent squeal after drying, or squeal with weak power, points to wear, glazing, or contamination.
Can I spray cleaner on squeaky pads?
No, not as a cure. Clean the rotor with a brake-safe cleaner as directed, and keep sprays away from pad surfaces. An oil-soaked pad usually needs replacement, not spraying.
Do e-bike pads wear faster than ordinary bike pads?
Often, yes, because e-bikes are heavier and stop more energy on each stop. Check pad thickness regularly, and do not wait for grinding, which means the pad material is already gone.
Should I turn the power off before brake work?
Yes. Switch the e-bike off before removing a wheel, touching a caliper, or working near motor cables, and follow your e-bike manual for wheel removal and sensor care.
When should I stop riding and get help?
Stop riding in traffic if braking is weak, grinding, juddering, or unpredictable, if a lever feels spongy or pulls to the bar, or if you find a leak, a bent rotor, or a cracked pad. Those are shop checks, not home fixes.