Part of our guide on E-Bikes.
Electric mountain bike brakes work harder than the brakes on a road or commuter bike: the bike is heavier, the motor adds speed on climbs, and long descents ask the brakes to turn all that speed into heat. When they feel weak, noisy or spongy, the cause is usually worn pads, a dirty rotor, air in a hydraulic line, or a badly set-up lever.
This guide shows how to care for electric mountain bike brakes in a safe order, from two-minute checks to the point where a part is needed. It covers hydraulic disc brakes, the type fitted to almost every electric mountain bike. For the same routine on other e-bikes, read Commuter E-Bike Brakes Care Guide for Beginners and Folding E-Bike Brakes Care Guide for Beginners.
Quick facts
| Fact | What it means for your ride |
|---|---|
| Problem this guide fixes | A brake that feels weak, squeals, or pulls to the bar |
| Check first | Pad thickness, rotor condition, and lever feel |
| Most common causes | Worn pads, a glazed rotor, and air in a hydraulic line |
| Tools you need | Your manual, a clean rag, and isopropyl alcohol |
| Stop and get help | A lever that pulls to the bar, a leak, or a crack |
| Related guides | Commuter E-Bike Brakes Care Guide for Beginners, Folding E-Bike Brakes Care Guide for Beginners, How to Care for Electric Mountain Bike Range and Make It Last |
Quick recap
- Start with the pads, the rotors and the levers; brakes that worked last week rarely fail overnight.
- Squealing with good stopping power is often dirt or a glazed pad.
- A spongy lever usually means air in the line or pads worn thin.
- Keep oil and cleaner away from rotors and pads; even a little ruins braking.
- Use pads and rotors that match your caliper.
- Stop riding at once if a lever pulls to the bar or fluid leaks.
The short answer: check the pads, the rotors and the levers first
Most electric mountain bike brake problems are not a failed brake. The straight answer is that weak, noisy or spongy brakes usually come from pads worn thin, a dirty rotor, or air in a hydraulic line. Work through the simple checks in order.
That order matters because the symptoms overlap: a glazed pad can squeal like a contaminated rotor, and a soft lever can mean air in the line or pads so thin the pistons have run out of travel.
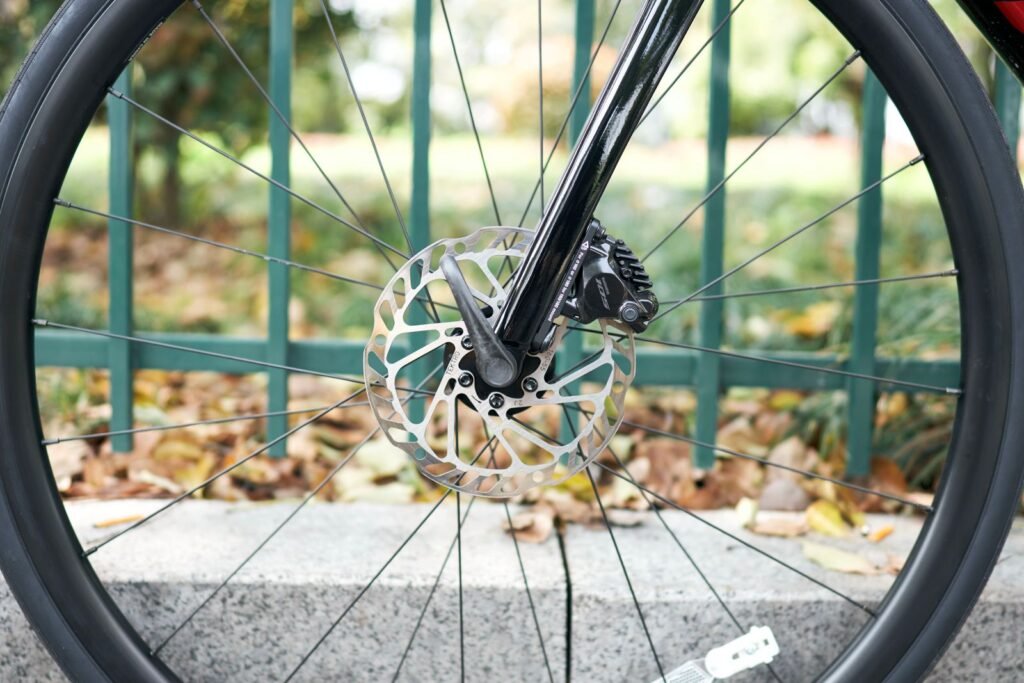
The rest of this guide follows that rule: diagnosis finds the fault, the reference section matches each symptom to its cause, and the later sections cover terrain and settings.
How to check electric mountain bike brakes, step by step
Work through these steps in order, with the bike switched off.
- Look at the pads. Shine a light into the caliper: replace pads worn to about 1mm or less.
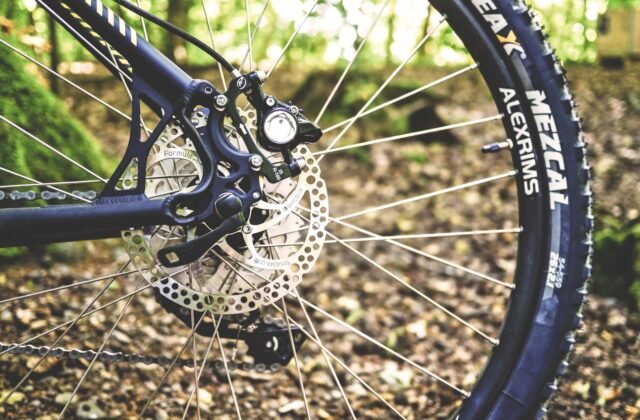
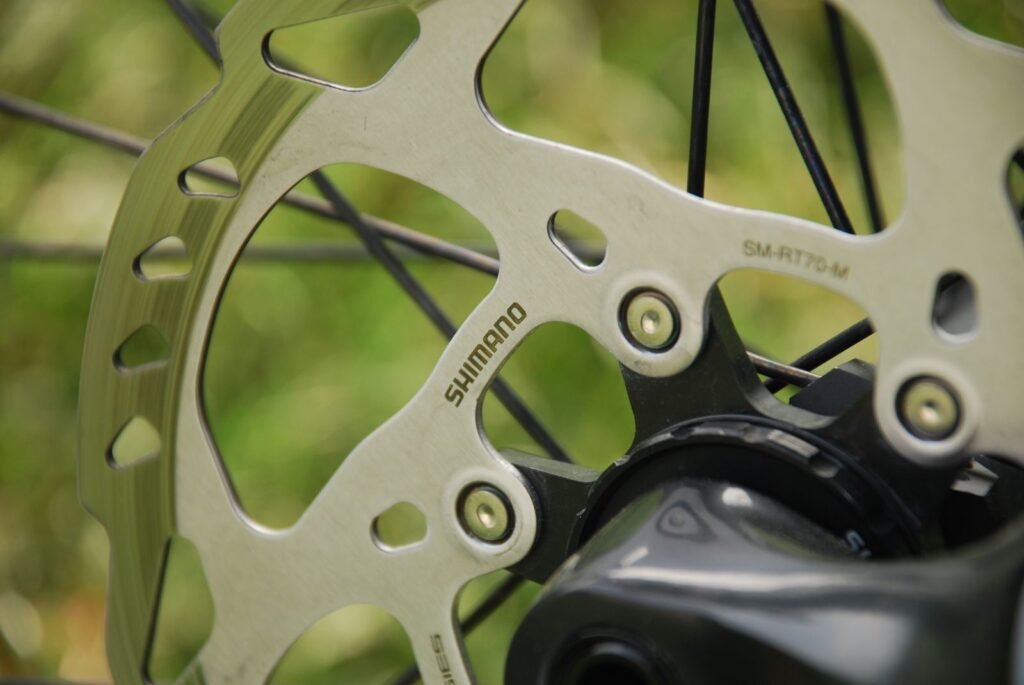
- Look at the rotors. Spin each wheel: the rotor should run true, with a clean surface and no grooves or cracks.
- Clean the rotors. Wipe each rotor with a clean rag and isopropyl alcohol, and let it dry.
- Check the caliper bolts. Make sure the caliper is tight and centred, with the same gap on each side.
- Check the levers and hoses. Squeeze each lever and hold it: it should stay firm, not sink. Check each hose for leaks.
- Ride a short test on flat ground. At walking speed, brake gently with each brake alone, then both together.
- Note when it happens. Noise only when wet and fade only on descents each point to a different cause.
If every step looks normal and the problem stays, get a qualified shop to bleed the brakes.
What you’ll need
- Your manual, or the caliper label, for pad type and rotor size
- Isopropyl alcohol and a clean rag for the rotors
- A 4mm and 5mm Allen key
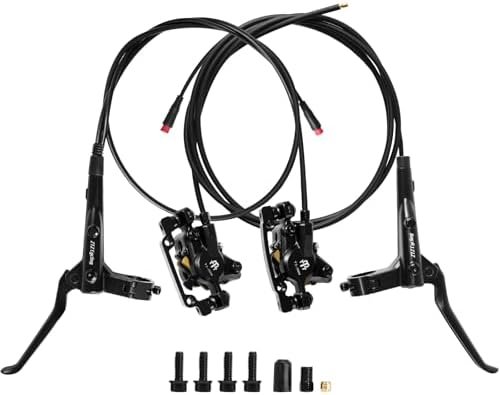
One Amazon product in this section only: the brake set below is a complete front and rear replacement.
What the symptom usually means
Use this table to match what you notice with what to try first. If a lever pulls to the bar or fluid is leaking, skip the table and get qualified help.
| Situation | What you’ll notice | What to try |
|---|---|---|
| Brakes squeal | A high-pitched noise with normal stopping power | Clean the rotors and bed the pads in again |
| Braking feels weak | You pull harder for the same stop | Check the pads, clean the rotors, check the lever reach |
| Lever feels spongy | The lever pulls close to the bar or feels soft | Check the pads, then get the brakes bled |
| Brake drags or rubs | A ticking sound once per wheel turn | Check the rotor, caliper and wheel seating |
| Brakes fade on descents | Power drops after a minute of braking | Let the brakes cool and brake in short bursts |
| Brake pulls to one side | The bike steers to one side when you brake | Check pad wear and caliper centring |
How terrain, weather and riding style change the answer
The same brakes can feel different on a wet trail or at the end of a long descent. Water is the most common surprise: a quiet rotor can squeal for the first few stops after a wet ride, then go quiet once it dries.
Heat matters the other way: a long, steep descent asks the pads and rotor to turn speed into heat for minutes at a time, and the lever can feel softer as the system warms up. Dust and mud wear pads faster than clean tarmac, and dragging both brakes downhill wears pads far faster than short, firm bursts.
What works
- Brake in short, firm bursts on descents and let the rotors cool between them
- Expect noise on the first stops after a wet ride
- Clean the rotors after muddy or dusty rides, before the dirt hardens
What to watch
- Do not drag both brakes downhill; the heat builds up and the power fades
- Do not judge brake health from one wet ride alone; compare similar dry days
- Do not ride a descent with pads you already know are thin
Brake lever and control settings that change how your brakes feel
Before deciding a brake is weak, check the lever reach: a lever set too far from the bar is hard to pull with one finger, and a rider who changed it by accident can mistake the result for a brake fault.
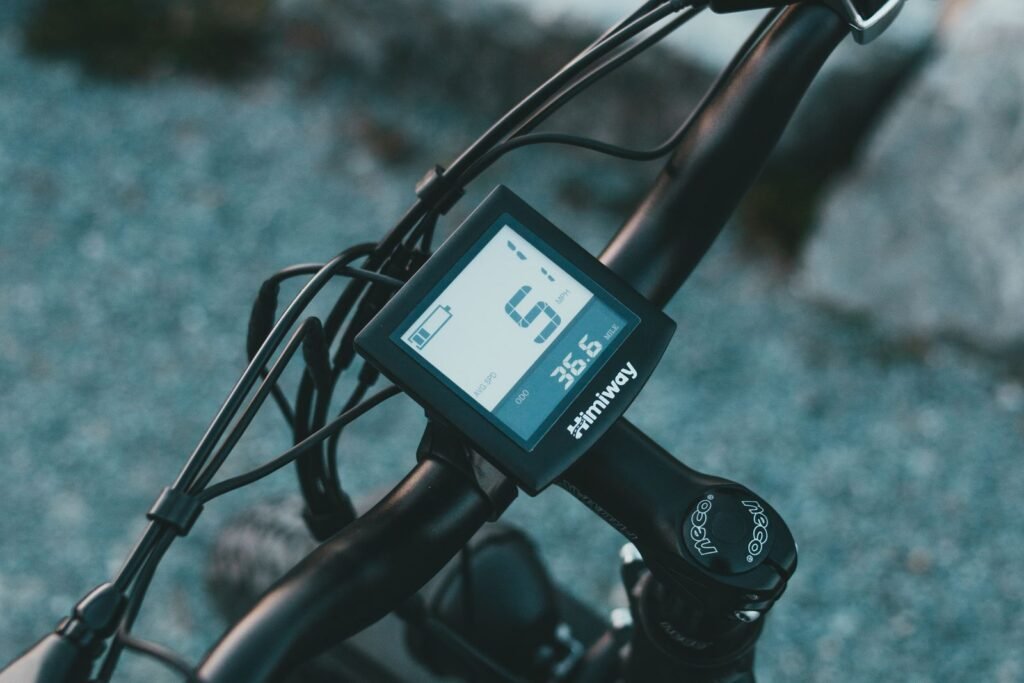
The motor cut-off matters too: the motor should cut out the moment you touch a brake lever. If the bike keeps pushing after you brake, check the cut-off sensor at the lever before you blame the pads.
What works
- Set the lever reach so one finger pulls it comfortably
- Check that the motor cuts out the moment either brake lever moves
- Test the bite point on flat ground before a steep trail
What to watch
- A lever that needs two fingers is a setup problem, not a strength problem
- A motor that keeps pushing needs a sensor check, not harder braking
- Do not ride with a lever that sticks or changes feel by itself; get it checked
When a fix needs a part or a replacement
Some brake problems have a simple fix, and some need a part. A dirty rotor can be cleaned and a lever adjusted in minutes, but a worn pad, cracked rotor or leaking caliper cannot be fixed at home. Match any part exactly.
| Fix | Best use | Limit |
|---|---|---|
| Replacement brake pads | Pads worn to about 1mm, or glazed after cleaning | Must match the caliper model exactly |
| Clean or replace the rotor | A dirty, glazed or lightly scored rotor | Do not ride a cracked or bent rotor |
| Bleed the hydraulic line | A spongy lever that pulls close to the bar | A shop job without the right kit and fluid |
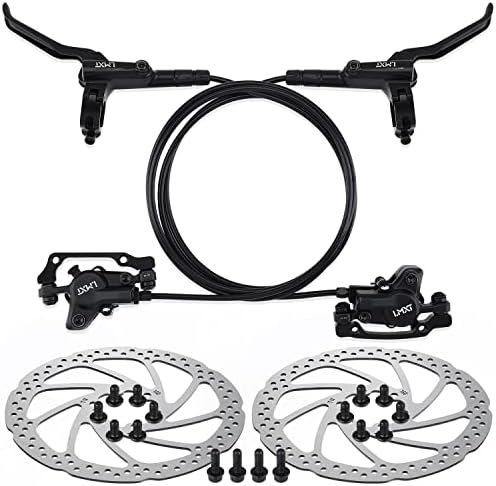
| Replacement brake set | A leaking caliper, a damaged lever, or lost pressure | Must match the frame mounts and hose lengths |
| Professional diagnosis | A fault no check explains, or any leak or crack | Do not open a caliper or ride a brake you do not trust |
What works
- Keep the manual and caliper label with the bike
- Ask a shop to bleed brakes that stay spongy
- After any fix, take a short, flat test ride first
What to watch
- Cheap pads that only fit the shape can damage the rotor
- A second-hand brake set can carry the same fault
- Do not ride a brake a shop told you to stop using
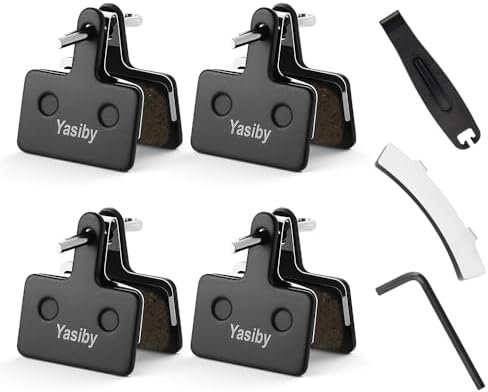
Brake pads are the part this section replaces most often. The set below is a pad swap set: four pairs with fitting tools. Check your caliper model before ordering.
The verdict
Most electric mountain bike brake problems are fixed by replacing worn pads, cleaning the rotors, and setting the levers up for the rider. When those checks fail, a qualified shop bleed or replacement is the right next step.
Readers also ask
Why do my electric mountain bike brakes squeal?
Squealing with good stopping power is usually dirt, water or a glazed pad. Clean the rotors with isopropyl alcohol and bed the pads in again.
Why does my brake lever feel spongy?
A soft lever that pulls close to the bar usually means air in the line or pads worn thin. Check the pads first; if they are fine, the brakes need a bleed from a shop.
How often should I replace e-MTB brake pads?
Muddy, steep riding wears pads far faster than dry, flat riding. Check them every few rides and replace them at about 1mm.
Can I use any brake pads that fit my caliper?
No. Pads must match the caliper model exactly. Resin pads are quieter; metallic pads last longer and handle heat better. Check your manual.
Why do my brakes fade on long descents?
Long, steady braking turns speed into heat, and hot pads grip less well. Brake in short bursts, let the rotors cool, and check the pads first.
Is it safe to ride with a brake lever that pulls to the bar?
No. A lever that reaches the bar cannot be trusted to stop the bike. Check the pads, look for leaks, and get a shop to bleed the brakes first.
Affiliate Disclosure: We may earn a commission when you buy through links on this site, at no extra cost to you.
Additional Details
Name: Electric Mountain Bike Brakes Care Guide for Beginners
Description: Learn electric mountain bike brakes care: check pads, rotors and levers, fix squeaks, weak braking and spongy levers, and know when a part needs replacing.
Published: November 17, 2026