Part of our guide on E-Bikes.
A commuter e-bike pedal assist sensor tells the motor when you are pedalling and how much help to give. When it fails, the motor may not start, cut in and out, surge without warning, or keep pushing after you stop pedalling.
Most sensor problems are not a dead motor. They are usually a magnet ring that has slipped, a gap that has grown too wide, a cable that has been pinched, or a connector full of water and dirt. This guide finds the fault in a safe order, from two-minute checks to the point where a part is the answer. For battery faults, read How to Fix Commuter E-Bike Battery Problems.
Quick facts
| Fact | What it means for your ride |
|---|---|
| Problem this guide fixes | A sensor that gives no assist, cuts in and out, surges, or keeps running |
| Check first | The magnet ring, the gap, the cable and the assist level |
| Most common causes | A slipped magnet ring, a wide gap, a pinched cable, a loose connector |
| Tools you need | Your manual, a dry cloth, a small ruler |
| Stop and get help | Assist that stays on, a burning smell, a melted connector, a motor fault |
| Related guides | How to Fix Commuter E-Bike Battery Problems, How to Charge an E-Bike Battery Safely |
Quick recap
- Start with the magnet ring, the gap and the cable.
- No assist is often a slipped ring, a wide gap or a loose connector — not a dead motor.
- Assist that surges or stays on is a safety problem: switch off and do not ride.
- Cadence sensors read pedal movement; torque sensors read pedal force. They fail differently.
- Water, salt and a pinched cable are the most common causes on a commuter.
- When a part is needed, match the sensor type, magnet count and connector exactly.
The short answer: check the magnet ring, the gap and the cable first
Most pedal assist sensor problems are not a dead motor. The straight answer is that a sensor that suddenly gives no assist, cuts in and out, or surges most likely has a magnet ring that has slipped, a gap that has grown too wide, or a cable that has been pinched or soaked. Work through the simple checks in order, and only think about a replacement when they point that way.
The rest of this guide follows that rule. If a step tells you to stop, stop.
How to diagnose a commuter e-bike pedal assist sensor problem, step by step
Work through these steps in order. Note whether the fault happens every ride or only in the wet, and whether the display shows an error.
- Read the display first: check the battery and assist levels and note any error code.
- Look at the magnet ring. Find the ring of small magnets on the crank or bottom bracket. It must be flat, with no magnet missing or cracked, and turn with the cranks.
- Check the gap. The pickup must sit close to the magnets, usually within a few millimetres, with the same gap all the way round. A gap wide on one side means the ring or pickup has moved.
- Follow the cable. Trace it from the pickup to the controller. Look for pinches at racks and cable ties, cuts in the sheath, and corrosion in the connectors. Unplug each connector, check it is dry, and push it home until it clicks.
- Do a slow spin test. With the bike on and the rear wheel off the ground, turn the cranks slowly by hand. The assist should start smoothly and stop within a second or two.
If every step looks normal and the problem stays, get a qualified shop to test the sensor, cable and controller.
What you’ll need
- Your manual, for the sensor type, magnet count and connector details
- A small ruler, for the gap between the magnet ring and the pickup
- A dry cloth for the sensor faces and contacts, and a dry place to work
One Amazon product in this section only: the speed sensor below is the same 12-magnet type used on many commuter e-bikes — only use it if it matches yours exactly.

What the symptom usually means
Match what you notice with what to try first. If the assist stays on after you stop pedalling, skip the table, switch off, and get qualified help.
| Situation | What you’ll notice | What to try |
|---|---|---|
| No assist at all | The motor never starts, in any assist level | Check the magnet ring, the gap, the cable and the connectors |
| Assist cuts in and out | Power comes and goes on hills or rough roads | Refit the ring, even out the gap, check the cable |
| Assist surges | The motor pushes in bursts, or pulls when you barely pedal | Check for a cracked magnet, and clean the sensor faces |
| Assist stays on | The motor keeps pushing for seconds after you stop pedalling | Switch off at once; get a qualified shop to test it |
| Fault only in the wet | The sensor works on dry days and fails after rain or a wash | Dry the connectors and check the cable sheath |

How cadence, torque and riding habits change the answer
There are two common kinds of sensor, and they fail differently. A cadence sensor watches a ring of magnets pass a pickup and counts how fast you pedal. Most of its faults are in this guide: a slipped ring, a wide gap, a dirty face. A torque sensor measures how hard you press the pedals and gives more help when you push harder. It is more sensitive to fitting: one that has lost its zero point can feel weak even when nothing is broken. If the fault started the week after a service, check the fitting first.
What works
- Keep the ring flat and the gap even, and check both after any crank work
- Route the cable away from racks and cable ties, and leave slack at the pickup
What to watch
- Do not treat a cadence sensor and a torque sensor as interchangeable; they are different parts
- Do not ride with assist that stays on after you stop pedalling, even if it only happens sometimes
Settings and controls that affect pedal assist
Before deciding a sensor is faulty, check the settings. Assist level is the biggest one: the lowest level on a flat commute can feel like no assist at all. Start-up delay is next: a long delay feels like a sensor that starts late.
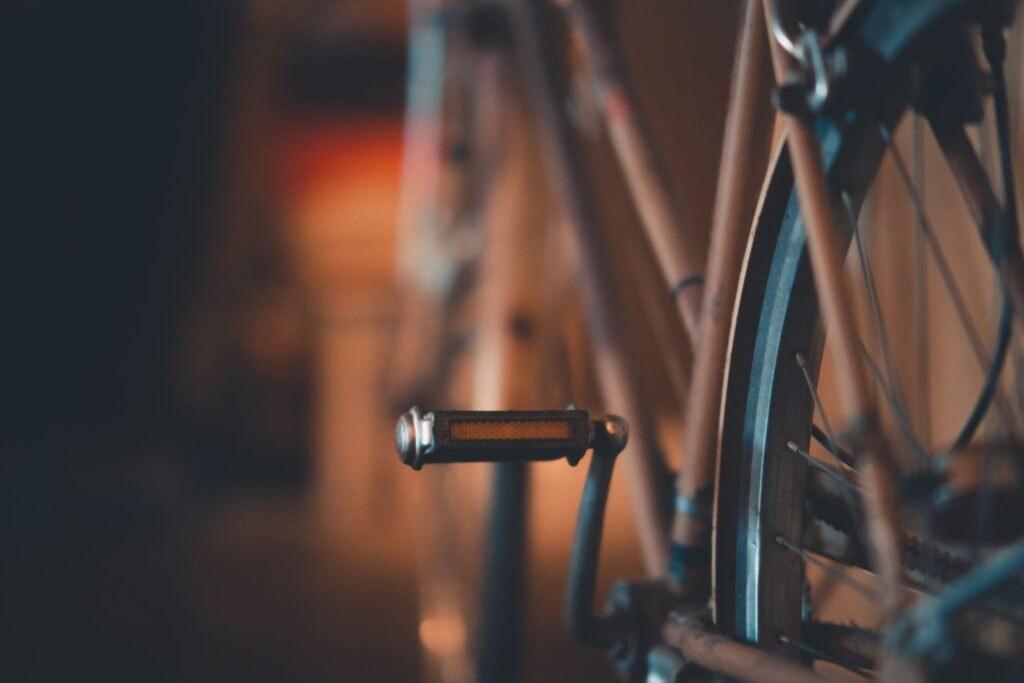
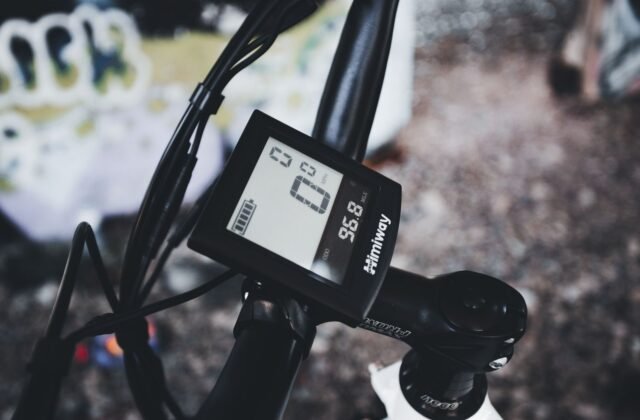
The display is part of the diagnosis too. Its assist bars show the level you asked for, while the motor’s response is what the sensor reports. Write down any error code before you switch off — some codes clear on restart.
What works
- Check the assist level first, and test the same route on two levels
- Compare the display’s assist bars with what the motor does
What to watch
- A display that changes assist level by itself points to a control fault
- A start-up delay that grows longer is a gap problem; do not hide it by raising assist
When a fix needs a part or a replacement
Some sensor problems have a simple fix, and some need a part. A slipped ring can be refitted, a dirty face can be cleaned, and a loose connector can be pushed home. A cracked ring, a cut cable, or a dead pickup cannot be fixed at home. When a part is needed, match it exactly: sensor type, magnet count and connector.
| Fix | Best use | Limit |
|---|---|---|
| Refit the magnet ring | Assist cuts in and out, or the ring wobbles and slips | Will not help if the ring or its clip is cracked |
| Close and even out the gap | Assist starts late, or only works on one side of the cranks | Do not force the pickup closer than allowed |
| Replacement sensor | Sensor gives no signal after all checks, or the cable is cut | Must match type, magnet count and connector exactly |
One Amazon product in this section only: the pedal assist kit below is a compact 12-magnet kit for bicycle bottom brackets — only use it if it matches yours exactly.

The verdict
Check the magnet ring, the gap and the cable first — most sensor faults are one of those three, and each takes minutes to check. Only buy a part when the checks point to it.
Readers also ask
Why does my e-bike pedal assist sensor stop working in the rain?
Water gets into a connector or a cut in the cable sheath and weakens the signal. Dry the connectors and check the sheath. If the fault clears when the bike dries, the sensor is usually fine.
How do I know if my sensor is a cadence sensor or a torque sensor?
Look at the bottom bracket. A ring of magnets passing a pickup is a cadence sensor; a sensor built in with no ring is usually a torque sensor.
Can I ride my e-bike if the pedal assist sensor is faulty?
Yes, if the motor stays off and the bike pedals normally. Do not ride if the assist stays on, surges, or you smell burning.
How close should the sensor be to the magnets?
Close and even — usually within a few millimetres. A gap wide on one side means the ring or pickup has moved.
Does a pedal assist sensor need replacing, or can it be cleaned?
Clean it first: wipe the ring and pickup with a dry cloth and dry the connectors. Replace it only when a magnet is missing or cracked, the cable is cut, or it gives no signal after these checks.
As an Amazon Associate, this site earns from qualifying purchases made through links on this page, at no extra cost to you.
Additional Details
Name: Commuter E-Bike Pedal Assist Sensor: Common Problems and How to Solve Them
Description: A commuter e-bike pedal assist sensor that cuts out or surges is usually a magnet, gap or cable fault. Check these first, then test, fix or replace it.
Published: 15 November 2026