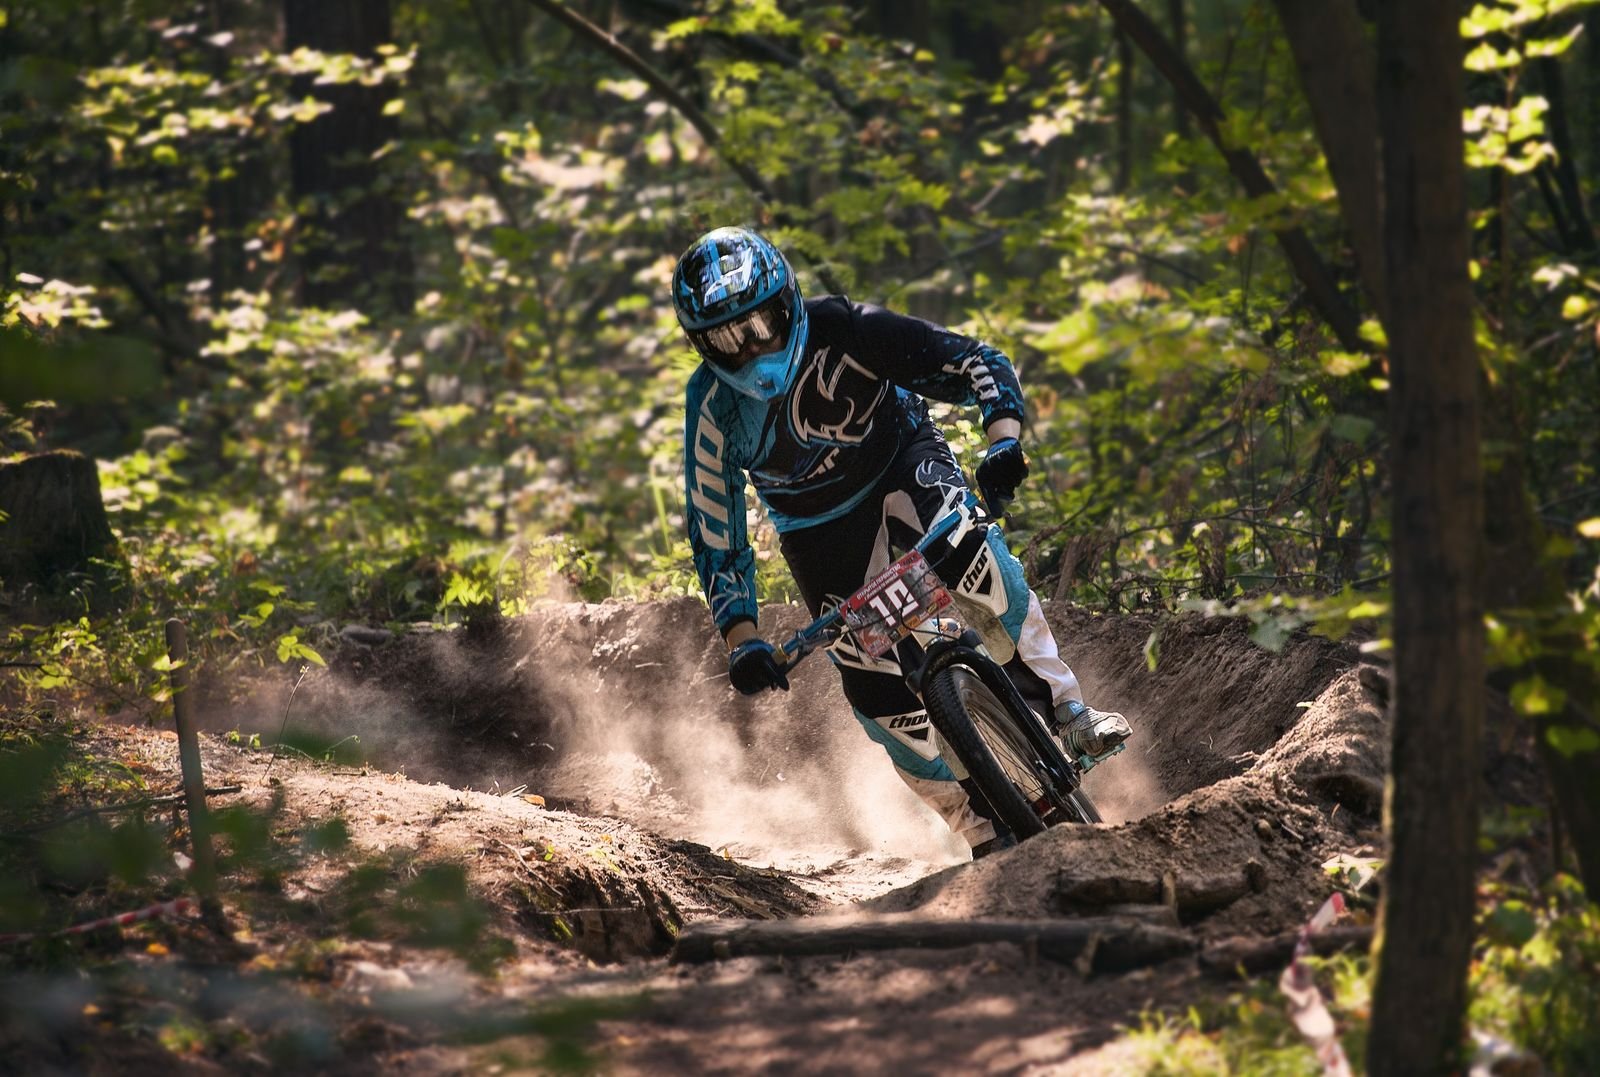
For steep descents, the all-mountain bike is usually the better choice — because it is a longer-travel, slacker full-suspension bike built for exactly that job.
A typical all-mountain setup pairs about 150mm of rear travel with a 160mm fork and a head angle near 65 degrees. Its longer travel absorbs square-edged hits instead of kicking back, and the slacker front end stays composed as speed and gradient rise. A shorter-travel bike bottoms out sooner, pitches forward under hard braking, and asks more of the rider.
The verdict flips on short, smooth descents followed by long climbs, where the lighter bike wins uphill and loses little downhill. Judge by the steepest, roughest descent you ride regularly — not by the average trail.
“Full suspension” and “all-mountain” sound like two different kinds of bike. In practice they overlap: almost every all-mountain bike is a full-suspension bike. The difference is intent. A general full-suspension bike — usually a trail bike — climbs efficiently and handles varied terrain. An all-mountain bike is a full-suspension bike tuned for harder descending: more travel, a slacker front end, stronger brakes and tougher tyres.
Pick the wrong side and you lose more than speed; you lose traction, confidence and braking control on the steepest part of the ride. This comparison looks at how the two setups behave on steep descents, what changes the answer, and how to test the difference. For the wider picture, see the Mountain Bikes Hub, and the related hardtail vs all-mountain and full-suspension vs downhill comparisons.
Full Suspension Mountain Bike vs All-Mountain Bike: The Core Comparison
The table compares a typical short-travel full-suspension bike (about 120–140mm) with a typical all-mountain bike (about 140–160mm at the rear, 150–170mm at the fork). These are category norms, not one model’s specification.
| Attribute | Full Suspension Mountain Bike | All-Mountain Bike | What to watch |
|---|---|---|---|
| Purpose | Climb well and ride everything | Descend hard, and still climb | Match it to your hardest descent |
| Suspension travel | About 120–140mm, front and rear | About 150–160mm rear, 150–170mm fork | Absorbs bigger, sharper hits |
| Head angle | About 66–68 degrees, quicker steering | About 64–66 degrees, more stable at speed | Slacker is steadier on steep ground |
| Weight and climbing | Lighter, firmer pedalling, less bob | Heavier, more bob unless the shock is firmed up | Weight matters most on climbs |
| Braking on steep ground | Good on smooth steep trails, fades sooner on rough ones | Stronger brakes and larger rotors, more control | Check rotor size and pad condition |
| Tyres and grip | Narrower, faster-rolling, less grip in the loose | Wider, grippier, heavier and slower on tarmac | Tyre choice matters as much as travel |
| Best for | Mixed rides, long climbs, smoother descents | Steep, rough and technical descents | Choose for the descent, not the climb |
When the Answer Changes
The all-mountain verdict is not absolute. On a short, smooth descent, a short-travel bike is just as fast, and lighter and livelier on the climb back up. The extra travel only pays when the ground is rough, loose or steep enough to use it. On dry hardpack both bikes hold a line; on loose rock, roots and wet soil, the all-mountain bike’s longer travel and wider tyres keep the wheels in contact more of the time, so braking and steering stay predictable. Long descents expose a short-travel bike sooner, as brakes heat up and the rider tires.

Test It Before You Decide: A Simple Descent Test
Specifications do not tell you how a bike feels at speed on a steep slope; a short test ride on the same descent does. Use the same hill, load and tyre pressure for both bikes.
- Pick your real descent: the steepest slope on your regular route, not the easiest near the shop.
- Ride both bikes the same way: same line, load, tyre pressure and braking points.
- Drop the saddle first: lower it, or the dropper post, before the slope starts, so you can move your weight back.
- Brake before the steep part: slow while the ground is still gentle, then use both brakes lightly.
- Keep pedalling gently: note whether the rear wheel skips, the fork dives, or your hands go numb.
- Stop and restart halfway: pull over on the slope, then start again and note how easy it is to keep the front wheel down.
What a fail looks like
- Front wheel washes out on loose turns → too little weight on the front, or tyres too narrow → shift weight forward slightly, fit wider tyres.
- Rear wheel skips and locks under braking → suspension too firm, or rear brake alone → soften the rear a little, use both brakes.
- Fork bottoms out with a clunk → the hit exceeds the travel → add air or volume spacers if the fork allows, or choose the longer-travel bike.
Myth vs Fact: Myth: more travel always makes a bike better downhill. Fact: travel only helps when set up for your weight and the trail. A poorly set long-travel bike feels vague, while a well set short-travel bike stays planted.
Before you test: wear a helmet, check the brakes and tyre pressure, and test on a quiet trail. Keep your phone secured, and walk the descent first if you are unsure of its surface.
How to Set Up a Bike for Steep Descents
What you will need
- A helmet and gloves
- A shock pump and a tyre pressure gauge
- A dropper post, or a seat you can lower quickly
- Working brakes, firm tyres and gears you can shift easily
The method
- Set the sag first: wearing your usual riding gear, set fork and shock sag to about 25–30% of travel, as the maker’s guide describes.
- Lower the saddle: drop it well below pedalling height, so you can shift your weight back.
- Set tyre pressure for grip: low enough that tyres conform to roots and rock, high enough that they do not roll or pinch.
- Approach with speed: build steady speed on the flat, keep pedalling as the ground drops, stay centred.
- Stay seated and steady: sit back, pedal steadily, and avoid sudden braking that locks a wheel.
- Finish, then check: at the bottom, note your speed, breathing and brake feel. A big loss of braking power is a warning sign.
Note: shifting under heavy load can clunk or slip. Ease off the pedals for a moment when you shift, then resume pedalling.
Warning: never ride down a steep hill with a hot, fading brake or a loose load. Stop at the top, check the brakes and load, and descend slowly with both brakes. If the brakes feel weak, walk the bike down.

When the Damage Is Already Done
If you already own a short-travel bike and its steep descents feel harsh or nervous, you do not always need a new bike.
- Tyres are too narrow or too hard: fit wider, grippier tyres and set the pressure for the surface you ride.
- Suspension is set for flat trails: reset sag for your weight, and add volume spacers if the fork bottoms out.
- Brakes fade on long descents: fit larger rotors and fresh pads, and brake in short, firm pulses.
- No dropper post: a dropper post is the most useful change for steep ground: it lets you move your weight back freely.
- Geometry is the limit: if the head angle is steep and the travel is short, no setup change makes it an all-mountain bike. Accept the limit, ride within it, or change bikes.
The Safe Alternative: Choose the All-Mountain Setup
If steep, rough descents are a regular part of your riding, the all-mountain setup is the safer alternative — the same full-suspension idea with more travel, a slacker front end and stronger brakes. It climbs more slowly, but gives back control where a short-travel bike gives up.
- Start with travel: look for about 150mm of rear travel and a fork to match, not the longest travel you can find.
- Check the geometry: a head angle near 65 degrees and a longer reach keep the bike stable at speed.
- Check the brakes and tyres: four-piston brakes, larger rotors and wide, grippy tyres matter more on descents than a lighter frame.
- Test it on your descent: ride the same steep slope you use now, and compare braking, traction and fatigue.
- Accept the climbing cost: if your rides are mostly long climbs, keep the efficient bike and borrow the all-mountain bike for the steepest days.

What to Do Next, in Order
- Measure your steepest descent: note its length, surface and gradient, and how often you ride it.
- Set up the bike you have: sag, tyre pressure, saddle height and brakes, in that order.
- Run the descent test: ride the same slope twice and compare control, braking and fatigue.
- List what failed: bottoming out, washout, fade or arm pain each point to a fix.
- Fix the cheap things first: tyres, pressure, rotors and a dropper post before a new bike.
- Choose by the descent: if the steep, rough part still beats the bike, choose the all-mountain setup.
Never Settle for These Mistakes
- Never buy on travel alone: a long-travel bike with the wrong sag and worn tyres descends worse than a well set short-travel bike.
- Never test on a car park ramp: a flat, smooth surface hides every weakness a steep, loose descent exposes.
- Never drag one brake all the way down: it overheats and fades, leaving you with no stopping power when you need it most.
- Never descend with the saddle up: a high saddle blocks your weight shift and pushes you over the front wheel.
- Never ignore a clunk or a fade: bottoming out and fading brakes are warnings, not normal noises — stop and check before the next descent.
In short
On steep descents, the all-mountain bike is usually better: a full-suspension bike with the travel, geometry, brakes and tyres steep, rough ground demands. A short-travel bike is the better all-round choice when descents are short and smooth and climbs are long — so test both on your own steepest slope and let the descent you ride decide.
The essentials
- All-mountain bikes are full-suspension bikes with longer travel and slacker geometry.
- Longer travel, a slacker head angle and stronger brakes help most on steep, rough descents.
- Short-travel full-suspension bikes climb better and suit short, smooth descents.
- Setup — sag, tyre pressure, dropper post and brakes — can narrow the gap.
More Questions, Answered
Is an all-mountain bike a full-suspension bike?
Yes. Almost every all-mountain bike has a front fork and a rear shock. “All-mountain” describes the tuning — longer travel, slacker geometry, tougher parts — not a different kind of suspension.
Can a short-travel full-suspension bike handle steep descents?
Yes, if the descent is short and fairly smooth and the bike is set up well. It struggles sooner on long, rough, steep ground.
How much travel do I need for steep descents?
About 140–160mm of rear travel, with a 150–170mm fork, suits most riders for steep, technical descents. More travel alone does not help unless sag, tyres and brakes suit your weight.
What is the best first upgrade for steep descents?
A dropper post, followed by wider, grippier tyres at the right pressure.
Additional Details
Name: Full Suspension Mountain Bike vs All-Mountain Bike: Which Is Better for Steep descents?
Description: Full suspension mountain bike vs all-mountain bike: which is better for steep descents? Compare travel, geometry, traction and setup before you choose.
Published: November 10, 2026