Part of our guide on E-Bikes.
A problem with your step-through e-bike tyres usually shows up as a slow leak first: a tyre that feels soft every few days, a wobble at low speed, or a flat on the way to work. Most of these faults are not a worn-out tyre — usually the wrong pressure, a thorn in the tread, or an aged sidewall.
This guide shows how to care for step-through e-bike tyres in a safe order, from the two-minute checks to a replacement. For flat repairs, read How to Fix a Flat Tyre on the Road; for battery faults, read How to Fix Commuter E-Bike Battery Problems.
Quick facts
| Fact | What it means for your ride |
|---|---|
| Problem this guide fixes | A step-through e-bike tyre that loses air, wears fast, or goes flat |
| Check first | Pressure, tread, sidewalls, valve, and bead |
| Most common causes | Low pressure, a thorn in the tread, and an aged sidewall |
| Tools you need | Your manual, a floor pump with a gauge, tyre levers, and a spare tube |
| Stop and get help | A bulge in the sidewall, a cut casing, or a wobbling wheel |
| Related guides | How to Fix a Flat Tyre on the Road, How to Fix Commuter E-Bike Battery Problems |
Quick recap
- Check the pressure every week, with a gauge, on cold tyres.
- A tyre that goes soft every few days has a slow leak.
- The rear tyre wears faster than the front: it carries the drive force and the load.
- Never ride a tyre with a bulge in the sidewall.
- Match a replacement to the size on the sidewall, exactly.
- Match the size and the e-bike rating; leave bent rims to a shop.
The short answer: check the pressure, the tread and the sidewall first
Most step-through e-bike tyre problems are not a worn-out tyre. A tyre that keeps going soft is far more likely to be at the wrong pressure, or to have a thorn still in the tread, than to have failed without warning. Work through the checks in order, and only think about a replacement when they point that way.
That order matters because the signs overlap: a slow leak looks like a worn tyre, and centre wear looks like a cheap tyre, when the cause is often pressure.
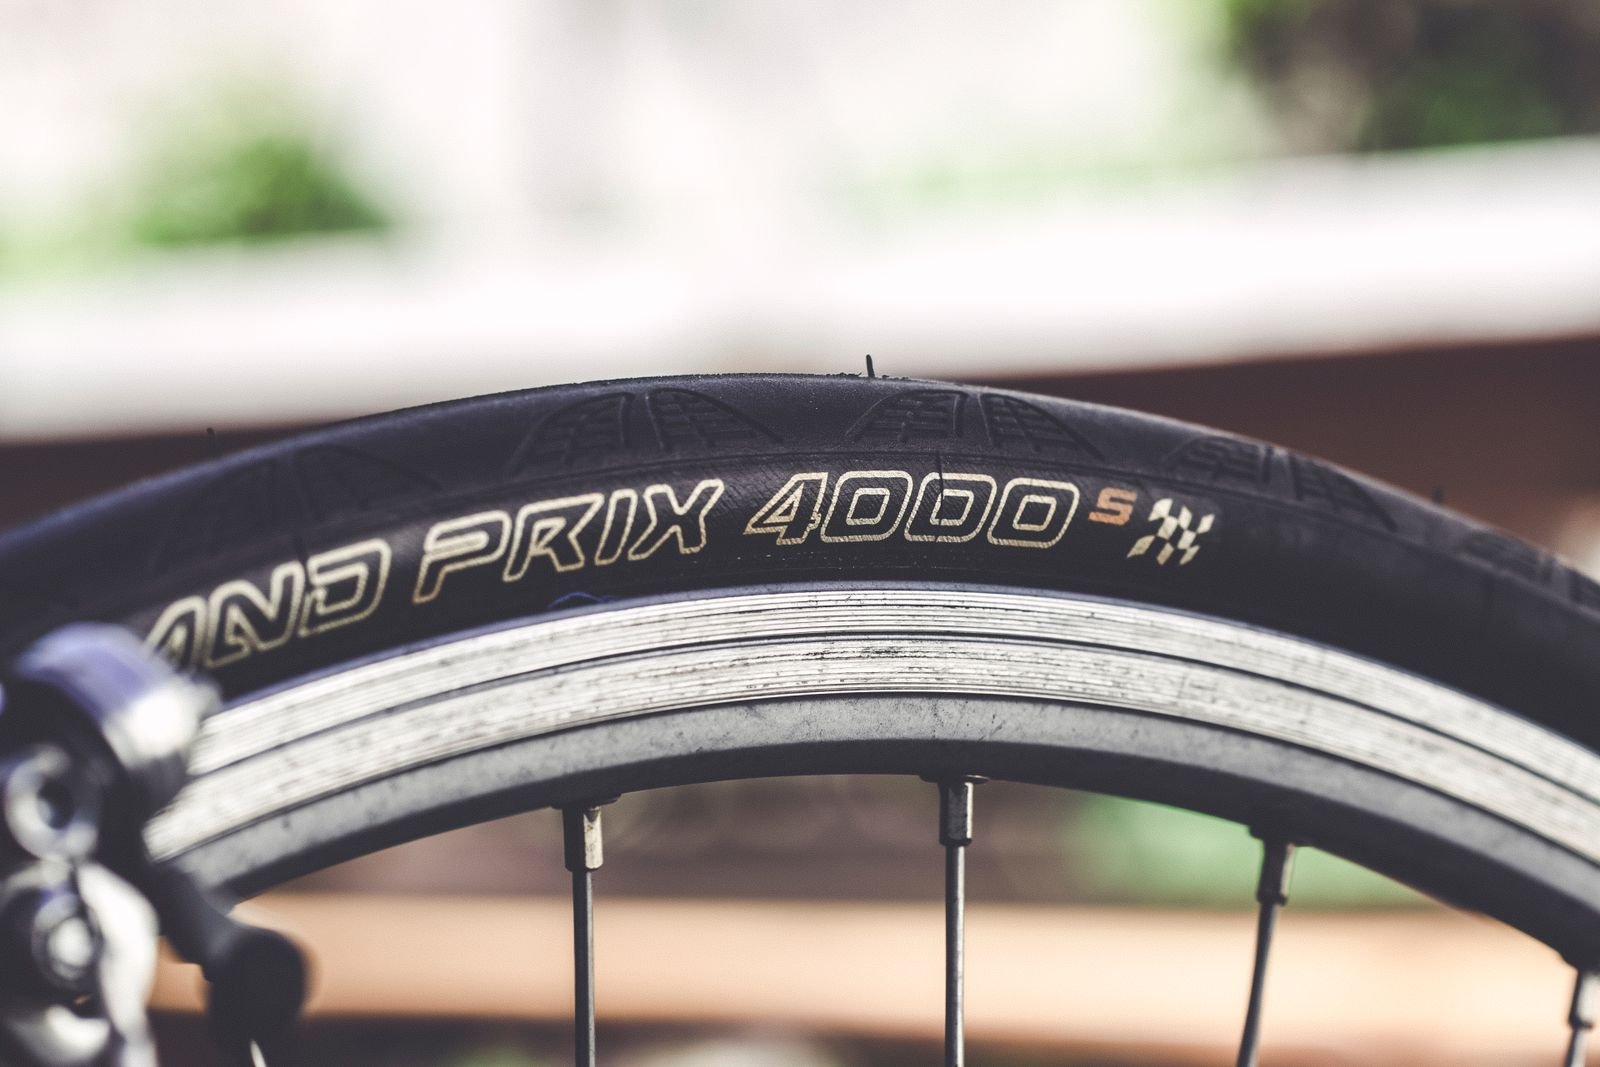
The rest of this guide follows that rule: diagnosis, a symptom reference, then size, load and pressure.
How to diagnose a step-through e-bike tyre problem, step by step
Work through these steps in order.
- Check the pressure with a gauge. Press a gauge onto the valve on a cold tyre, and compare the reading with the range on the sidewall.
- Spin the wheel and look at the tread. Lift the wheel and spin it slowly, looking for a flat centre, smooth tread, or anything stuck in the rubber.
- Check the tread for glass and thorns. Wipe a cloth slowly around the tread — use a cloth, not bare fingers.
- Look at the sidewalls. Check both sides for fine cracks, fading, and any bulge or soft spot. A bulge means the casing inside is damaged.
- Check the valve. Make sure the cap is on and the core is tight, with no hiss. A loose core is one of the cheapest faults to fix.
- Look at the bead and the rim. The tyre should sit evenly all the way around, with no wobble as the wheel spins. A wobble needs a shop.
If every step looks normal, get a qualified shop to check the wheel and the tyre.
What you’ll need
- Your manual, or the sidewall, for the tyre size and pressure range
- A floor pump with a gauge, for an accurate reading
- Tyre levers and a spare inner tube or patch kit
- A clean cloth, for the tread and the sidewall
One Amazon product in this section only: the 700c hybrid tyre below. Only use it if it matches your sidewall size exactly.

What the symptom usually means
Use this table to match what you notice with what to try first. If the tyre has a bulge or a cut through the casing, skip the table and get qualified help.
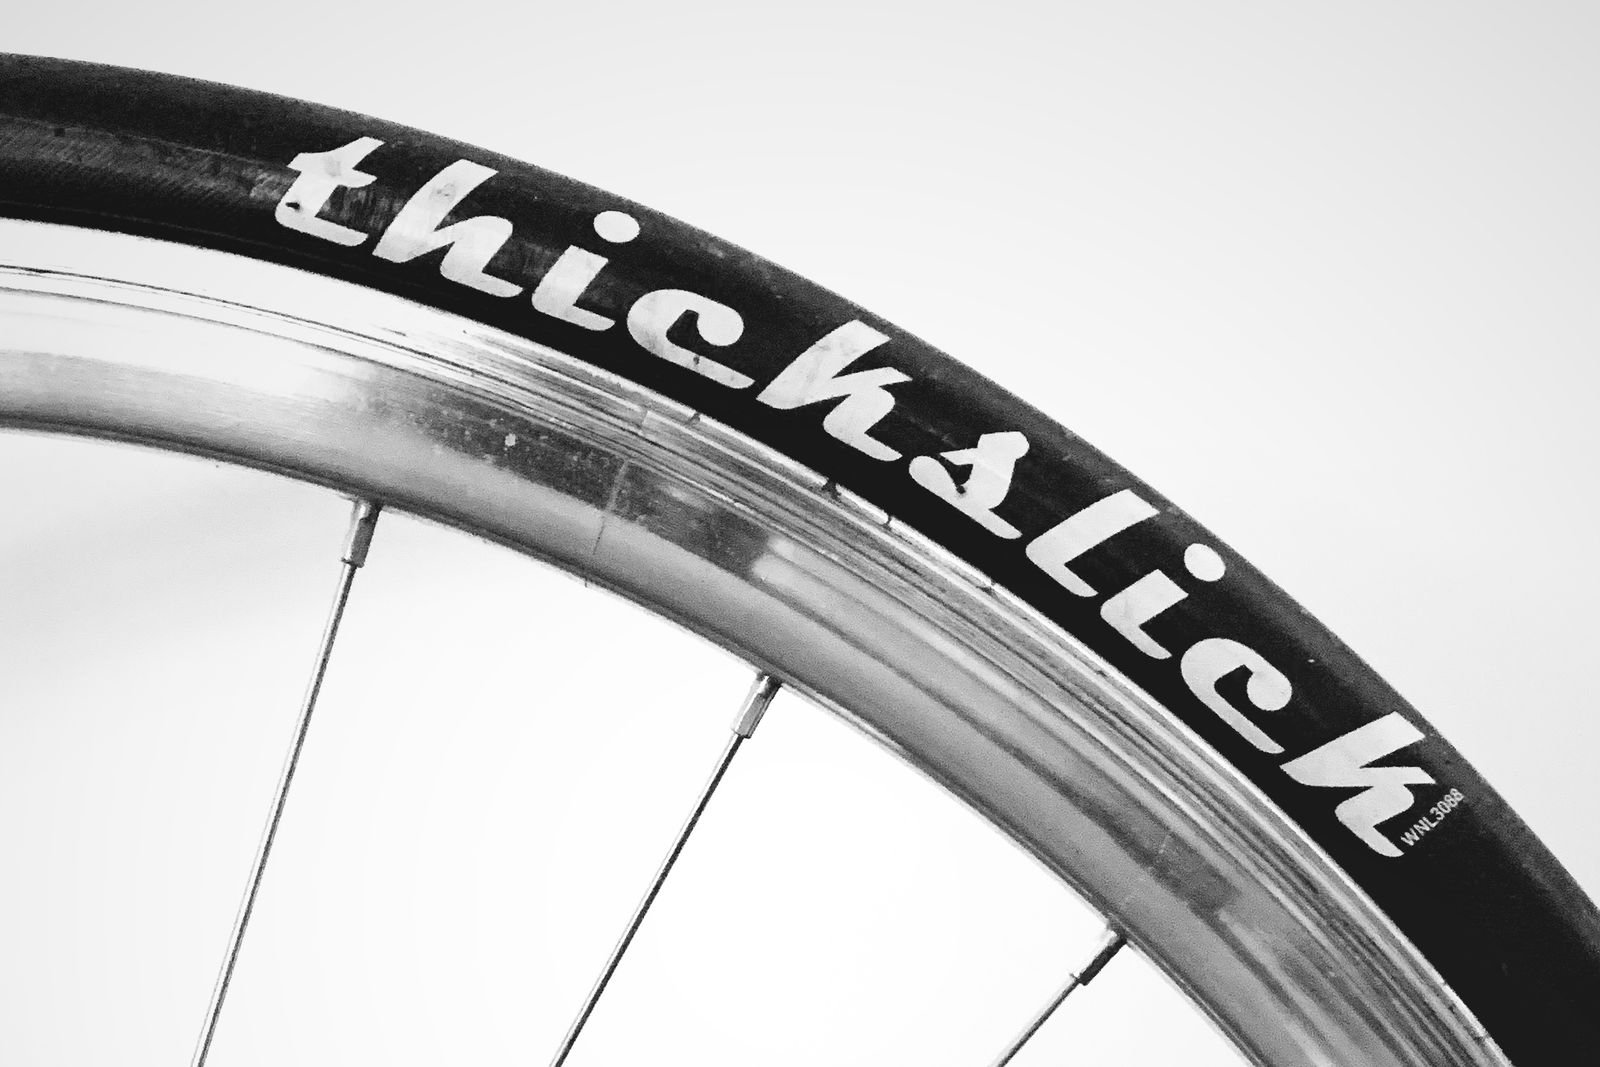
| Situation | What you’ll notice | What to try |
|---|---|---|
| Tyre soft every few days | Pressure drops a little each day, no flat | Pump it up, check the valve core, find the slow leak |
| Sudden flat | Tyre goes down at once, with a hiss | Look for a thorn in the tread, check the tube and the rim tape |
| Cracking sidewalls | Fine cracks and fading on both sides | Replace the tyre; do not ride it |
| Centre tread worn smooth | Middle of the tread is bald, edges still look new | Replace the tyre, and check the pressure habit |
| Bulge in the sidewall | A soft lump on the side | Stop riding at once and replace the tyre |
| Bike pulls or wobbles | Steering feels uneven at low speed | Reseat the bead and check the wheel is true |

How tyre size, load and riding habits change the answer
Size changes the answer first: a 700c hybrid tyre rolls easily on the road, while a 26-inch tyre suits rougher ground and a heavier bike. The right one is the size on your sidewall.
Load matters next: a step-through carries a motor and a battery. That weight sits mostly on the rear tyre, which is why the rear wears first.
What works
- Match the replacement to the size on the sidewall
- Keep the rear tyre at the top of its range
- Lift the front wheel over kerbs
- Check the tread for glass after wet rides, when grit sticks
What to watch
- Never fit a tyre that only fits the rim
- Do not judge a tyre from one ride alone; compare the wear over weeks
- Do not ride a soft tyre to the shop; pump it first
- Do not ignore a bulge because the tyre still holds air
Settings and controls that affect tyre wear
Before deciding a tyre is worn out, check the settings that decide how hard it works. Pressure is the biggest one: the right pressure is printed on the sidewall as a range — a tyre at the bottom of that range wears its shoulders, and the same tyre at the top wears its centre.
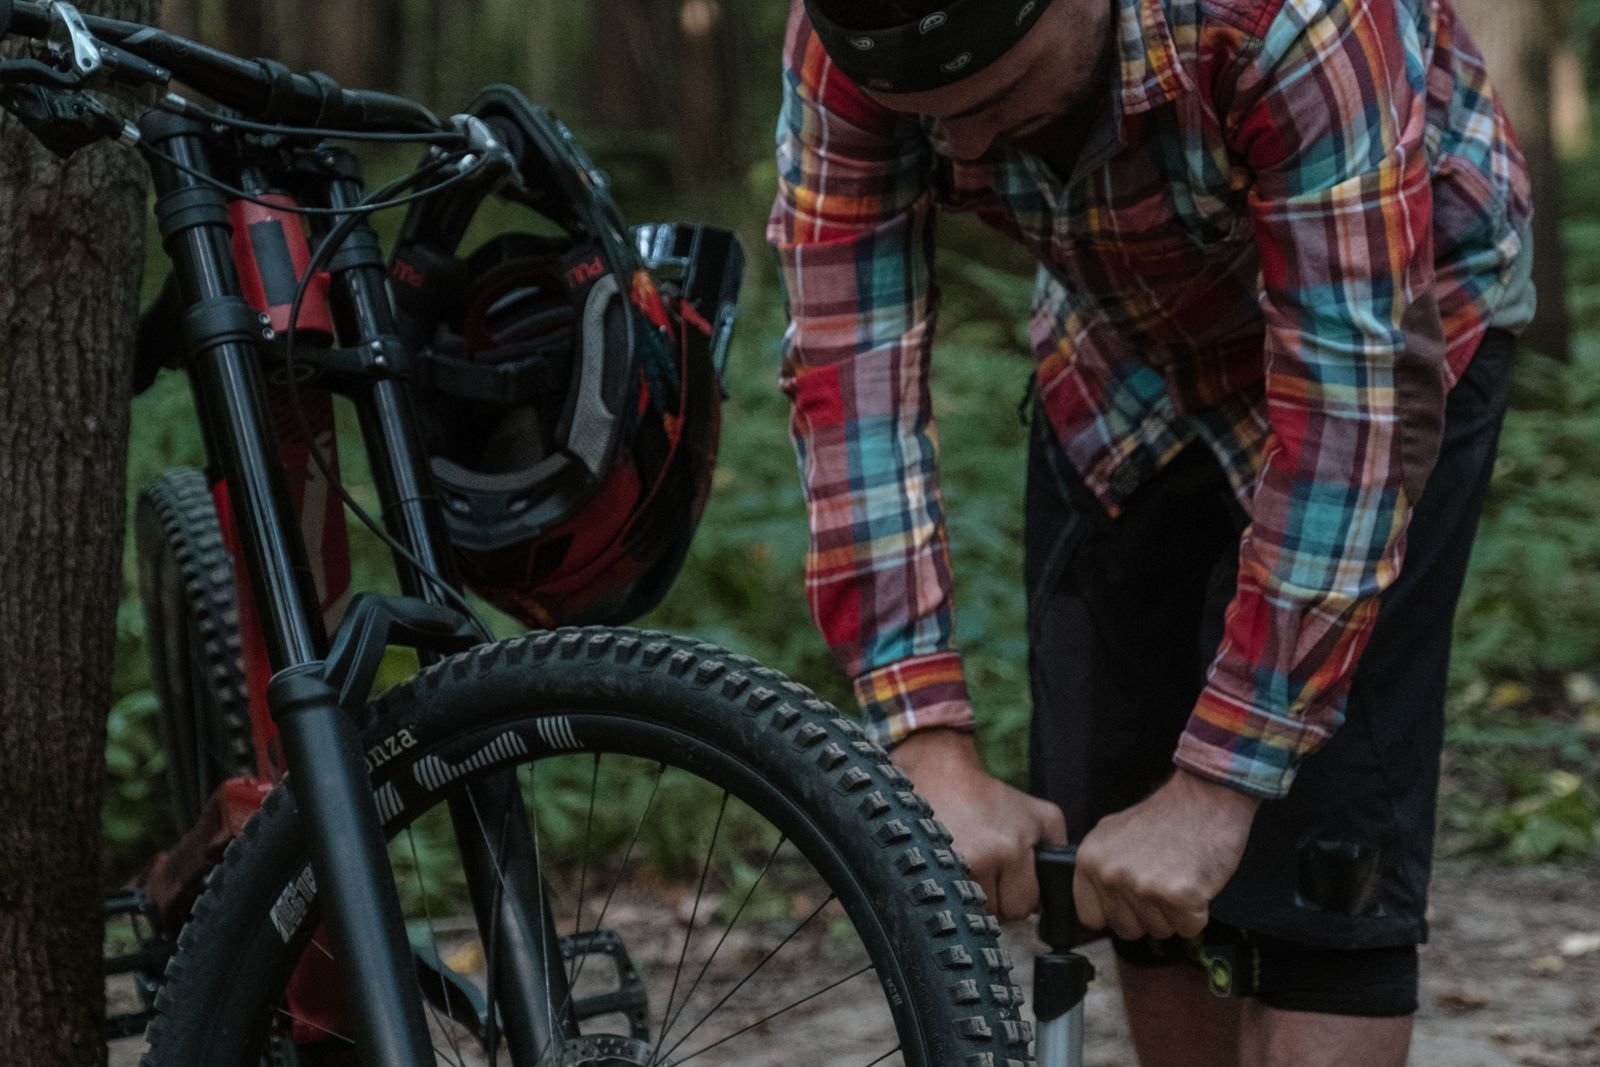
A pump with a gauge is part of the setting too: a squeeze test cannot tell 40 PSI from 60 PSI. Check the pressure when the tyres are cold, and write it down once a week.
What works
- Use a floor pump with a gauge, every week
- Set the pressure for the load: higher with shopping
- Check the pressure when the tyres are cold
- Start a ride at a known pressure
What to watch
- A tyre that needs air every day has a leak
- A gauge that reads differently each time is not a measurement
- Do not trust a petrol-station air line; finish with your own gauge
- Do not ride with a valve cap missing
When a fix needs a part or a replacement
Some tyre problems have a simple fix, and some need a part. A soft tyre can be pumped, a loose valve core tightened, and a punctured tube patched. A tyre with a worn tread, a cracked sidewall or a bulge cannot be fixed at home.
| Fix | Best use | Limit |
|---|---|---|
| Pump to the sidewall pressure | Soft tyre, no damage found | Only helps if the tyre holds air |
| Tighten the valve core | Slow leak, hiss at the valve | Needs a valve-core tool, or a shop |
| Patch or replace the inner tube | Puncture, or a leak not from the valve | A tube patched twice in the same spot is done |
| Replace the tyre | Worn tread, cracked sidewall, or a bulge | Must match the sidewall size and rating exactly |
| Professional wheel check | Bent rim, loose spokes, or a wheel that wobbles | Do not ride a wheel that wobbles; get it trued |
What works
- Keep the manual and the sidewall size with the bike
- Ask a shop to check the rim tape before fitting a new tyre
- After any fix, start with a short, low-assist ride
What to watch
- A tyre that only fits the rim can rub the frame; size and width must both match
- A second-hand tyre can carry the same fault you are trying to fix
- Do not keep riding a tyre a shop has told you to replace
When a replacement is due, match the size on the sidewall exactly. The 26-inch set below fits many step-through e-bikes, with tubes and a repair kit in the box.

The verdict
Most step-through e-bike tyre problems are fixed by keeping the pressure right and checking the tread and sidewalls often — not by buying a new tyre. When the tread is smooth, the sidewall is cracked or bulging, or the casing shows through, a replacement in the exact sidewall size is the right next step.
Readers also ask
How often should I check my step-through e-bike tyre pressure?
Every week, with a gauge, on cold tyres — and before any long ride.
What pressure should my step-through e-bike tyres be?
The range printed on the sidewall. On a 700c x 38 hybrid tyre that is often 50 to 75 PSI. Never go above the maximum on the sidewall.
Can I use an ordinary bike tyre on my step-through e-bike?
Yes, if the size matches exactly — but an e-bike-rated tyre is built for the extra weight and speed.
Why does my rear tyre wear out faster than the front?
The rear carries the motor’s drive force and most of the load, so it wears first. When the rear is worn, replace it.
Is a bulge in the sidewall dangerous?
Yes. A bulge means the casing inside is damaged. Stop riding at once and replace the tyre.
How do I know when a tyre needs replacing?
When the tread is smooth in the centre, the casing shows through, or the sidewall is cracked or bulging.
Affiliate Disclosure: We may earn a commission when you buy through links on this site, at no extra cost to you.
Additional Details
Name: How to Care for Step-Through E-Bike Tyres and Make Them Last
Description: Learn how to care for step-through e-bike tyres: check pressure, tread and sidewalls, fix slow leaks, and know when a replacement is the right call.
Published: November 17, 2026